OCEANS |WATERFALLS | IGUASSU FALLS
South Florida and the Florida Keys Landscapes
Dallas to Key West
The journey was a 27 hour drive from Dallas to Key West. I tried to break this up a little by stopping at a beach near Jupiter and shooting the blowing rocks near Coral Cove State Park. I shot sunrise here but there was a storm approaching so over all I was not happy with the shots. This caused me to stop back here on my way home and shoot it again for sunset.
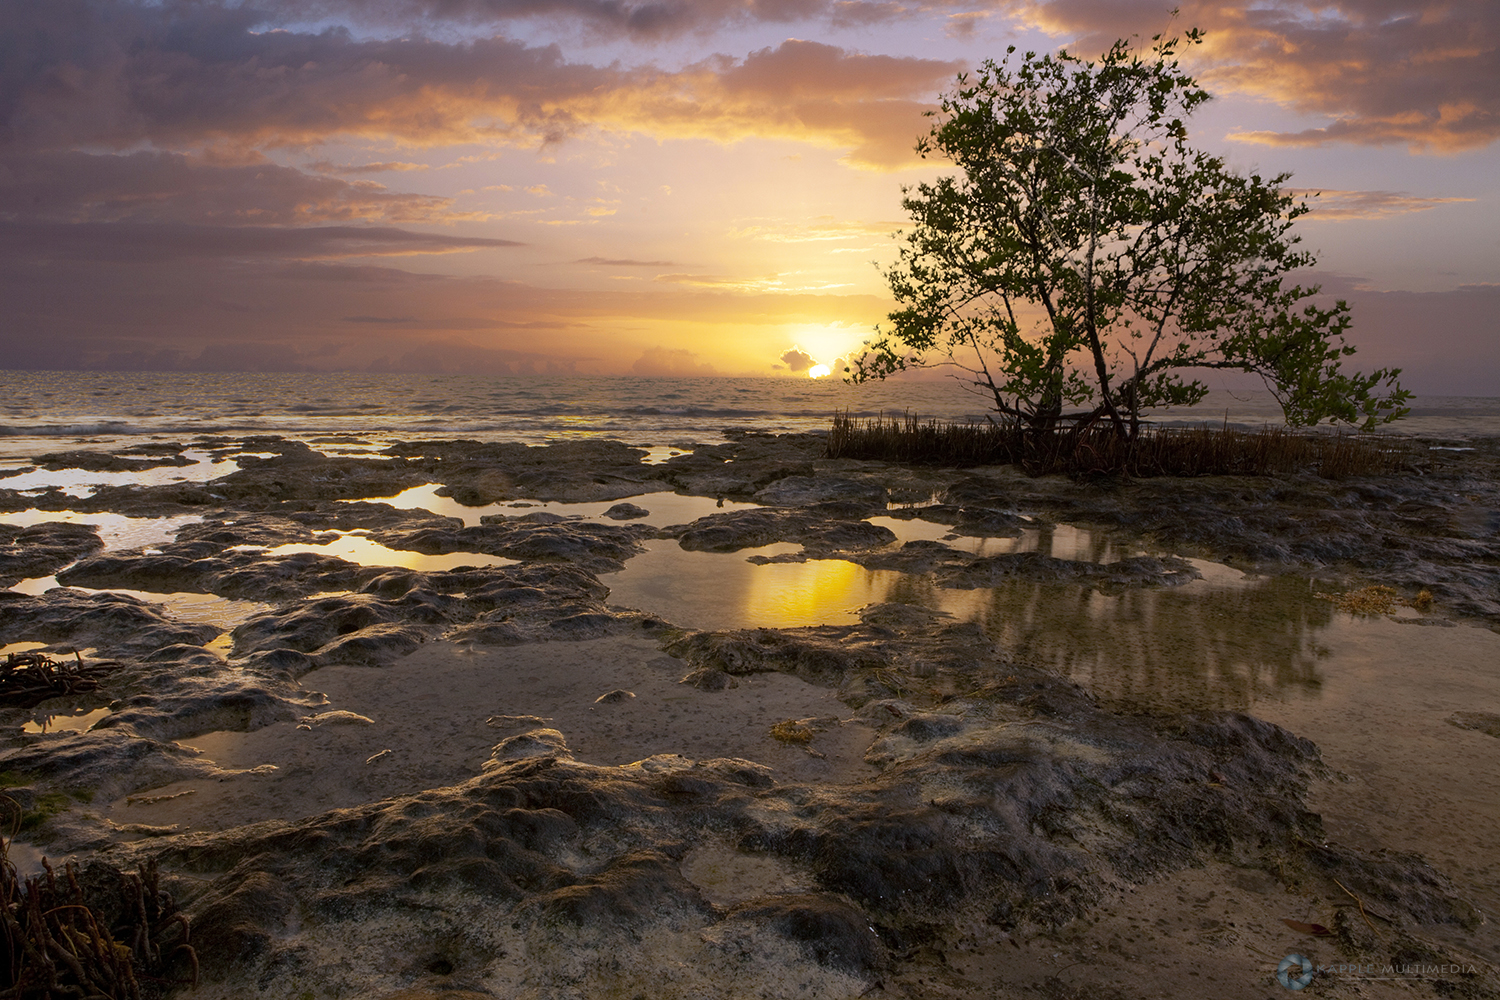
From here it was only 3 hours to Key Largo. I broke the trip in half spending part of it in Key Largo, the rest in Key West. I felt this would give me a break in getting to some of the more remote and photogenic smaller Keys not many hear about. I shot at several locations near Key Largo. Half way between north and south Key Largo was a nice spot I found for the first morning shot. The sunset spot I found was near a bird sanctuary that gave me a great view of the bay side. Next morning I drove to a place called Anne’s Beach south of Islamorada and Lower Matecumbe Key. But I was great with a rain shower here as well and would come back to this spot on my way to Key West.
We had planned to snorkel on a tour out to the reefs and see the sunken statue of Christ of the Abyss. But visibility was reported to be poor and the water was too rough in the area and the tour was cancelled. So we headed to the Everglades National Park and spent the day here and waited for sunset.
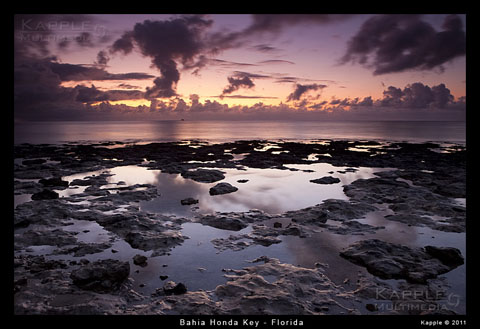
Big Pine Key
Big Pine Key is pretty centrally located in the middle of all the Keys, so I often will get a cabin in the location. Give me an advantage to go east or west for the early morning and sunset shots.
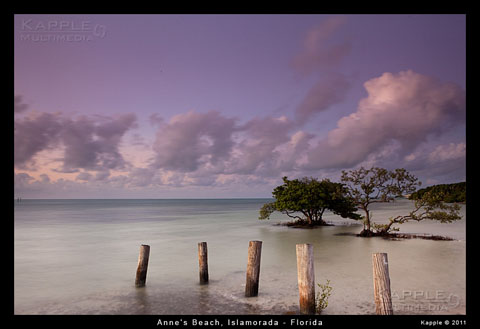
Anne’s Beach
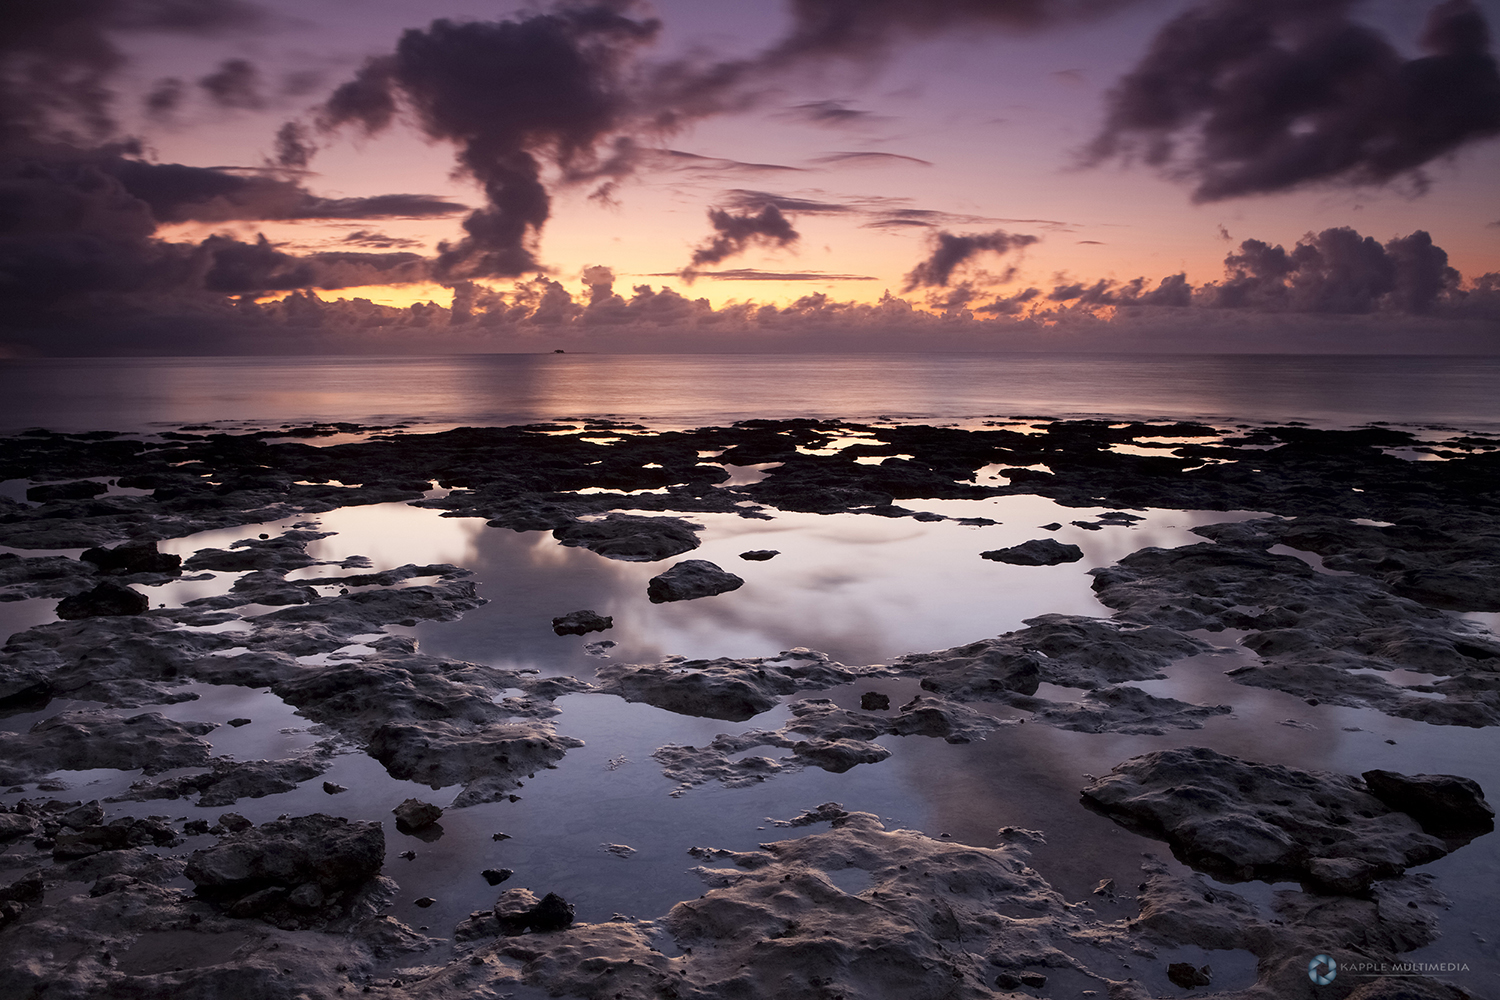
Next morning we were up at 3am so I could be back at Anne’s Beach for some night shots and sunrise.
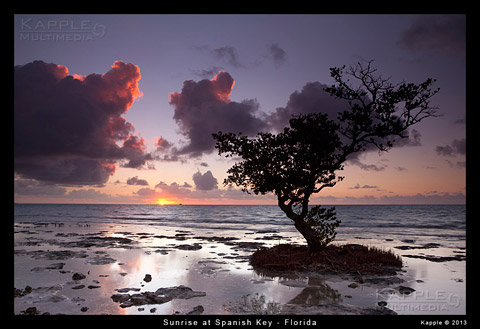
Spanish Harbor Key
Spanish Harbor Key and Bahia Honda Key were also my focal points of interest for the remaining sunrise shots.
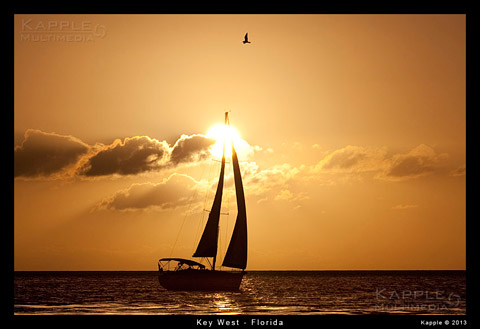
Key West
The remaining days for sunsets were shot at different points of interests around Key West.
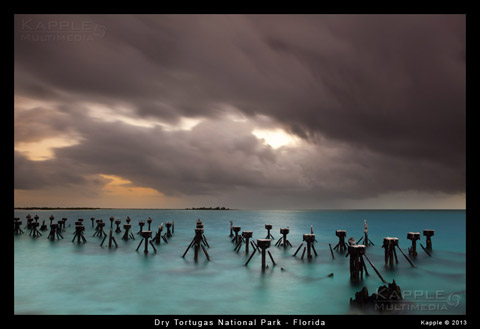
Florida Keys
So here are my tips for you if you plan to head to Key West. If you are a photographer, Stay at the far eastern end of the Key. We stayed at the Double Tree Hotel and it was great for me since I could get out of Key West in a hurry to get to my locations at the other Keys.
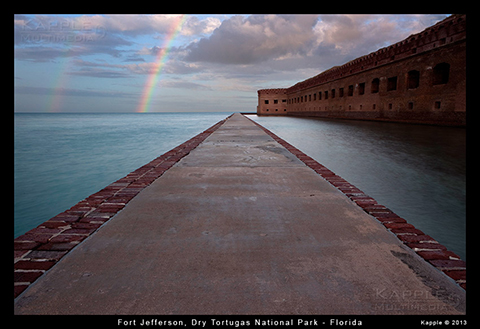
Fort Jefferson
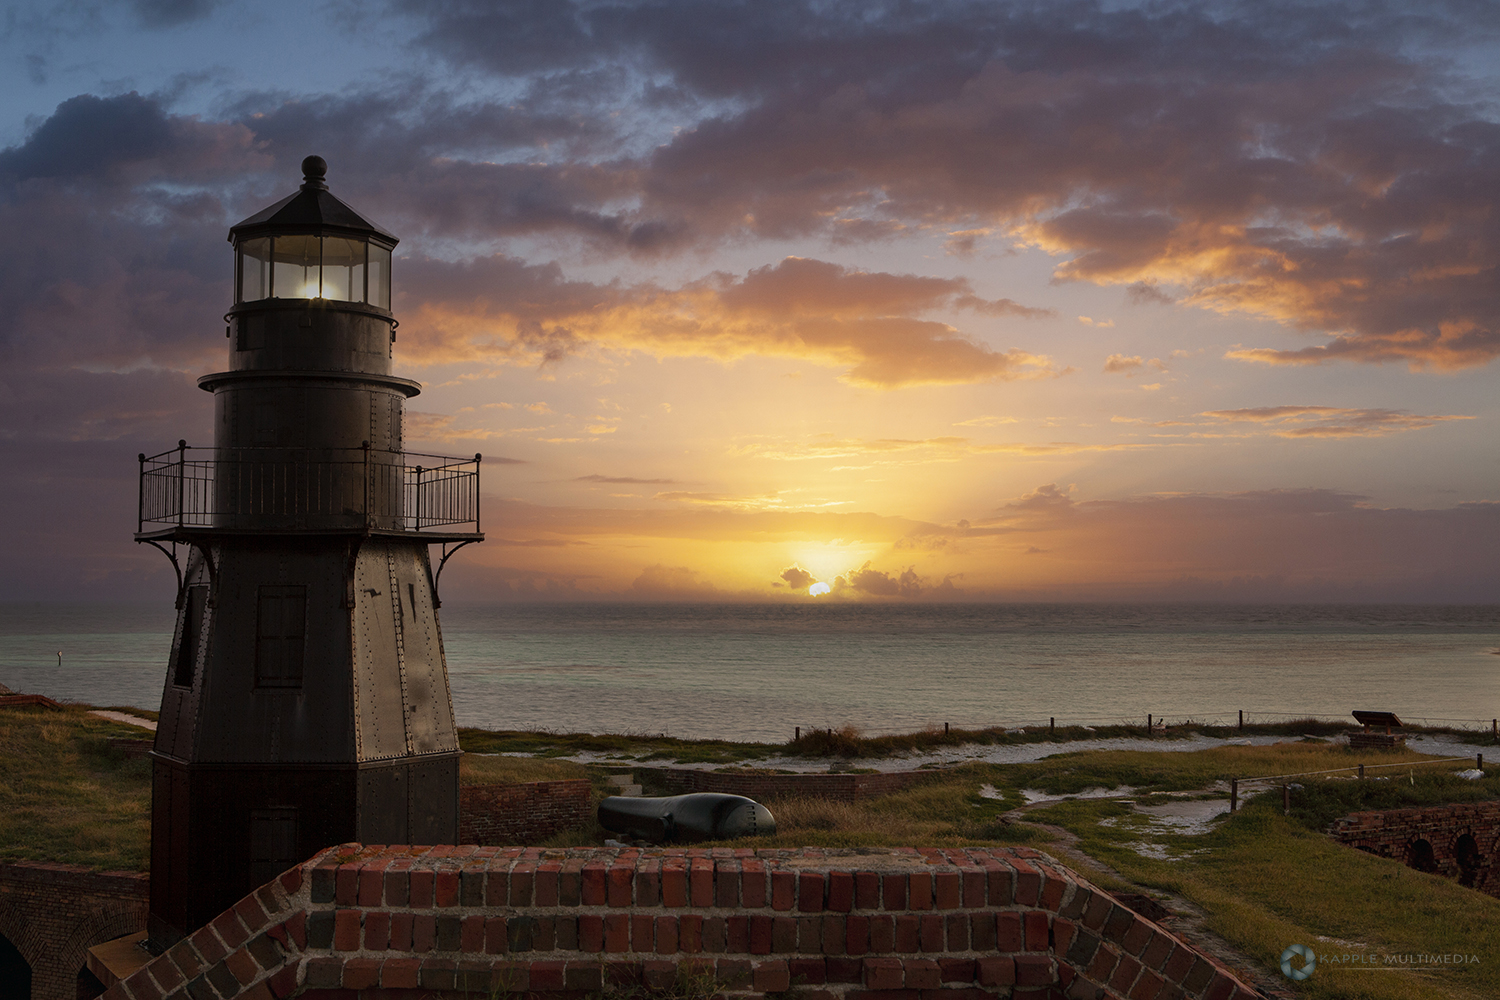
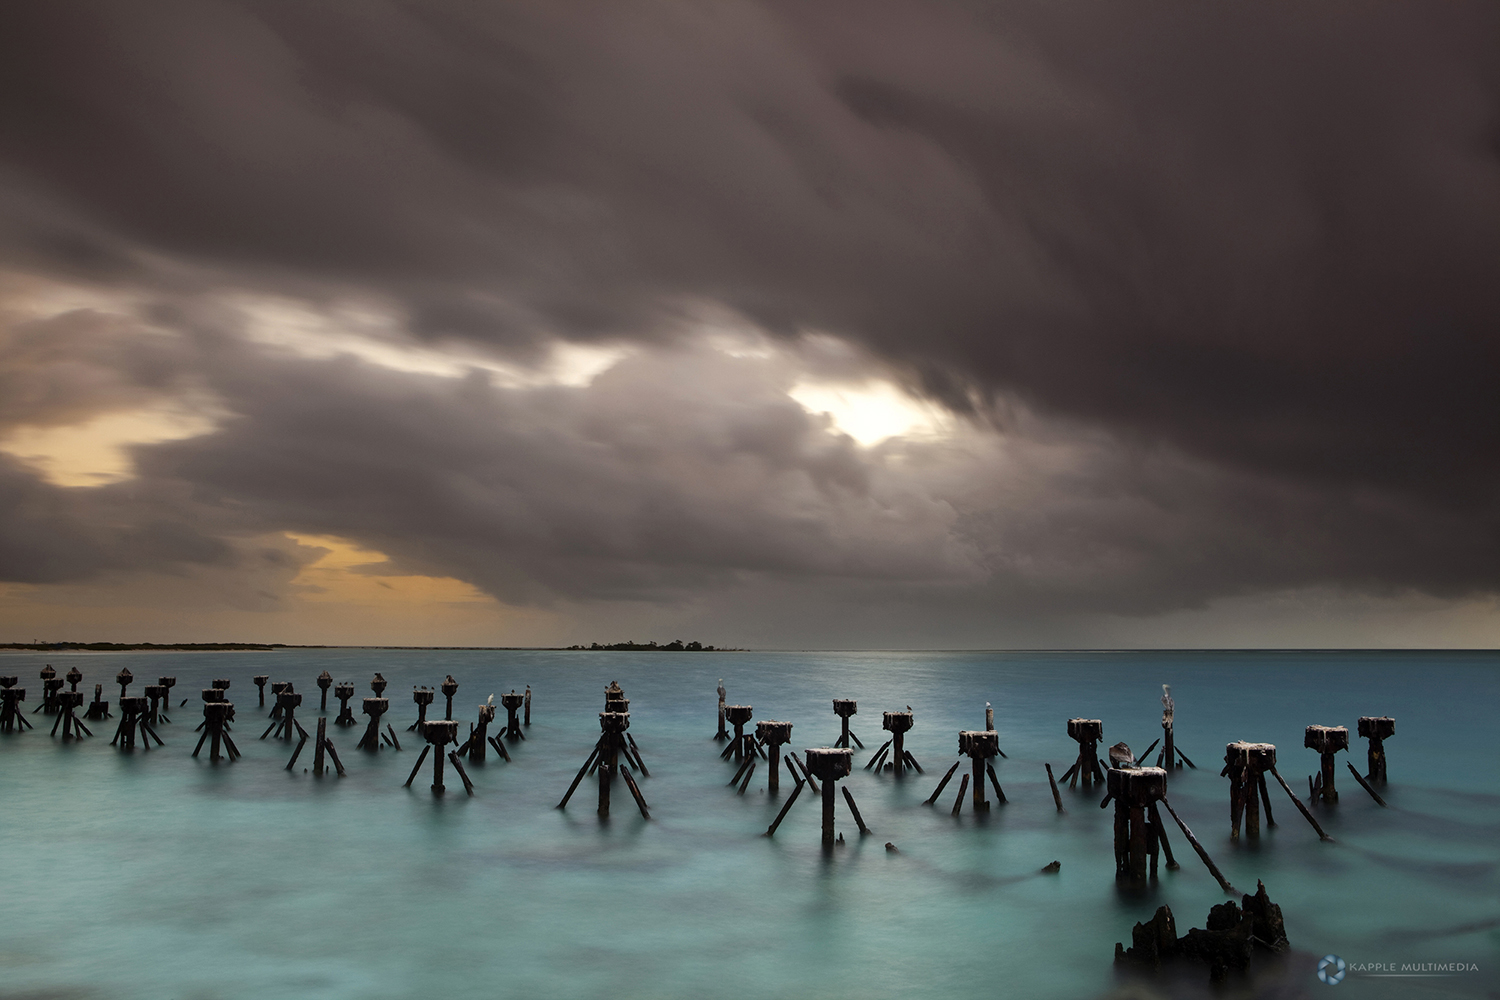
Fort Jefferson is a massive but unfinished coastal fortress. It is the largest brick masonry structure in the Americas, and is composed of over 16 million bricks. The building covers 16 acres. Among United States forts, only Fort Monroe in Virginia and Fort Adams in Rhode Island are larger.
Cannon Beach
Cannon Beach is so over shot I was also going to blow this place off completely. But with our trip schedule, we needed to be close to Portland the night before we were to fly out so this was our last stop.
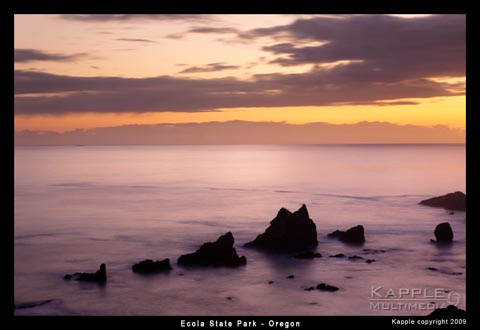
We hung out for the rest of the day in Ecola State Park and went into the small town for some food and drinks to wait on the sunset.
This night turned into the second best night as far as dramatic clouds and perfect light. So again, If I am going to be stuck shooting a scene that has been shot millions of times, I could not have asked for a more unique evening. Took some great shots here of Cannon Beach and other coastal areas along Ecola State park.
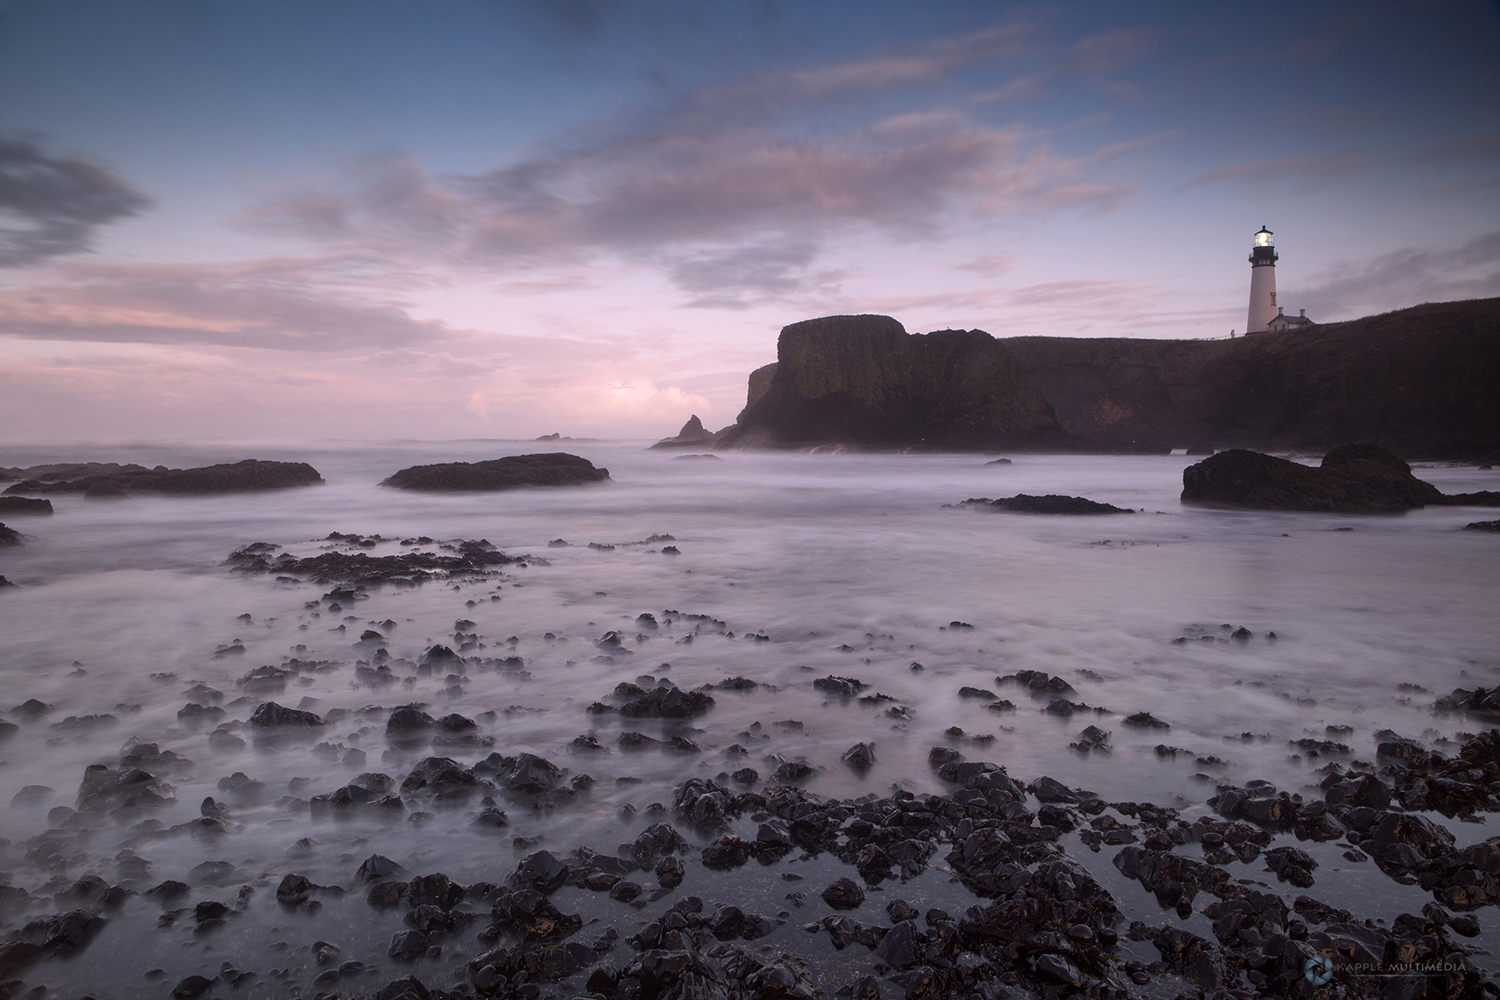
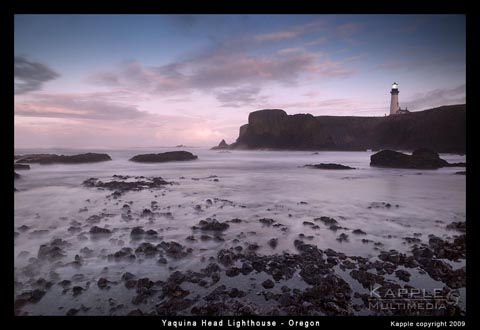
Yaquina Head Lighthouse
On two different occasions I made my way to Yaquina Head Lighthouse near Newport Oregon. On Wed. morning I headed out way before the sun was due. As I got there it was apparent that my sunrise would be a disappointment. But it was still so dark I could not really tell.
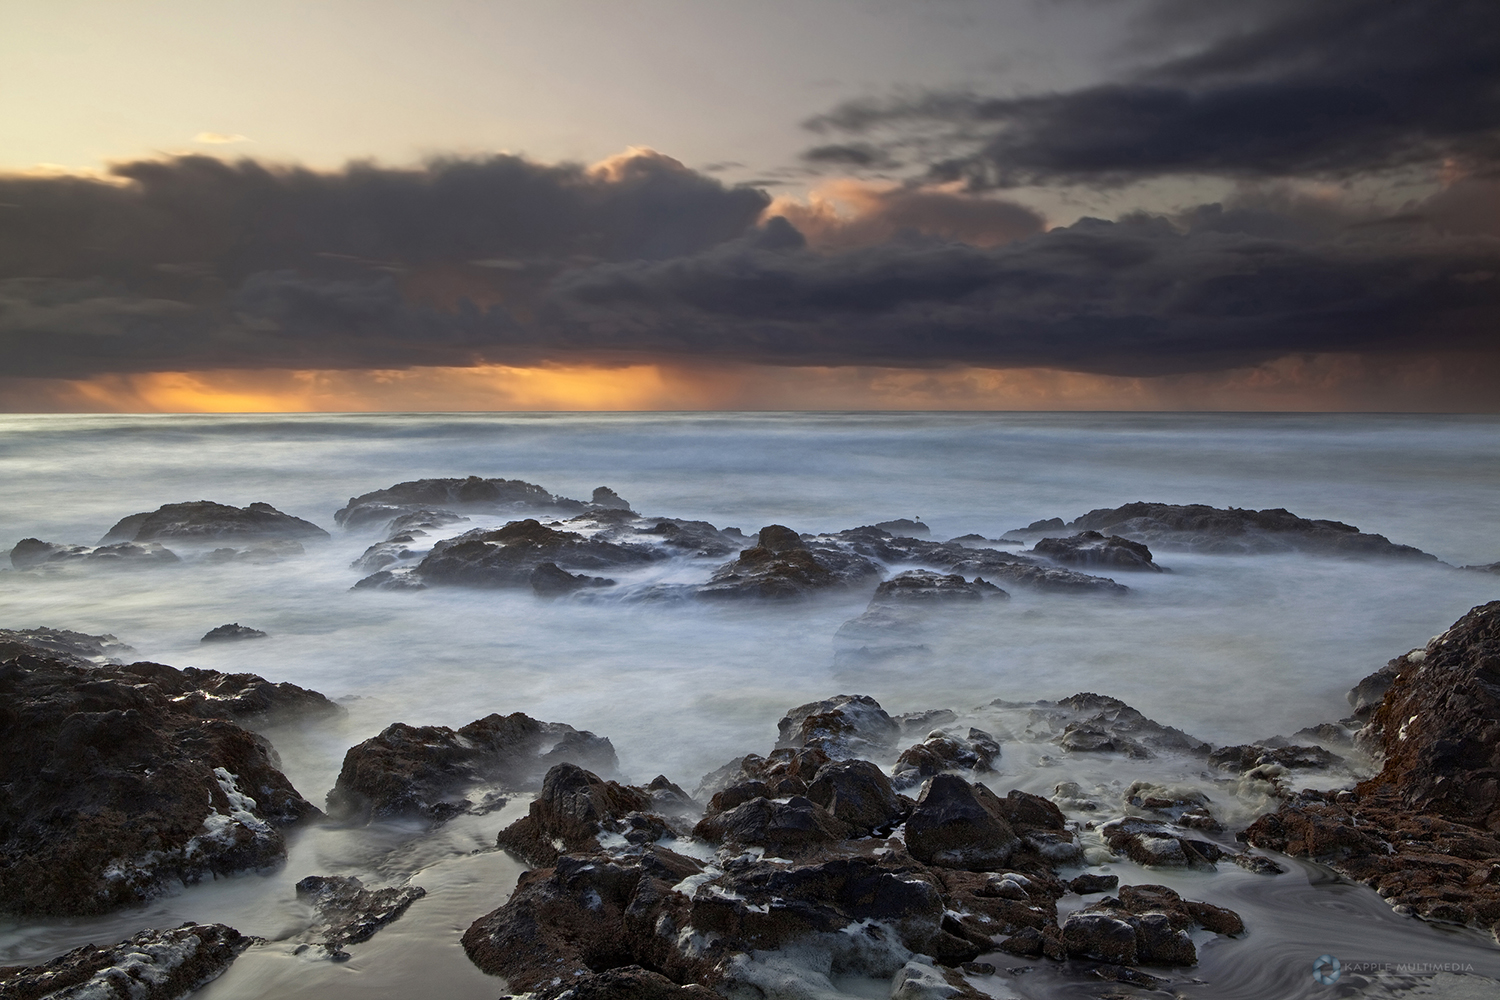
I climbed down the stairs along the cliff to the shore and then climbed a rock to compose my shot. It was then I could see a huge wall of rain coming my way. I pulled off several shots and it was becoming lighter outside and then could tell I was about to get really dumped on.
I packed up the gear and climbed down from my rock to beat it back to the car in time but no luck. It was a down pour by the time I reached the stairs. Made it to the car all wet and was a little disappointed but waited to see if it would pass. 30 minutes later I could see a break in the clouds out west and then it was showing this could really turn out to be a cool shot. Not my pinks and magenta’s I am usually after but it looked promising.
Seal Rock
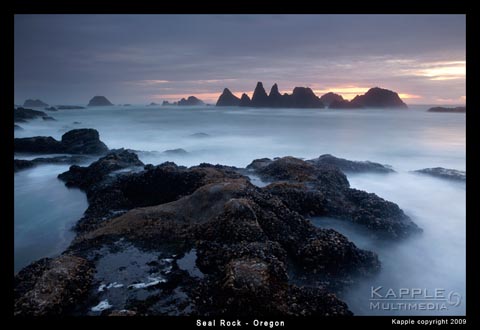
Seal Rock was initially a back up location for me to photograph. And am I glad I found and decided to shoot this place. It is not visited as much as the other locations and the evening sky was pretty good for our long exposures. Tim, Ray and I stopped by here a few times and had some great luck with the light and clouds. Great spot with large rocks off shore and smaller rocks I climbed onto during high tide to compose my shots. I have quite a few of them in the gallery. This is just north of Yachats and takes about 15 minutes to get there. I’ve used the Seal Rock location on most trips as a camping spot. RV camp site is located directly across the highway from Seal Rock, with direct access to the beach.
Cape Kiwanda
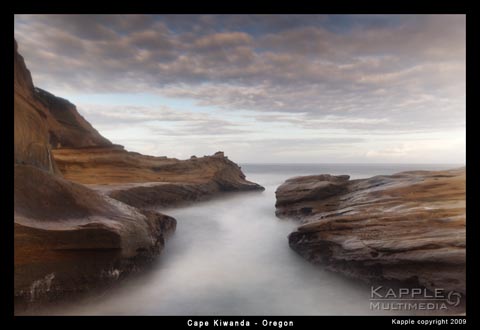
Cape Kiwanda is located near Lincoln City. This area offers a lot of different situations to photograph and is kinda tricky to get around.
Cooks Chasm and Devil’s Cauldron
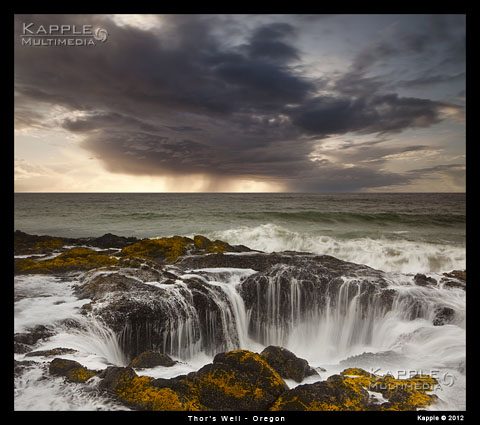
Cooks Chasm and the Devil’s Churn area is a great location. Not the typical sea stacks you are accustom to seeing along the Oregon coast.
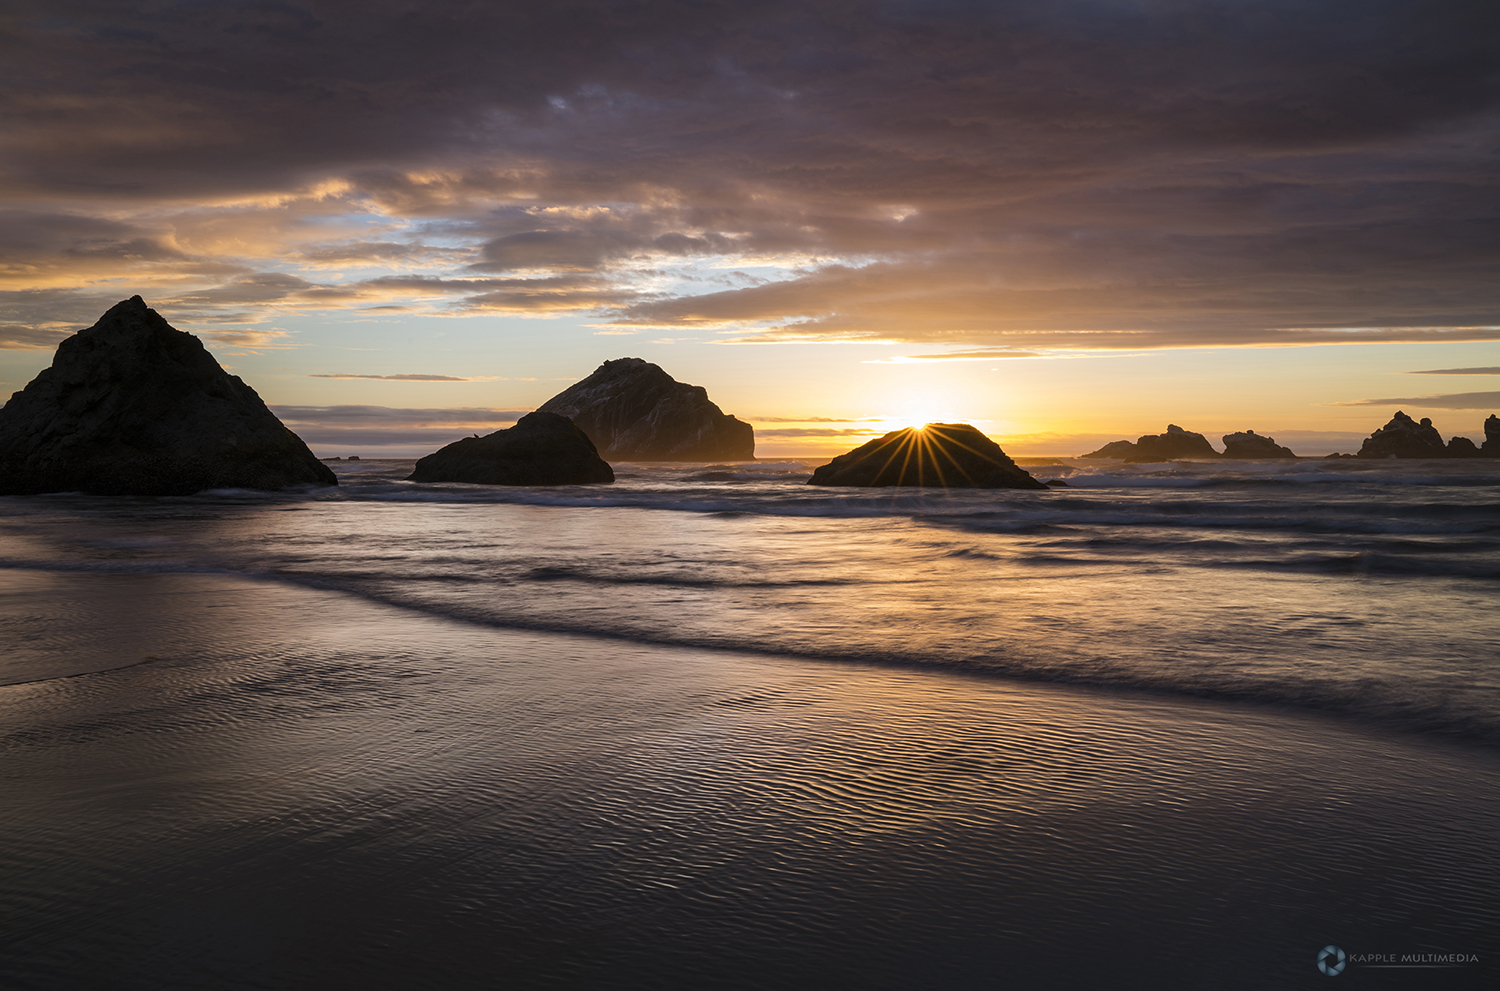
Bandon Beach
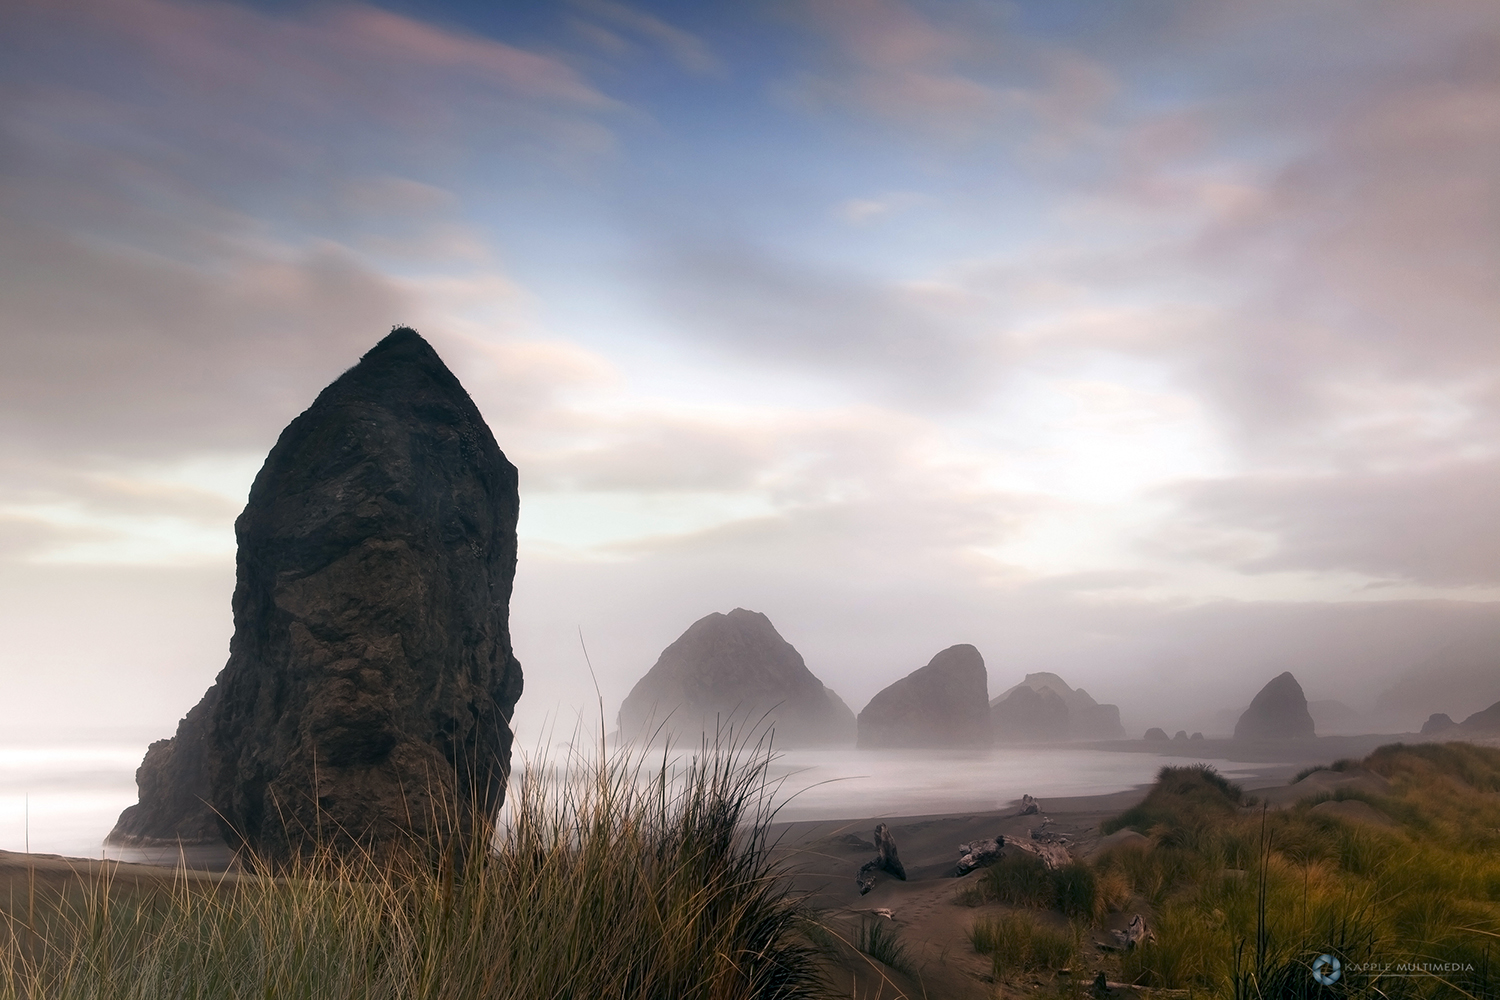
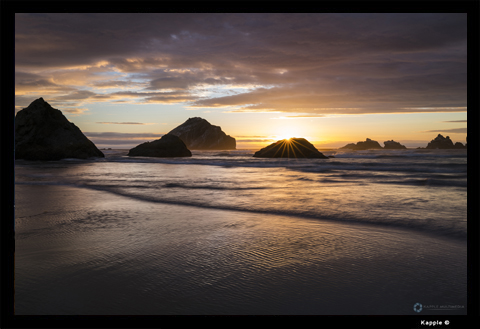
We flew into Portland late in the evening and drove all night to Bandon Beach. We arrived there about 3am.
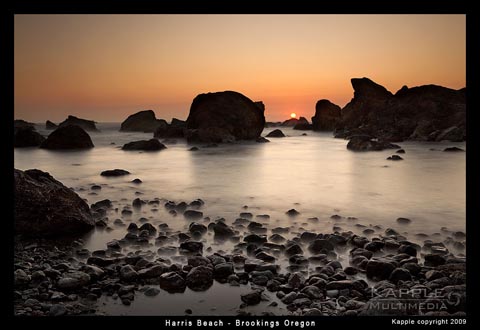
Harris Beach and Lone Ranch Beach, Brookings Oregon
We drove on to Brookings as we were staying at Whalehead Beach Resort.
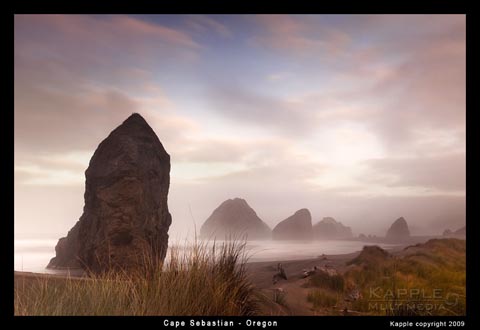
Cape Sebastian – Hunters Cove
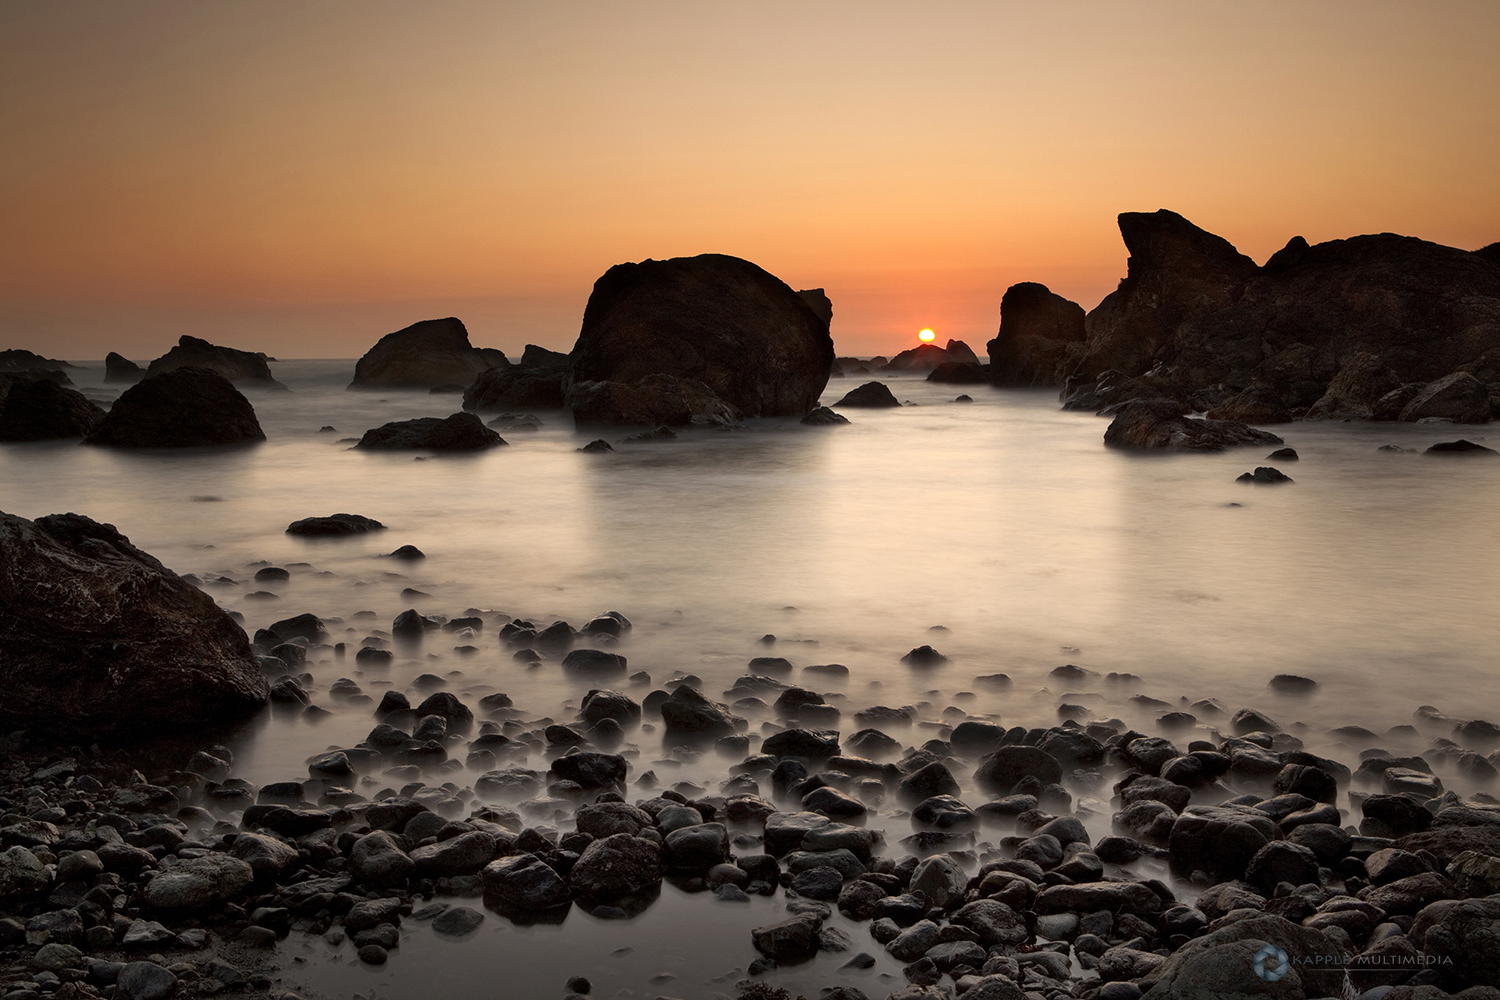
This was the area I was saving for the perfect sunset.
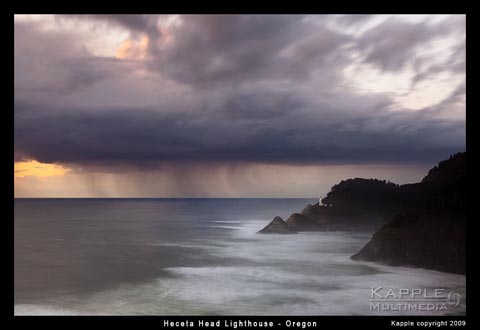
Heceta Head Lighthouse
Heceta Head Lighthouse was a location off hwy 101 just outside of Florence.
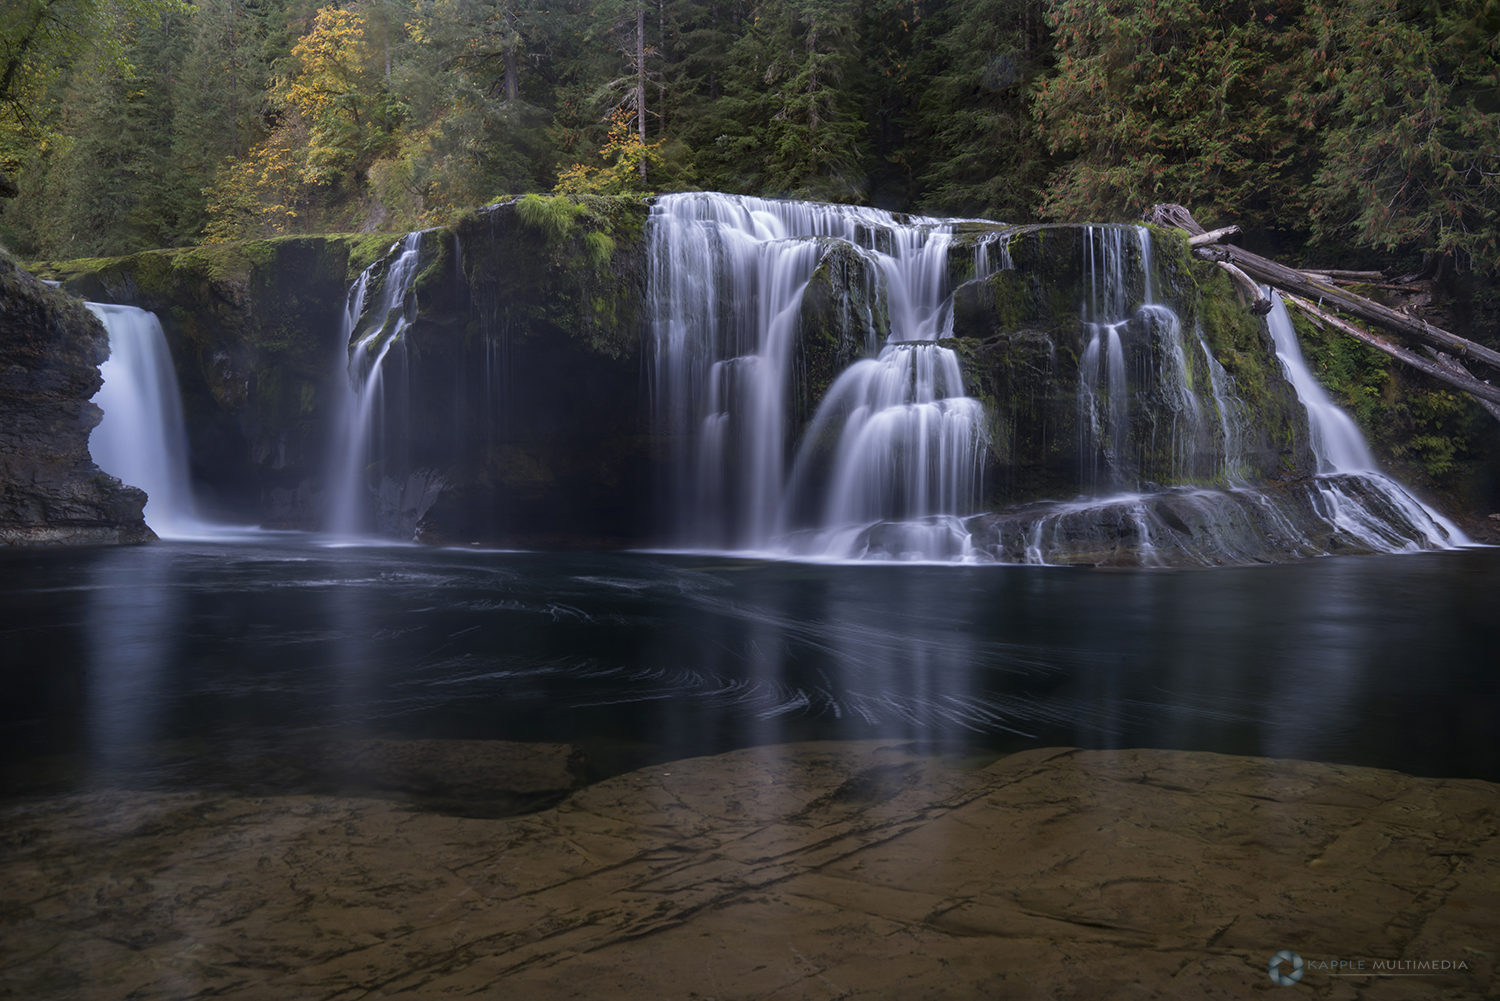
Panther Creek Falls
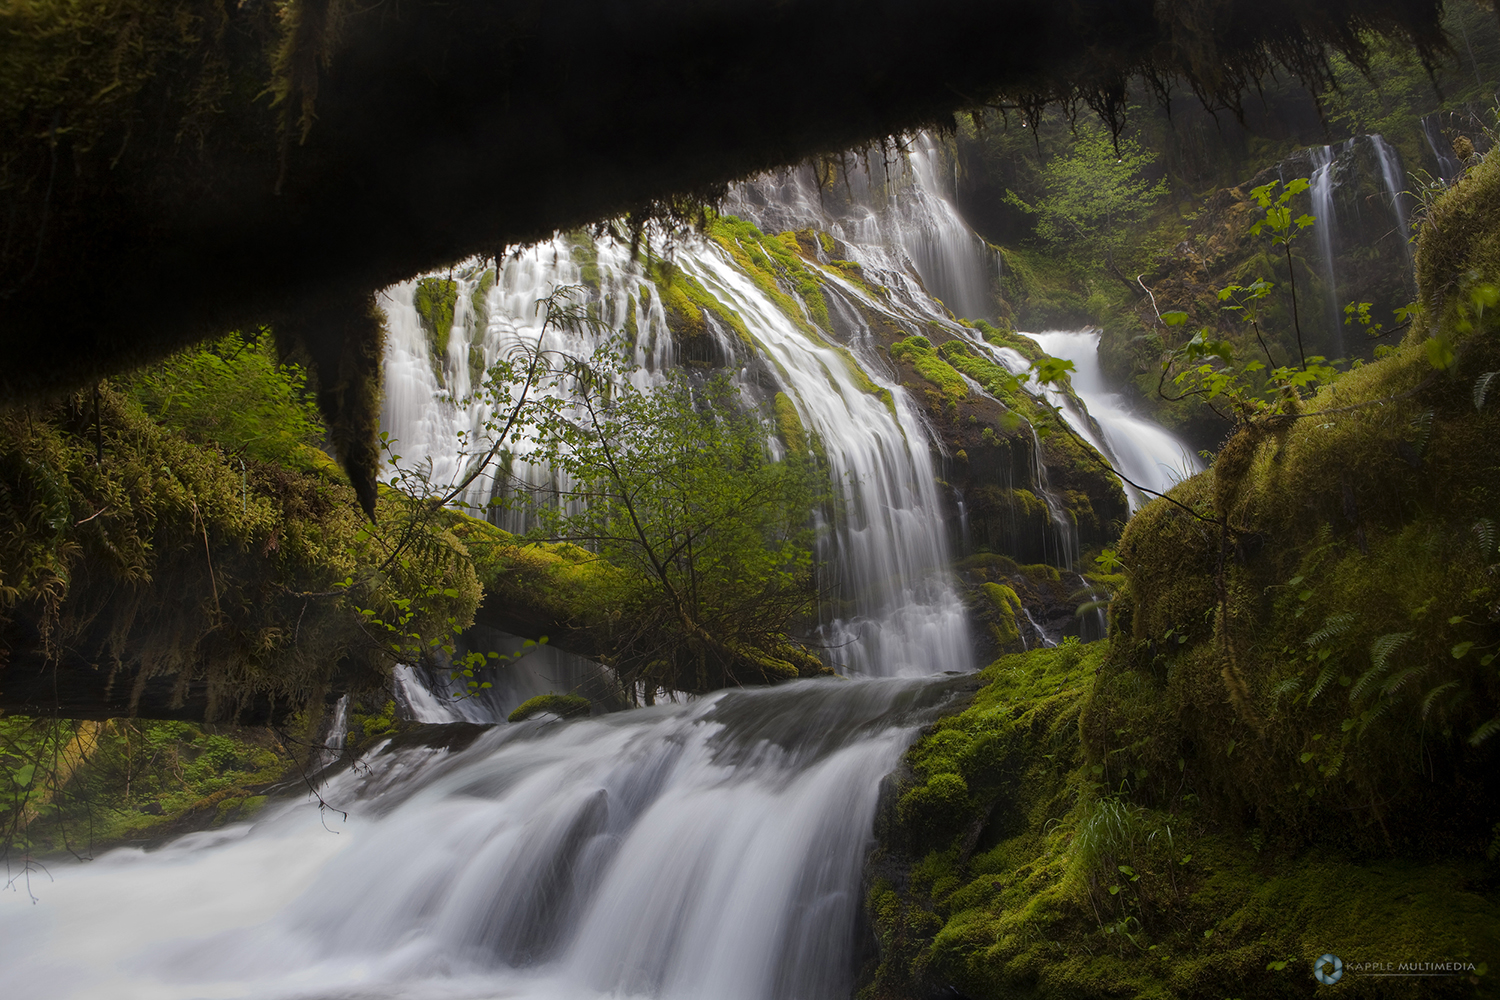
First up was Panther falls on the Washington side. A steep slippery decent into the valley presented us with challenges since this waterfall had two sections. And upper more picturesque series of cascades, then an even more dangerous decent to get to the base of the lower section.
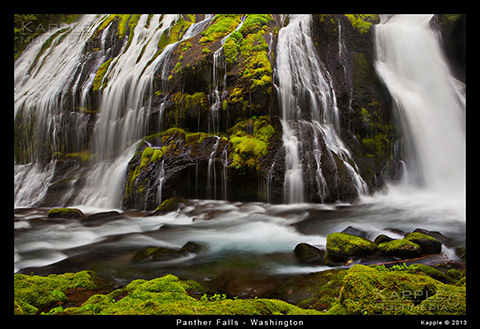
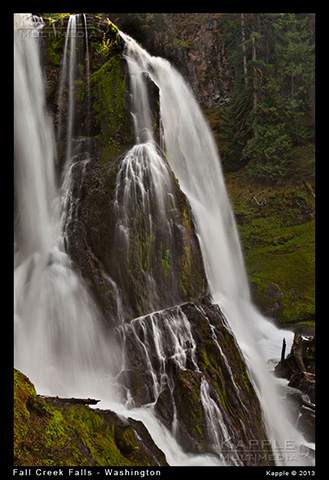
Fall Creek Falls
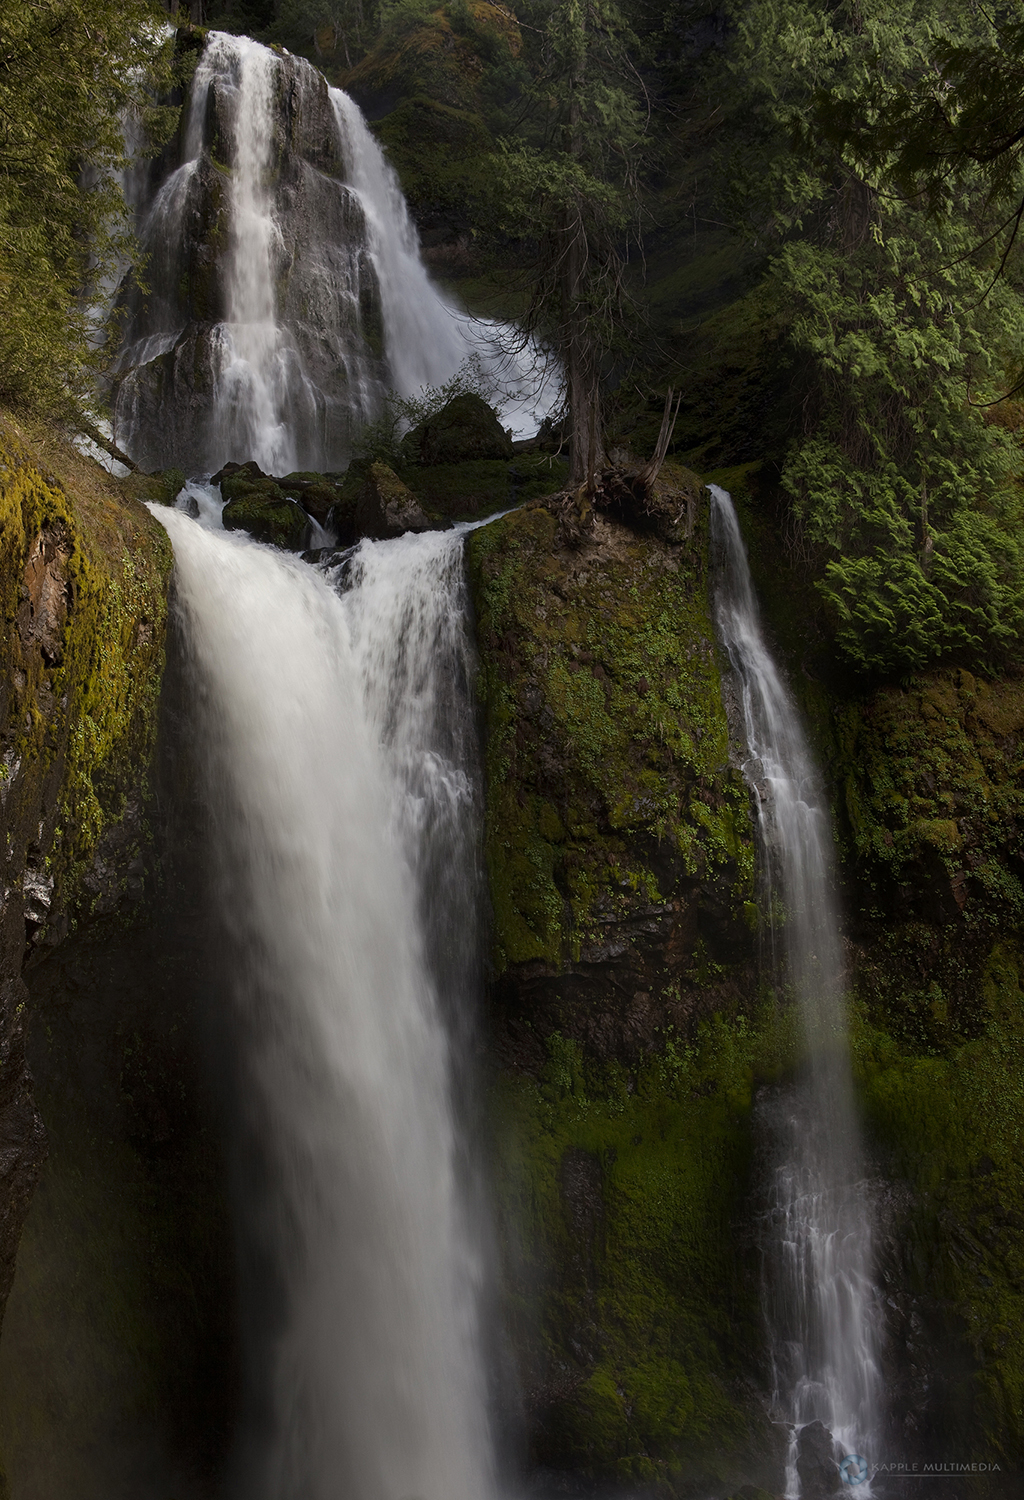
I was able to hit this location the same day. Still exhausted from the hike to Panther Creek Falls, this hike was a little more of a challenge. I had the bright idea to climb the steep hillside covered in dead pine needles which gave no footing at all, and used dead plants and tree branches to climb above the falls, then just slide my way down the hill to a perfect perch I saw to capture this perspective of this waterfall.
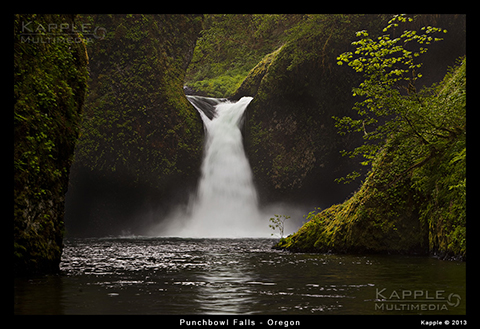
The Oregon Waterfalls along the Columbia River
The Waterfalls on the Oregon side of the Columbia River Gorge were much more accessible and easier to reach with a small amount of hiking in some locations.
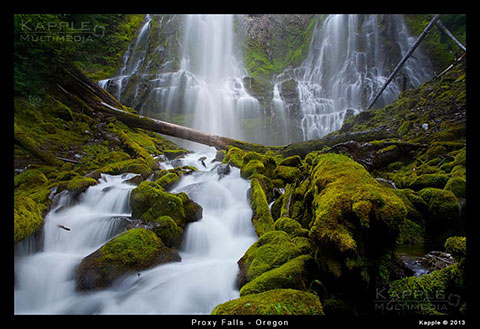
Proxy Falls
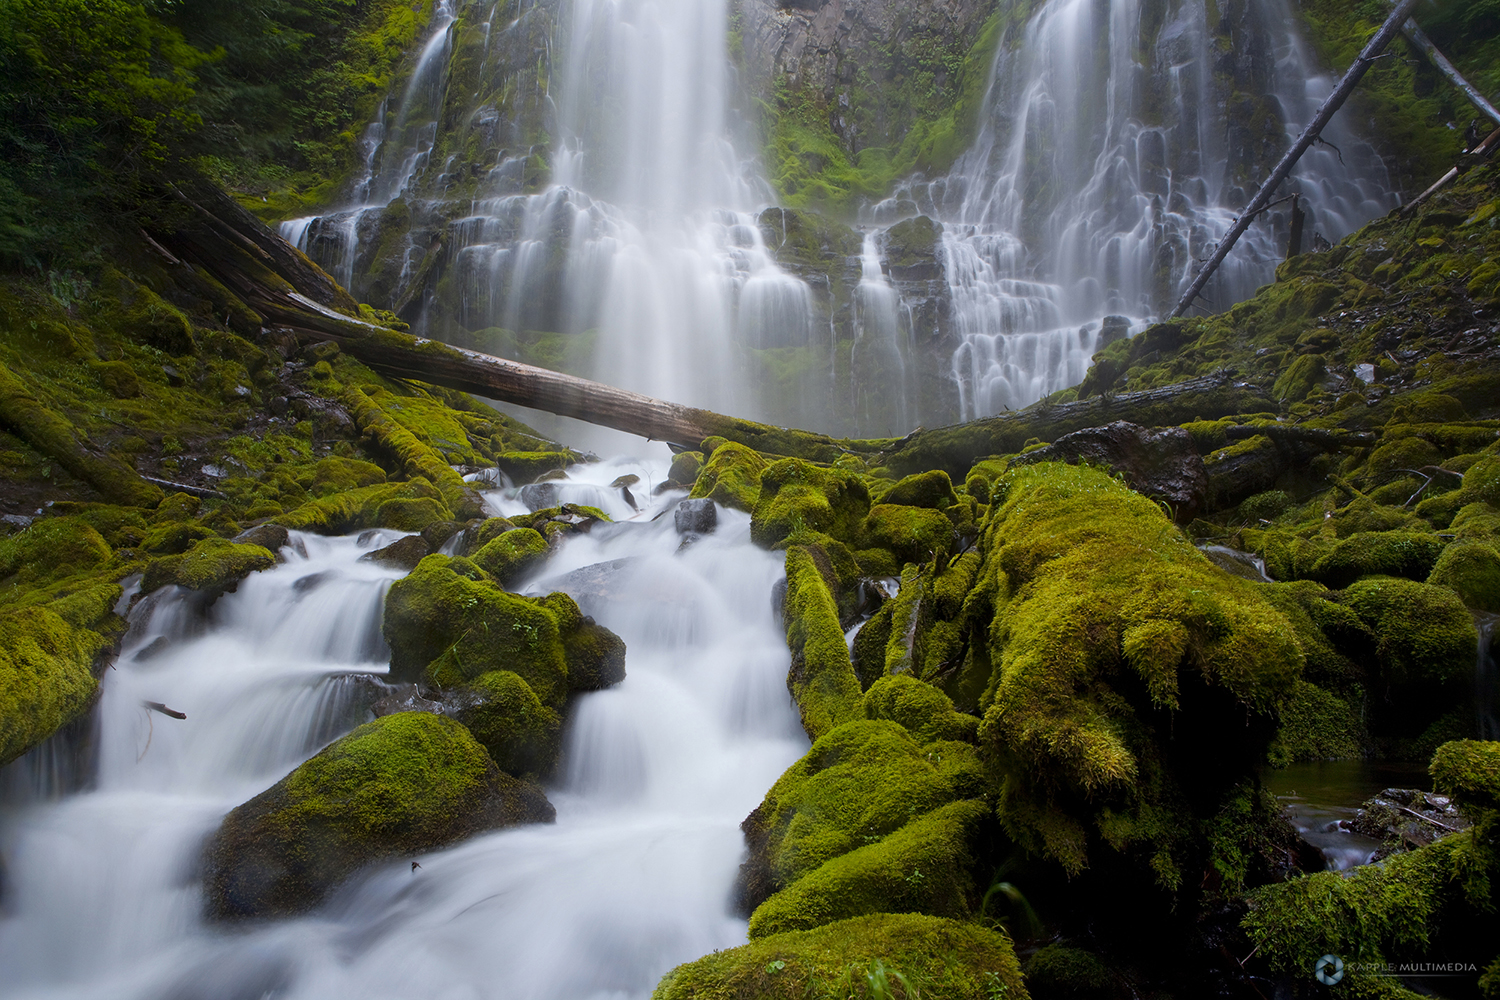
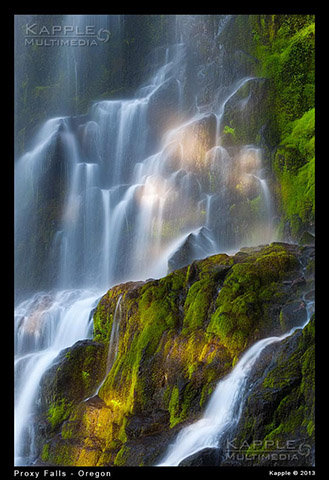
One of my other favorite waterfalls in the Oregon Cascade region is Proxy Falls. The one way loop trail located in the Three Sisters Wilderness, travels through open lava fields and dense forest, offering views of two different waterfalls. Proxy Falls is one of the most frequently photographed waterfalls in Oregon and rightfully so. You will have to endure heavy mist issues while down below getting that low angle shot, so bring water gear to help cover the camera and a cloth to constantly wipe it off. This waterfall is just over 226 feet.
Took a few weeks to explore the waterfalls along the Columbia River Gorge as well and more waterfalls in the Cascades of Oregon and far eastern Washington.
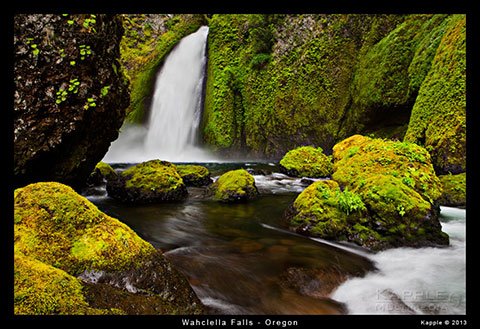
Wahclella Falls
The falls consist of two falls, dropping 48 and 79 feet through a narrow gorge covered in moss. The river below it is full of boulders also covered in moss and is one of the most picturesque scenes along the Columbia River Gorge.
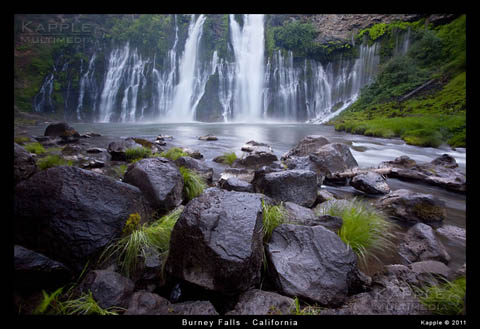
McArthur-Burney Falls Memorial State Park, Mcloud Falls, Hedge Creek Falls and Mossbrae Falls
Flew into Sacramento and headed north on I-5 just past Reeding and then took hwy 299 to hwy 89 to McArthur-Burney Falls Memorial State Park. Here is a link to their website to help you plan your own trip. http://www.burney-falls.com/
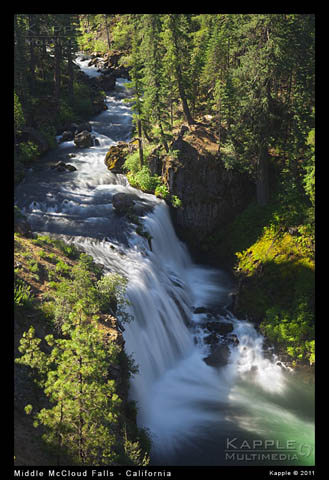
McCloud Falls area
41° 15.399’N 122° 1.806’W
These are the coordinates to the turn off from hwy 89 to see Lower, Middle and Upper McCloud Falls. Just follow the road and you will see signs telling you where lower falls is located. Then back track and go see Middle and Upper Falls.
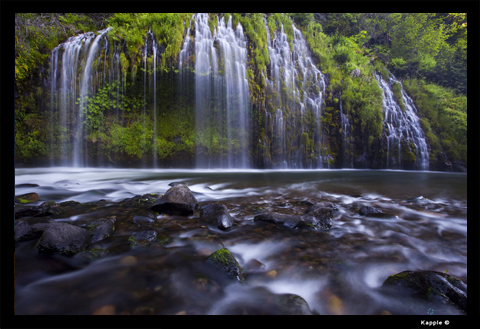
Mossbrae Falls
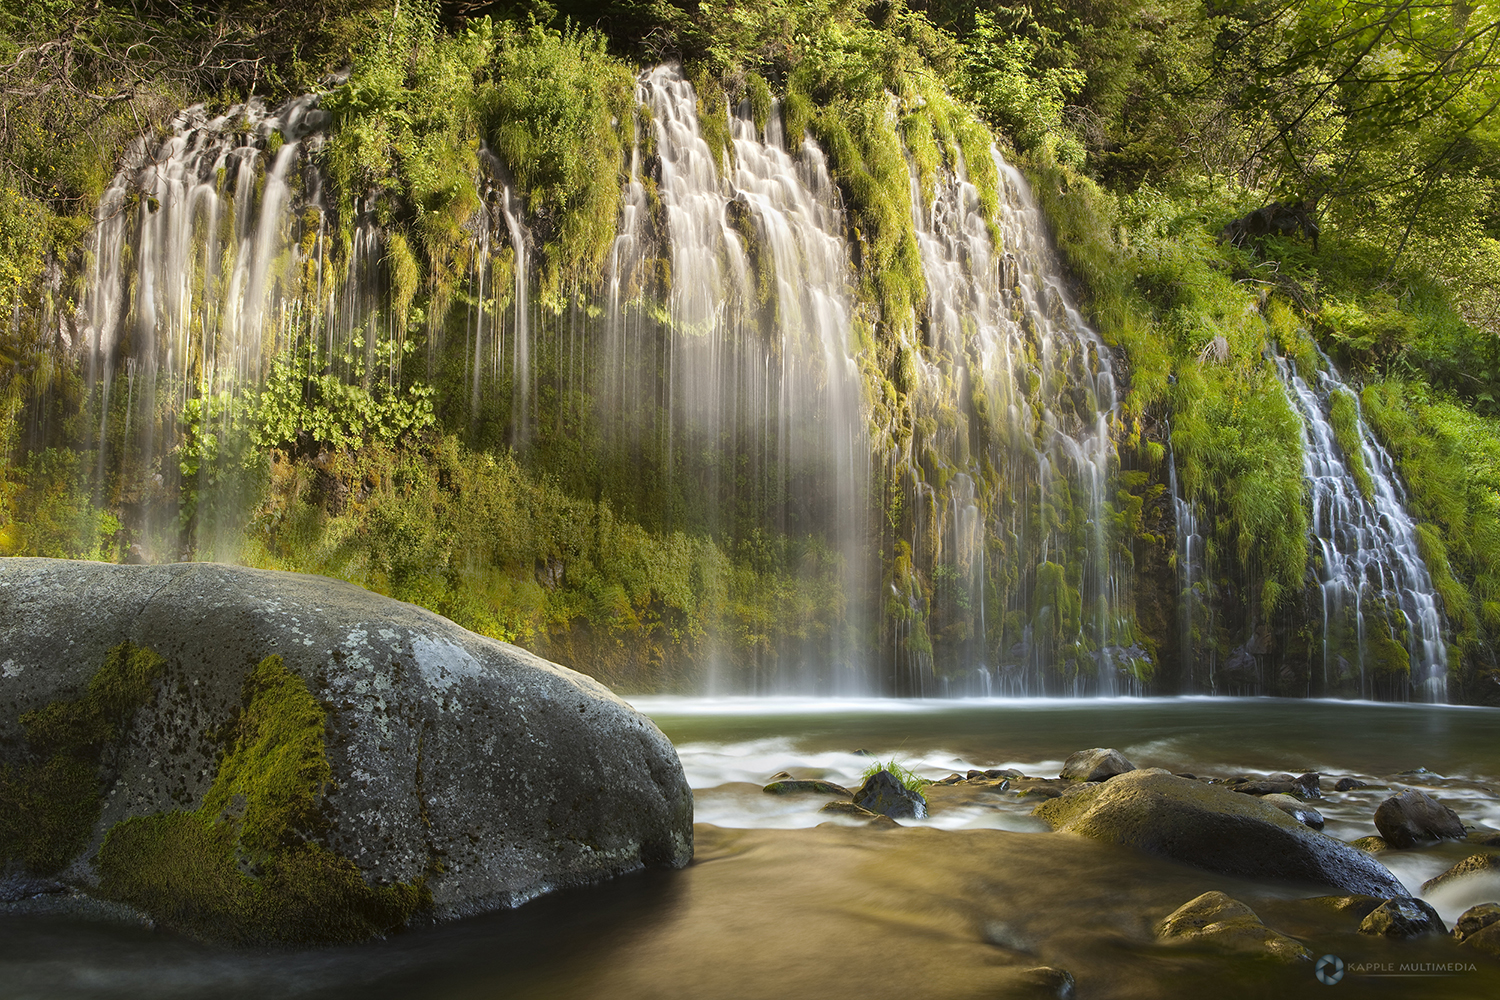
Lots of info out on the net to get to Mossbrae Falls in Dunsmuir, Siskiyou County. But I’ll give you the gps coordinates on where to park and where the falls are located. You will turn and head west on a road called Scarlet Way from Dunsmuir Ave and drive on over the bridge. Once over the bridge, pull over and park. Scarlet Way turn off gps coordinates are 41° 13.713’N, 122° 16.563’W. This road turns into Cave Ave. then Simpson Ave. but it is the same road.
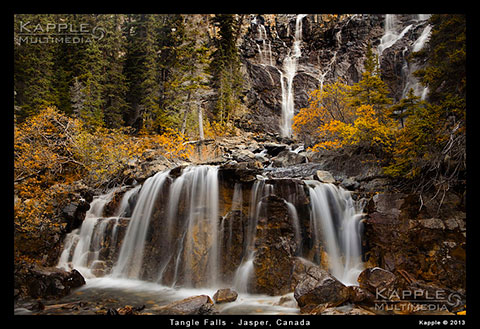
Tangle Falls
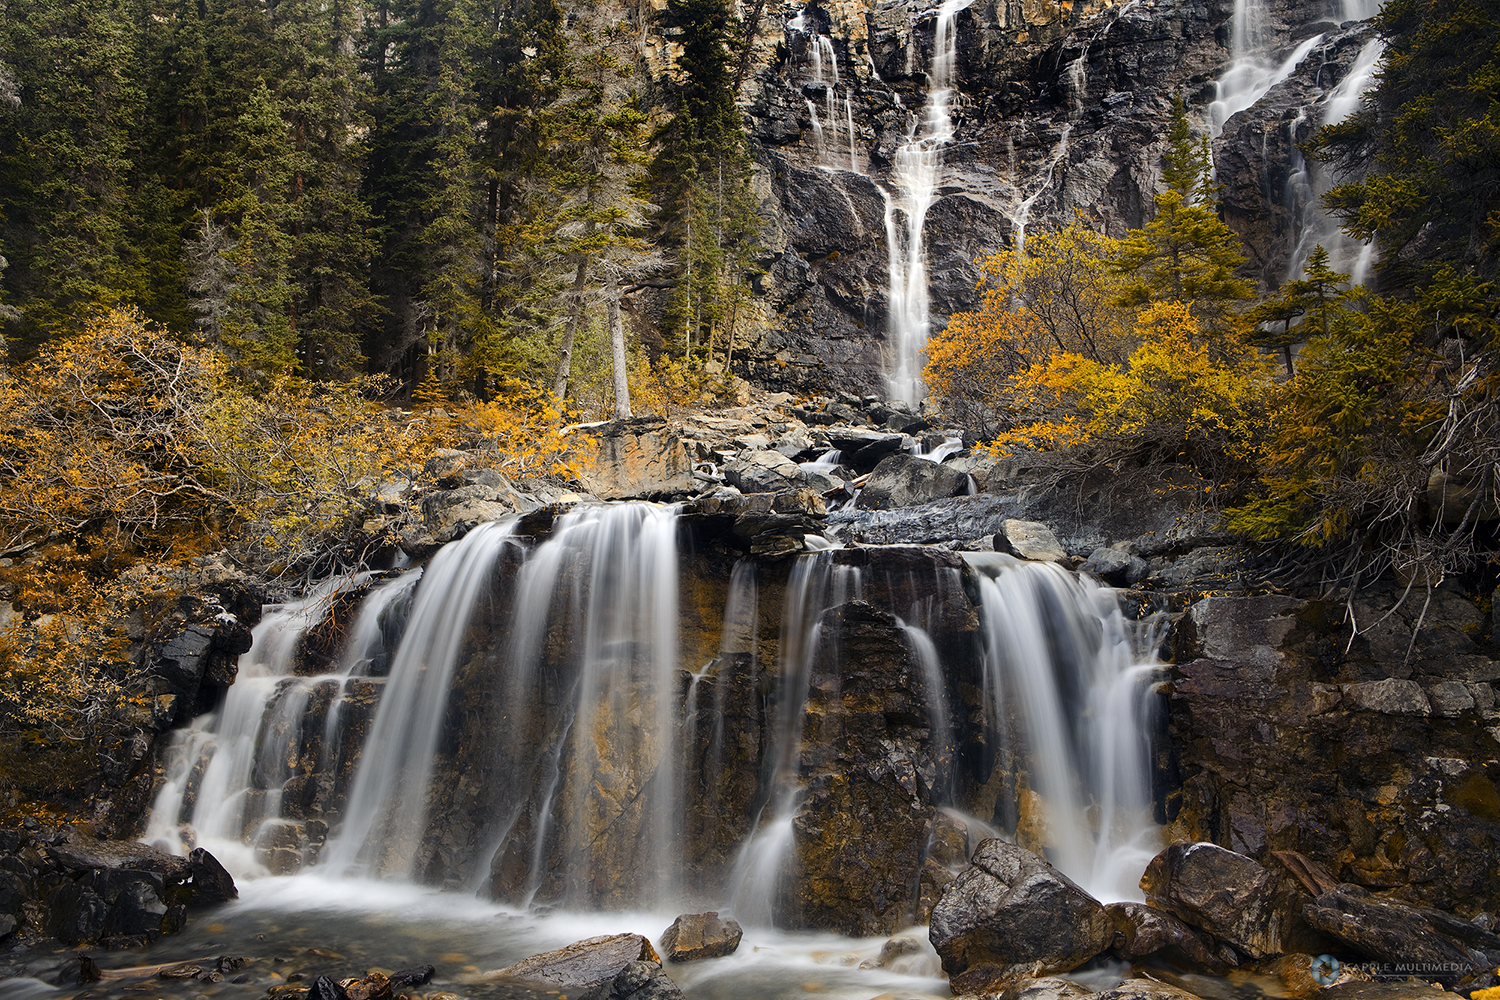
Tangle Falls is along Hwy 93 (Icefields Parkway). This waterfall is dramatic in it’s multitiered cascade that’s about 114 feet tall. It’s right off the highway and the easiest to see. Just outside of Banff as you enter into Jasper National Park a bit. This will be your first stop as you visit the numerous photo locations within Jasper National Park. I was lucky enough to photograph this waterfall during fall colors. It actually was snowing off and on during my trek into Jasper from Banff that day. Get here first thing in the morning to avoid the crowds.
N 52° 16.035 W 117° 17.197
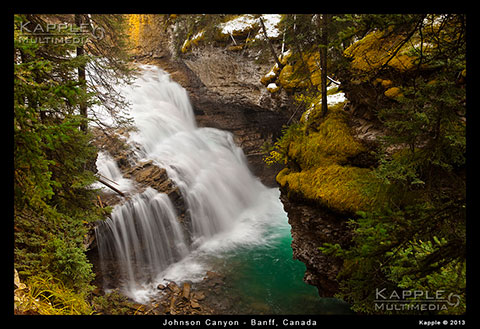
Johnson Canyon
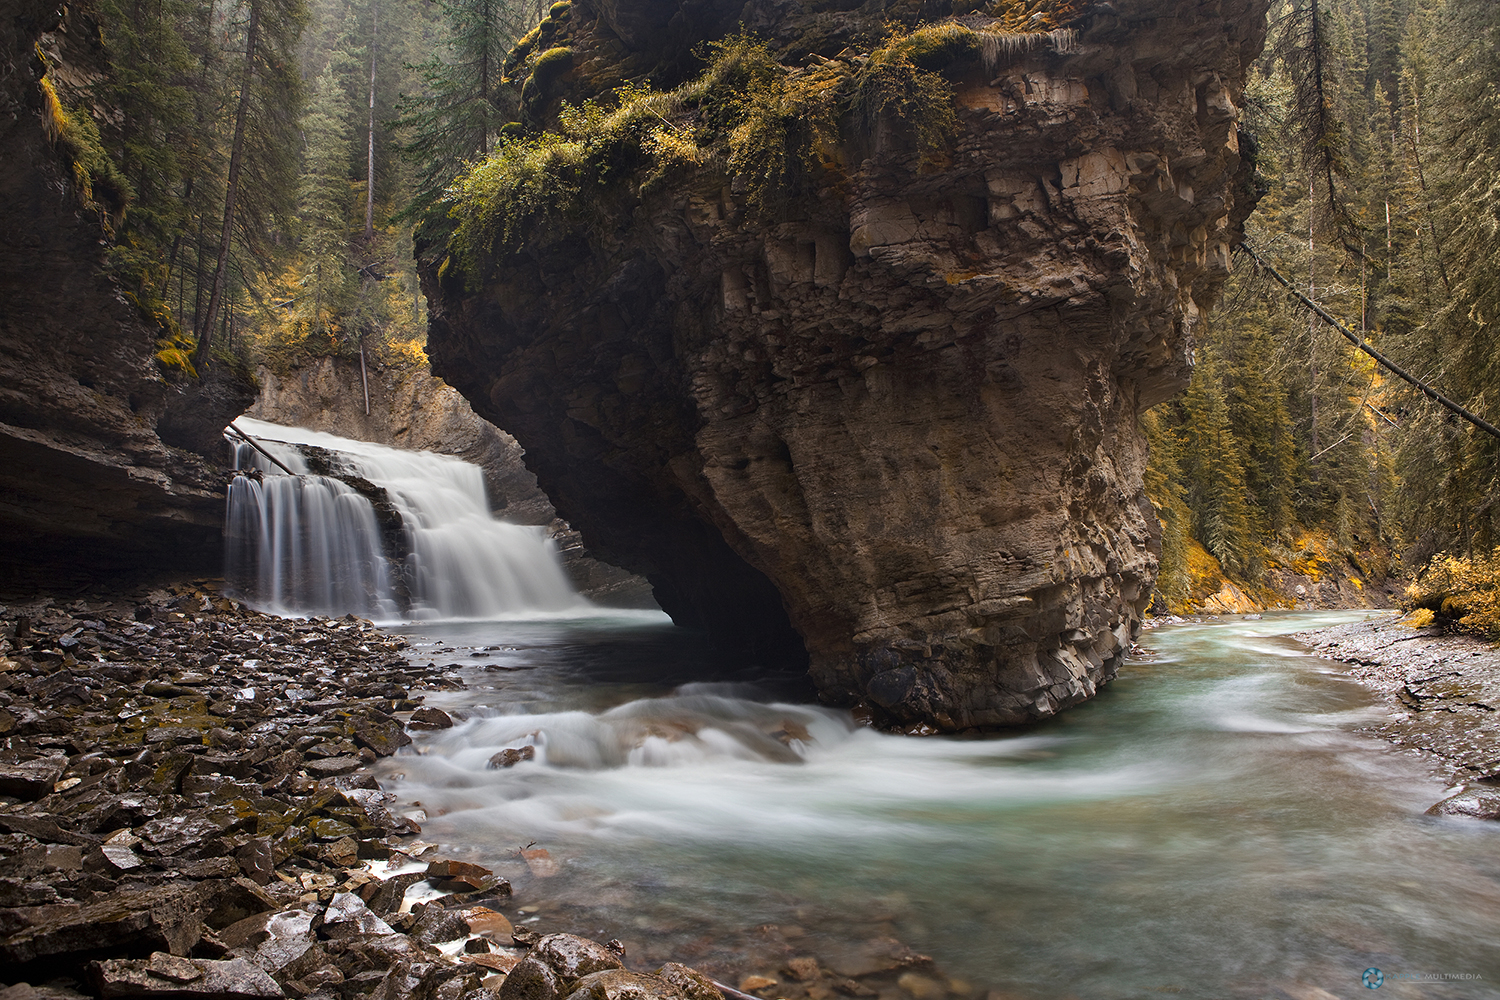
Some of the best waterfalls of the Rockies are located in Banff and Jasper National Park. Inside the Mountains Photo gallery, I have placed two maps there for people to download the best photography spots within these two parks. My favorite waterfall in Banff happens to be in Johnston Canyon in an area where you need to climb down below the overlook. It’s really not named but on the Johnston Canyon trail map, it is the waterfall between Upper Falls and the Lower Falls.
The image to the right is the actual overlook. You will need to back track a little and look over the edge to see the trail where others have gone down. It’s not very difficult at all for the extra effort to get the shot.
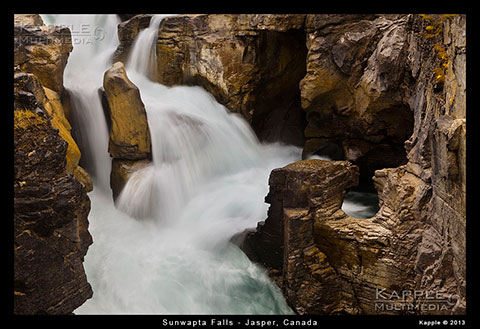
Sunwapta Falls
Located in Jasper National Park, Canada. It is accessible by a short drive off the Icefields Parkway that connects Jasper and Banff National Parks. The Sunwapta River where the waterfalls are located are just past the Sunwapta Falls Rocky Mountain Lodge at coordinates 52.532310, -117.645551.
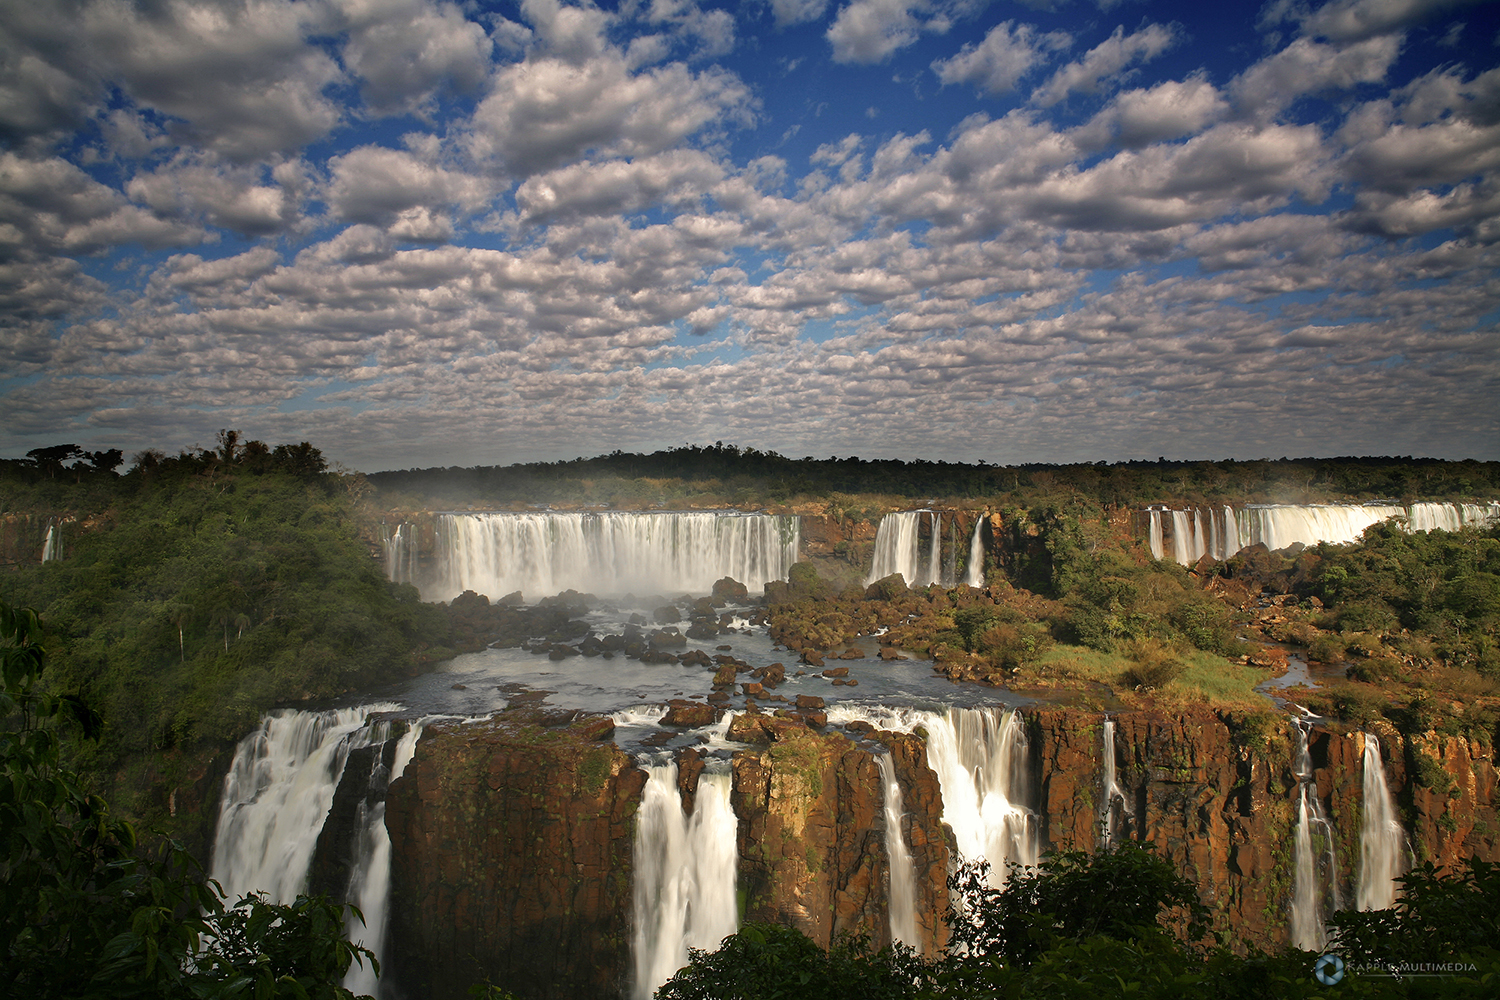
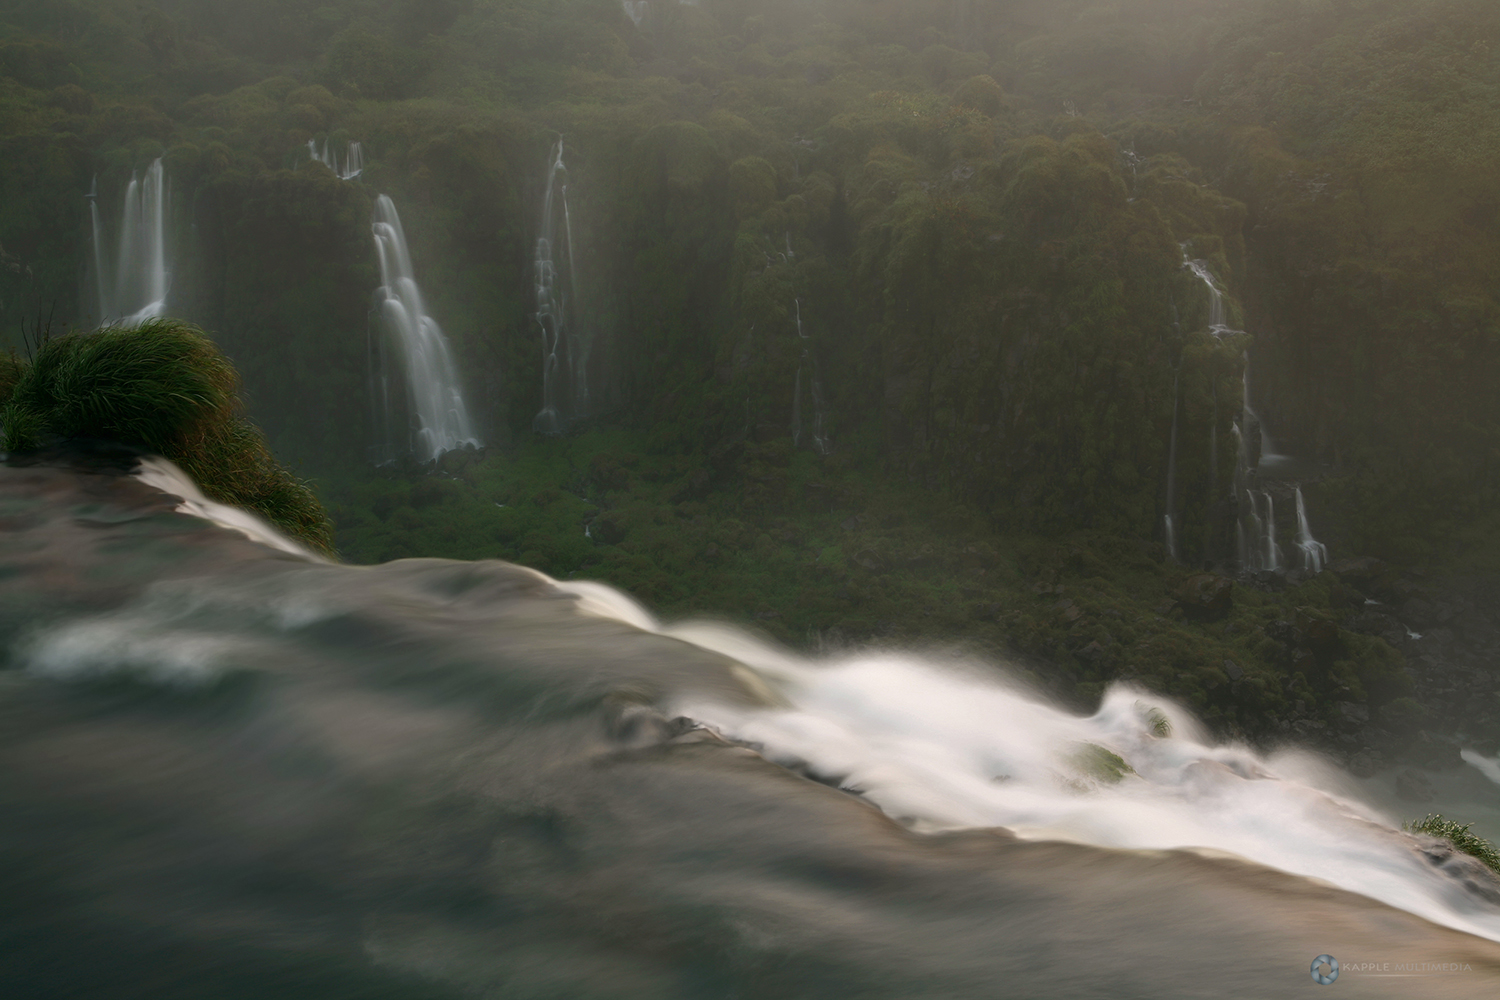
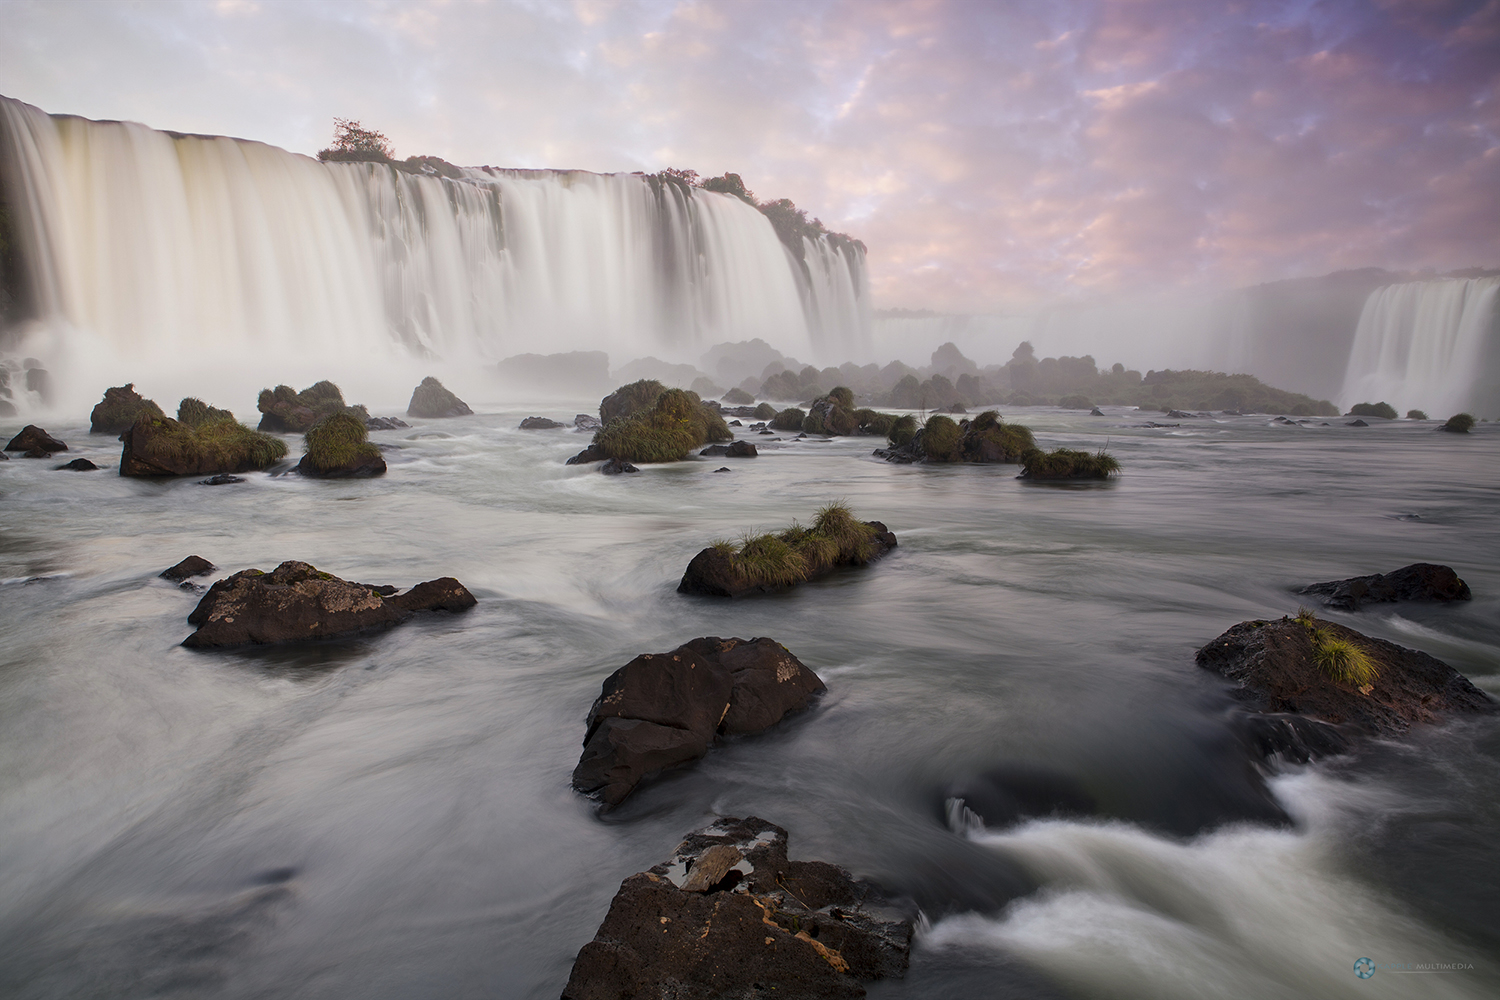
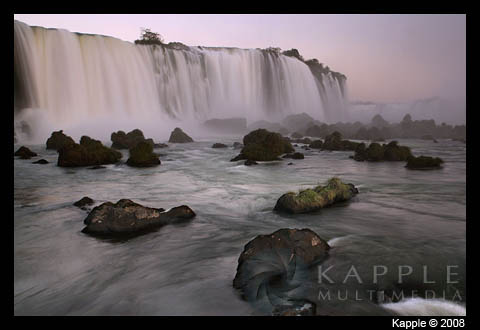
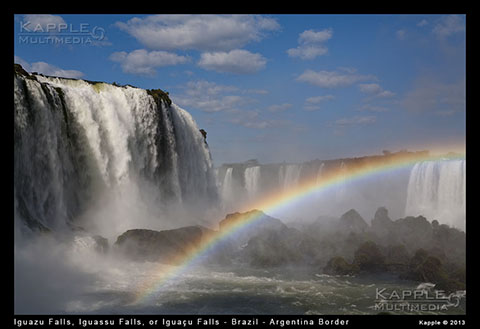
Iguassu Falls, Brazil – Iguazu Falls, Argentina (Iguazú Falls)
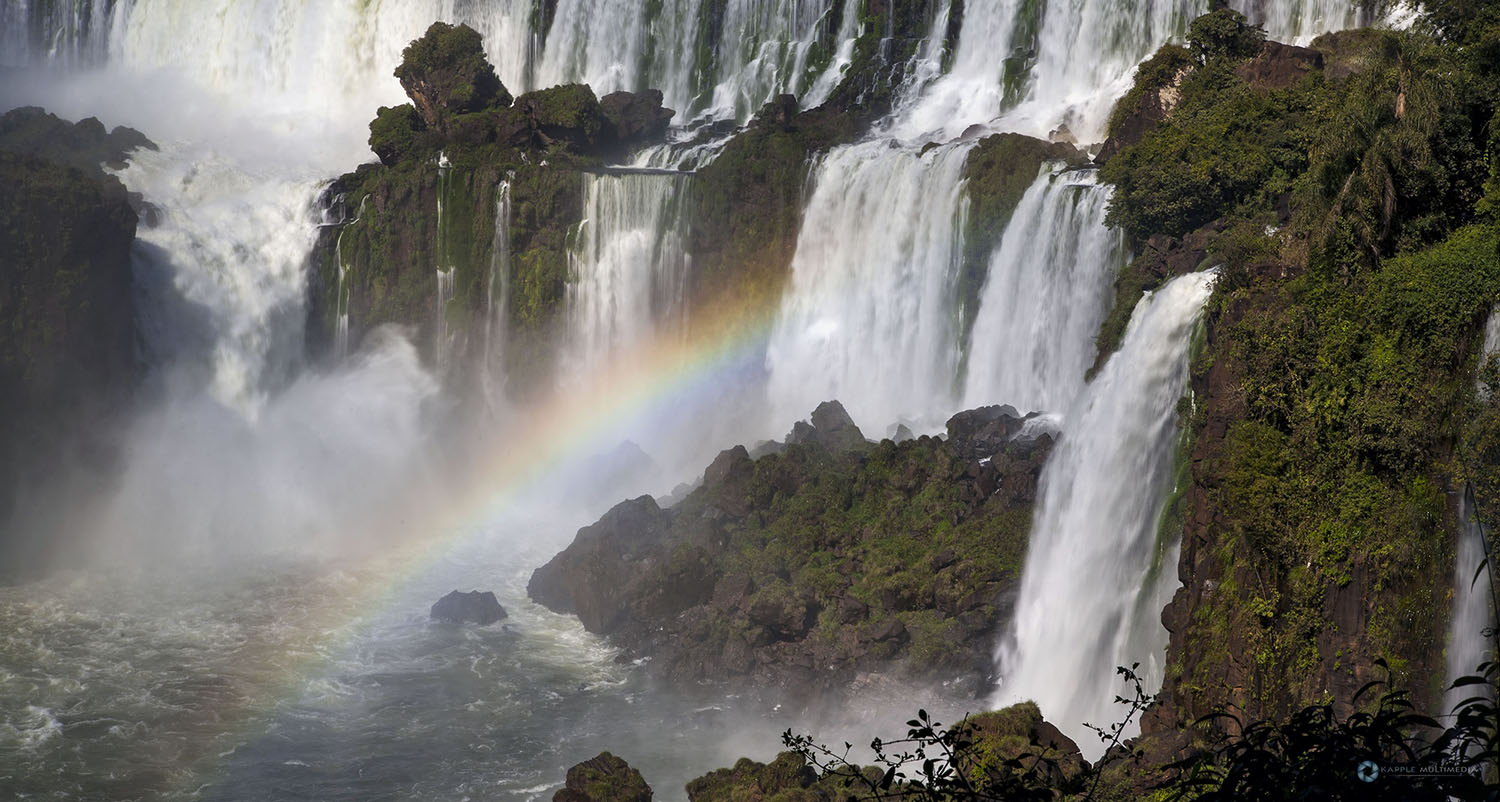
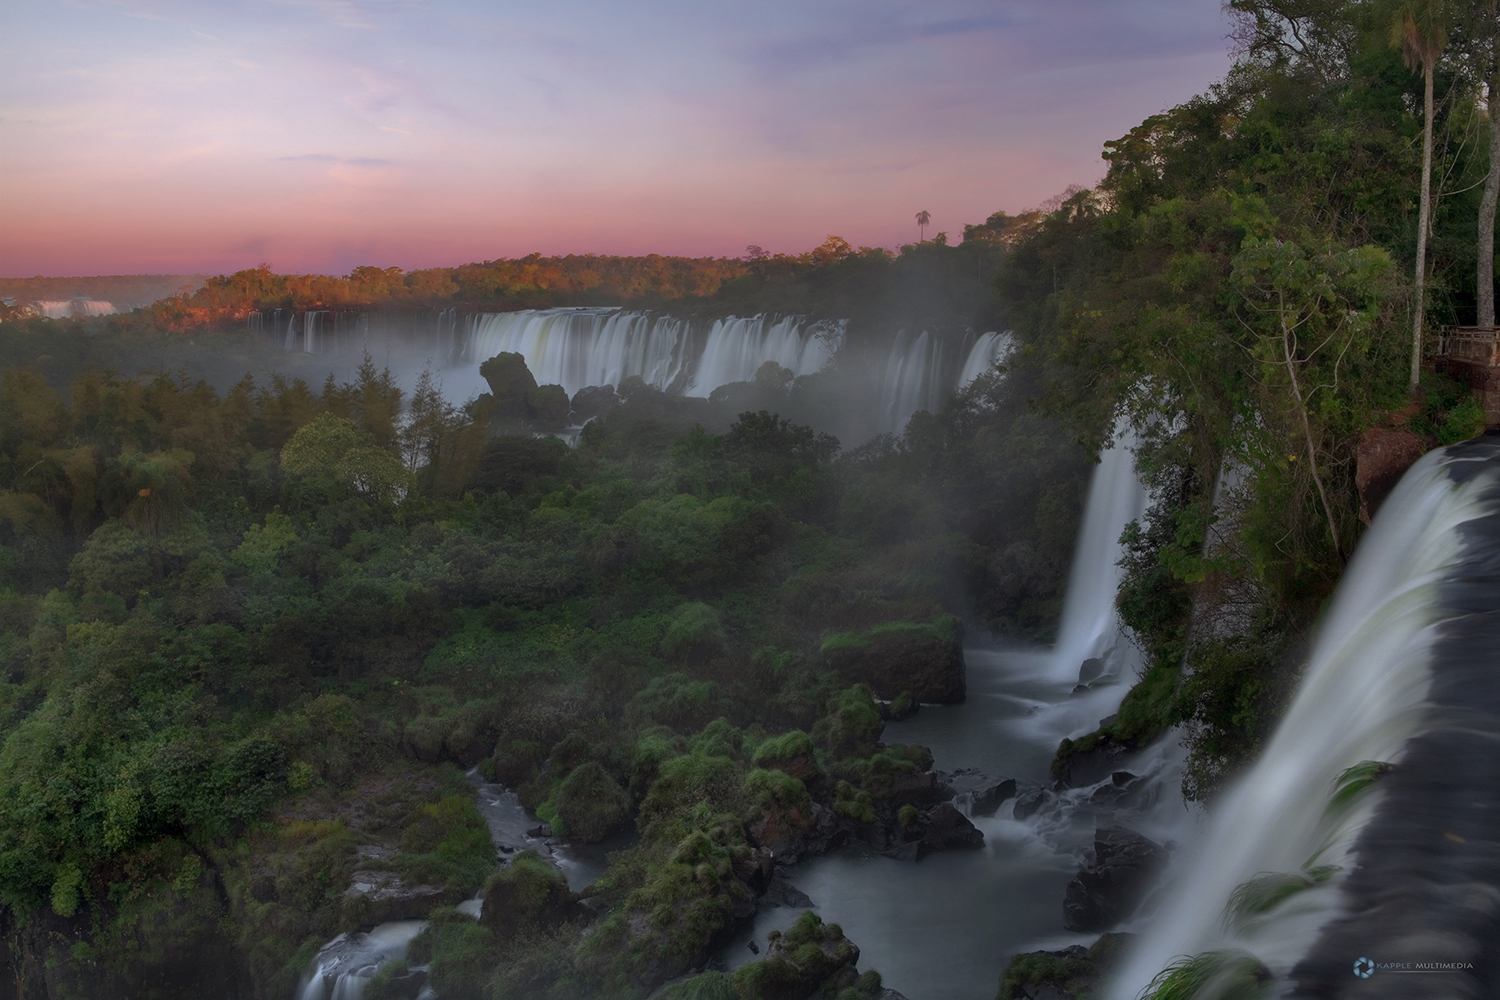
There are more than 270 falls in an area where cliffs and islets are scattered in a half moon shape. In guarani language, the term “Iguazú” means “great waters”. It was discovered in 1541 by Alvar Núñez Cabeza de Vaca and established in 1984 as Natural World Heritage Site by UNESCO. The Brazilian spelling is Iguassu and the view from the Brazilian side is panoramic. Concrete walks start in front of the Hotel Das Cataratas and zig zag their way down until coming to the boardwalk that takes you to the end of Devil’s Throat for a view back into the “throat”.
The Spanish spelling is Iguazu and the view from the Argentine side is mainly “up-close and personal” with walks along the tops of the falls, along the bottom of the falls and to the very edge of the back of Devil’s Throat.The falls can be reached from the two main towns on either side of the falls: Foz do Iguaçu in the Brazilian state of Paraná, and Puerto Iguazú in the Argentine province of Misiones.
We stayed in Foz do Iguaçu on the Brazilian side at a hotel called San Martin which was only 500 meters from the park entrance. I do not recommend this hotel due to the poor staff that runs this hotel but that is another story. We stayed there only because of the close location to the park even after reading the numerous negative feedback this place has received.
The climate of Foz do Iguaçu is sub-tropical, with two seasons; one humid and hot in the summer and another, dry and cool, in the winter. We were there in the winter month of July and the temperature was a perfect 70 degrees. A perfect break from the humid 110 degrees we have during the summer months in Texas.The city’s annual average temperature is 23.8°C (74.8°F), but can be as high as 47°C (117°F) in the summer (highest) or as low as -5°C (23°F) in the winter (lowest). The average in the summer is 26.5°C (79.7°F)and in the winter 15.4°C (59.6°F).
Many people have asked which side I liked the best. For me as a photographer you should not neglect seeing each side of the falls. As mentioned above, the Brazilian side has all the panoramic shots.
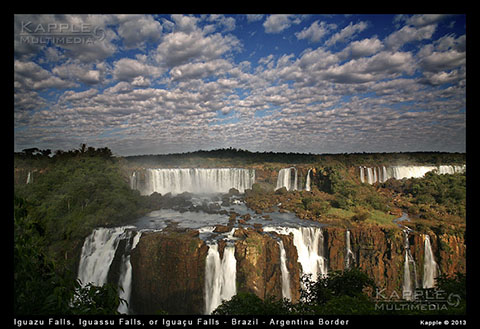
The Argentina side has all the up close and personal shots. You would be doing yourself a huge disservice if you skipped out on either side.
The parks are not photographer friendly though. They open up at 8am and close at 6pm. So forget getting that crack of dawn shot. And unless you go in the winter time, you will not be getting that perfect light for sunset. I was pushing it getting my shot and the park ranger eventually ran me out of the park. I was the last one to leave. I did not fly thousands of miles and spend thousands of dollars to take crappy shots with poor light. So I had no problem pushing it right up past closing time.
If you want to avoid this you will have to splurge and spend the extra money and stay at the Sheraton on the Argentina side or the San Juan Hotel with in the park on the Brazilian side.
I will do this next time I go. And I do plan on going back. My trip to Iguazu Falls this time was a gutsy one. I rented a car and drove from Sao Paulo to Foz do Iguaçu. Took us around 19 hours of driving mostly single lane highways and over $100 worth of toll roads. Brazil does not have a rail system like America so they have crappy semi trucks clogging the highways that you will be fighting with over the entire trip.
My advice is to fly into Foz do Iguaçu and rent a car there if you want the independence of driving yourself to the Argentina side. Otherwise you will pay dearly for a taxi and it will also cost you time.
