DESERTS |CANYONS | MOUNTAINS | FORESTS

Desert Landscapes of the Southwest

Traveling the Grand Circle, American Southwest Landscape Photography and GPS coordinates

Exploring the American Southwest Landscape through Photography. Where will you be coming from? From this point I will write as if you are coming from the east via I-40. I have been to the area 13 times over the last thirteen years. I think it’s impossible to see everything in one trip. But if you have two weeks you could stand a chance to see a lot of it. Some points of interests on the map below are clickable and will take you to the individual photo galleries. If you would like directions to some of these places, just like my facebook page and send me a message. I will reply back to you with directions and or GPS coordinates. I usually will either come up hwy. 191 from I-40 past Canyon de Chelly, or exit hwy. 371 and go to the Bisti Badlands. From there I will cut up to Farmington and take hwy 64 to hwy. 191 and head north. Since I have done the trip so many times I usually skip Monument Valley and head straight for the Canyonlands Needles District. Then on to Moab to visit the Arches national Park, Canyonlands Island in the Sky area and Dead Horse Point State Park. But later on in this story I will make some good suggestions of other hidden or off beaten places to visit along hwy. 191 as well. You can easily expect to travel 1200 miles during your round trip of all the national parks in Southern Utah and areas in Northern Arizona alone. So I think it’s always good to plan the trip out well in advance knowing I usually change my mind as soon as I get here depending on the weather and sunlight. Being a landscape and nature photographer, the perfect light I seek will take precedence over me seeing everything since I know full well which ever trip I am on will never be my last here. I keep coming back usually year after year since I was bitten by the bug on my first trip to the area in 2000.
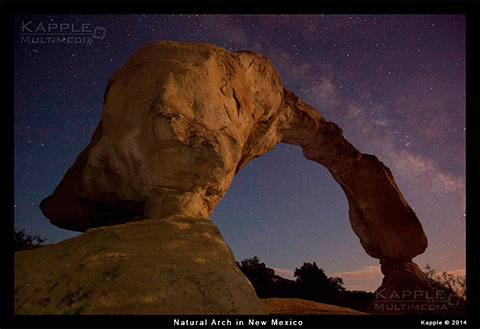
Cox Canyon Arch, Aztec Arch

Cox Canyon Arch, Aztec Arch

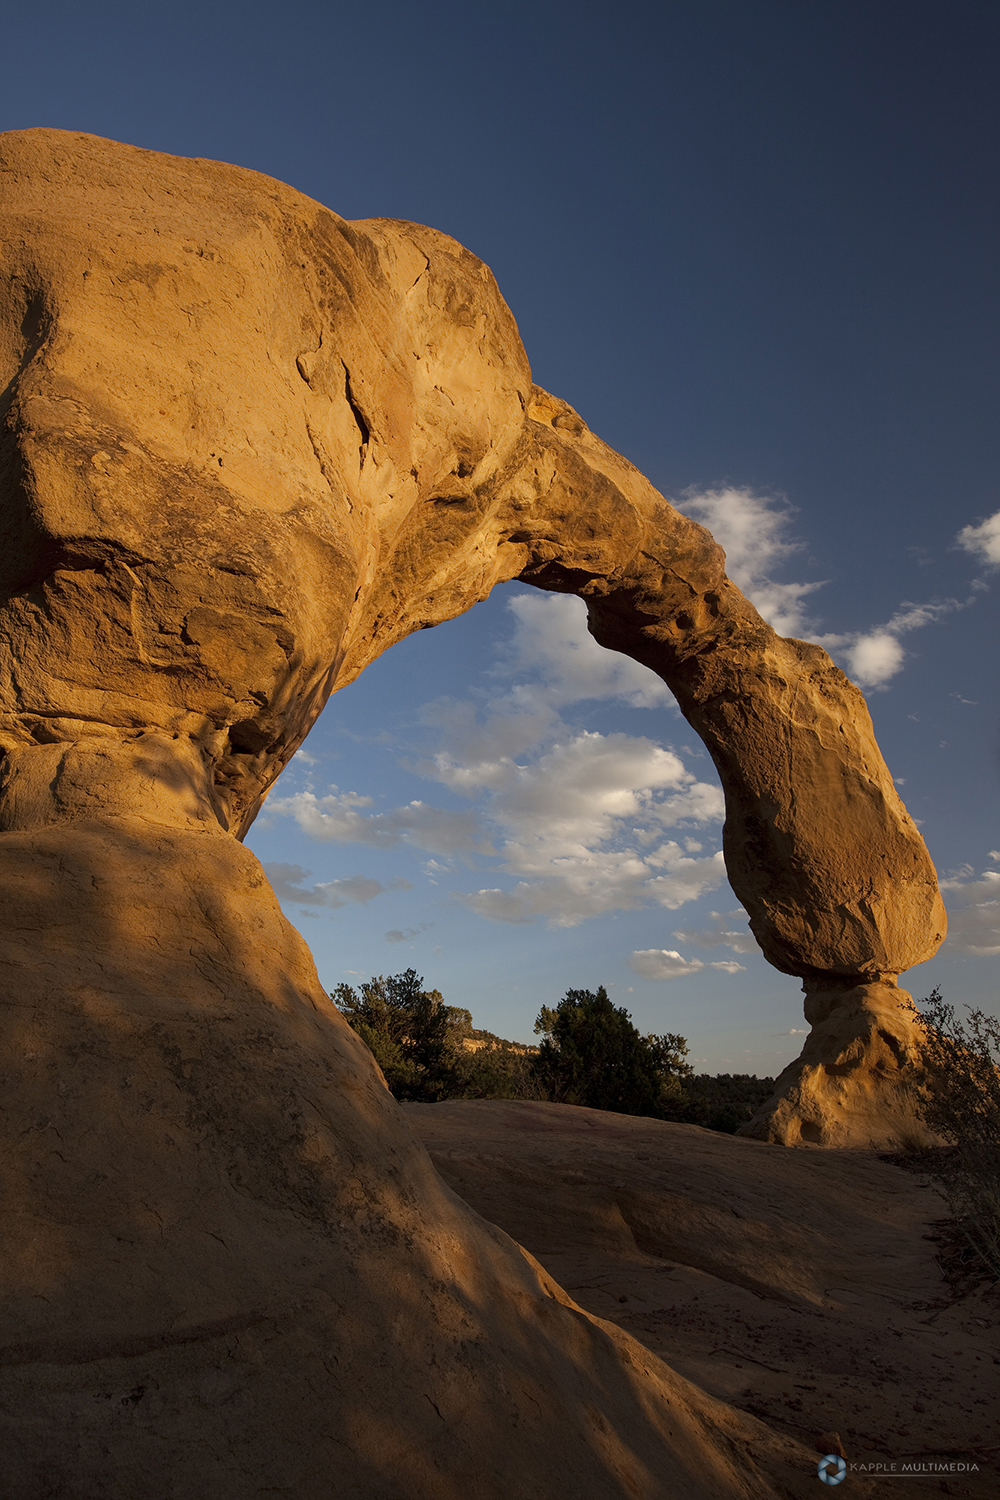
Cox Canyon Arch, also know as Aztec Arch is located about 4 miles south of the Colorado board and just north of Aztec New Mexico.
From HWY 550, take County Road 2300 for a mile and a half miles, then take  2310 County Road north for about two and a half miles until you see compressor station facility. Follow the dirt road just past the facility and park at the first pull off you come to. It’s very obvious. And you can see the Arch from this spot. you only have two 10 foot scrambles as obstacles on the trail to Cox Canyon Arch.

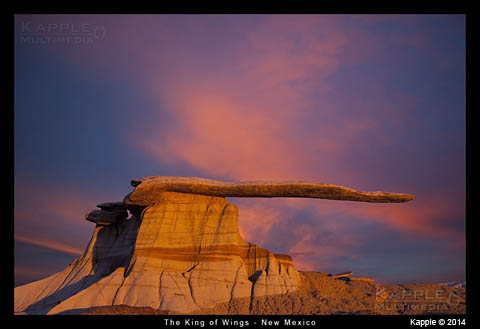
The King of Wings

The King of Wings

The King of Wings location has been a guarded secret to help preserve it.
Its wingspan is over 18 feet long. So you can see why so many photographer have wanted to keep the gps coordinates and location of the King of Wings from being posted all over the net. I was lucky enough that someone shared the location with me. So out of respect, I will not post gps coordinates and directions to the King of Wings here on my website.

The Ah-shi-sle-pah Badlands

The Ah-shi-sle-pah Badlands

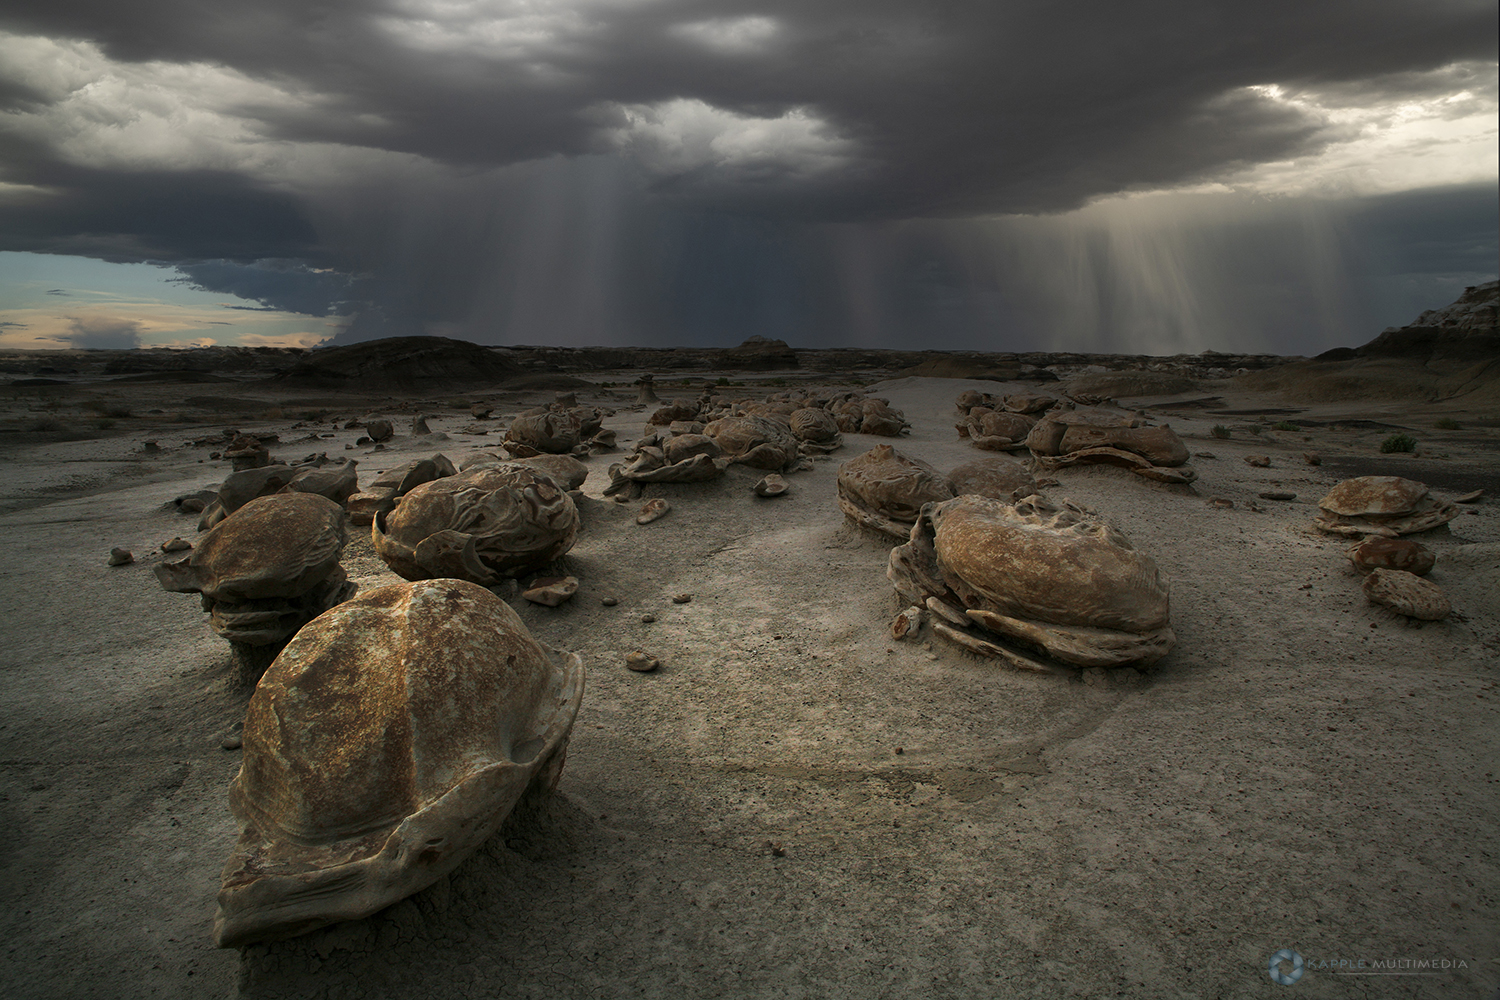
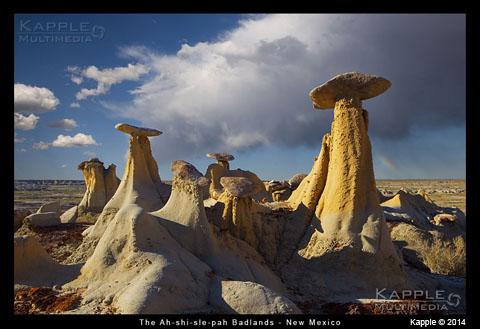
Another area very similar to the Bisti badlands are the Ah-shi-sle-pah Badlands.
The Ah-shi-sle-pah Badlands are located in the north western section of New Mexico north of Chaco Canyon and east of The Bisti Badlands. Also near The Ah-shi-sle-pah Badlands is the rock formation called “The King of Wings”. Though not directly located here, it is just seven miles away. The parking spot  GPS coordinates I used to start hiking into the Ah-shi-sle-pah Badlands area is here: 36.147938,-107.919244

Canyonlands

Canyonlands Needles District

Next I drive to the Canyonlands Needles District and expect to spend two to three days here.
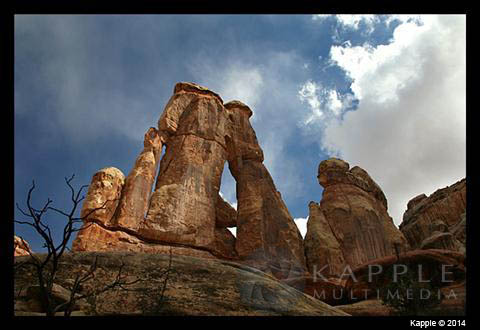
Hikes in this area are a lot tougher and are usually 12 miles round trip depending on the location you are hiking to. My favorite place here is Chesler Park or Druid Arch. You will be taking the Elephant Hill trail to see these areas which will eventually split off down in a canyon to go see one of these two areas.

If you are into off-roading, there are several good and famous four wheel drive roads that require high clearance to go explore. The most well known of them is Elephant hill. Others include Horse Canyon and the Colorado Overlook. You can stock up on supplies, gas and take showers at the Needles Outpost just outside the main entrance to the park. On your way either in or out, make sure you pull over at the Newspaper Rock Recreation site to see the petro glyphs.

Mesa Arch

Canyonlands Island in the Sky District

You can cover this in a day. Unless you are trying to get great shots for sunset and sunrise.
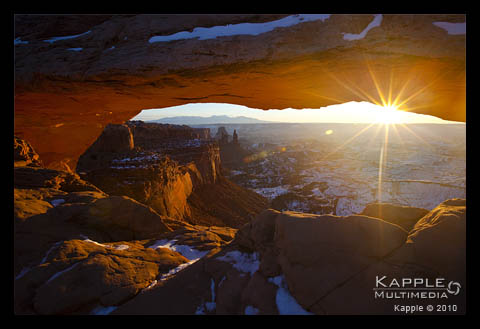
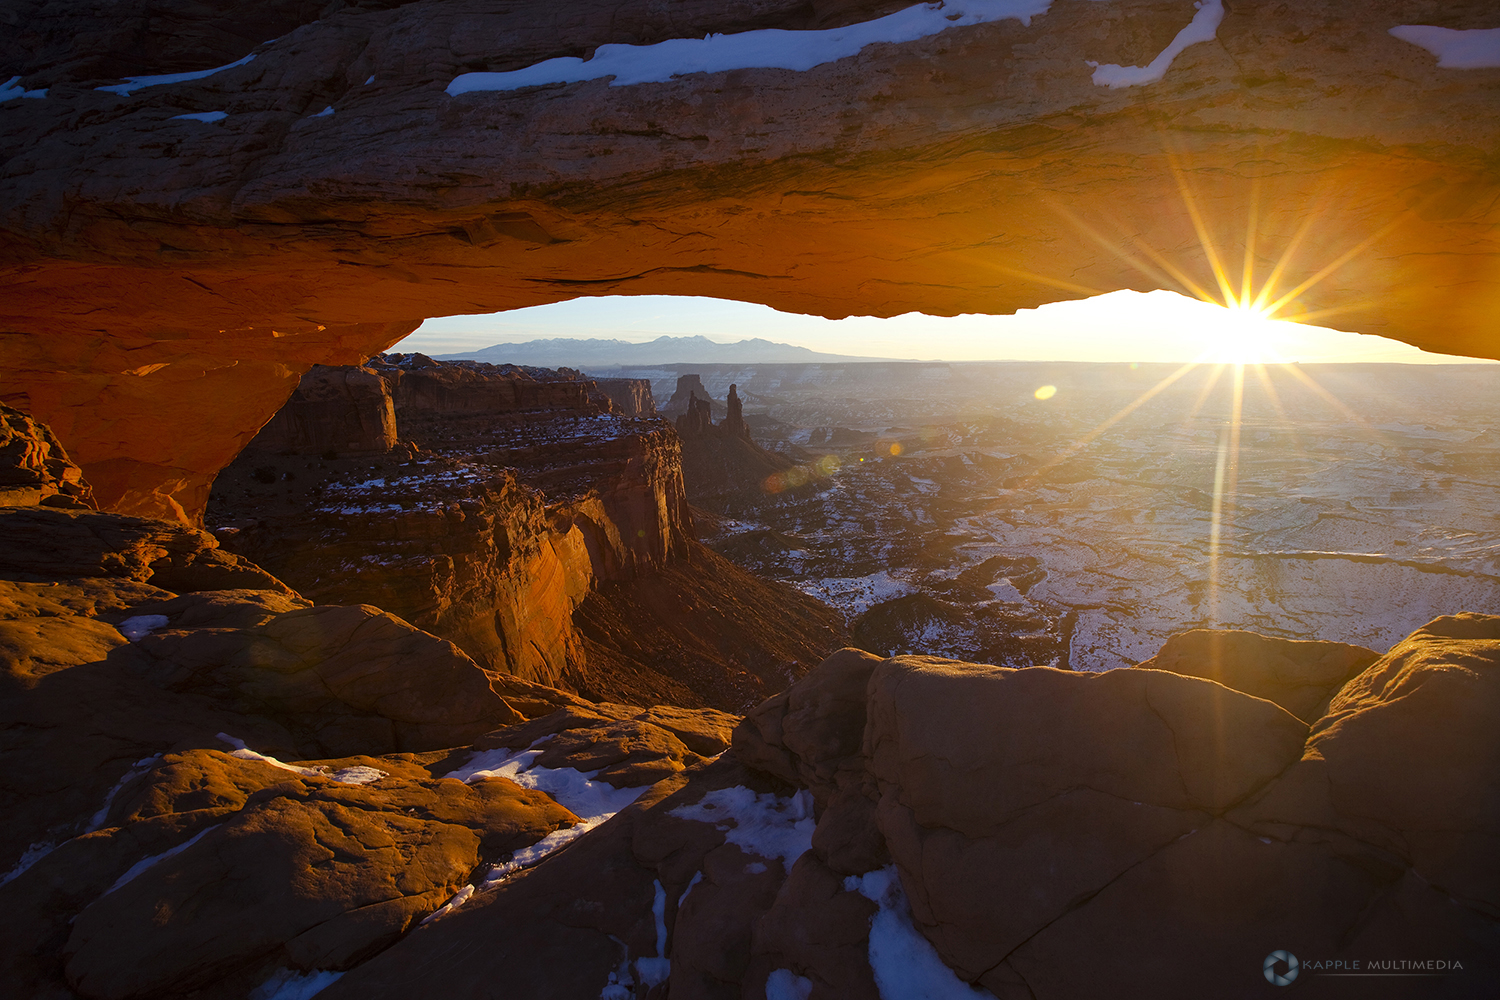
Mesa Arch is a sunrise shot, so get there early. You will find plenty of other photographers there who had the same idea you and a million others have had over the years.

Looking for GPS coordinates to find False Kiva? Won’t do you much good since it would place you on a bluff above them and you would never see it. It is regarded as a secret location due to the fact it is a semi-protected location. Park rangers were very helpful in giving us more detail directions on how to find it even though the party I was with had really good instruction on how to find it from a book they had purchased. In the spirit of protecting the structure, I will not post my waypoints along the trail. If you would like directions to False Kiva, just like my facebook page and send me a message. I will reply back to you with directions and or GPS coordinates. The trail is strenuous in several locations along the way. And if you have a fear of heights, better come to grips with it before you head out. One of my friends who was with me chickened out on the last stretch of the hike and did not get to see it.

Delicate Arch

Arches National Park

From here you will want to head into Moab to see the Arches National Park,
Canyonlands Island in the Sky District and Deadhorse Point State Park. Stop by the Moab information center to get a list of other off road trails and things to see. Hwy 279, Potash Road is a nice drive and you can also see petro glyphs along the road. If you are into a mountain bike challenge, you won’t want to pass up riding Poison Spider Mesa that is along this road. Plan to spend at least two days in the Arches.

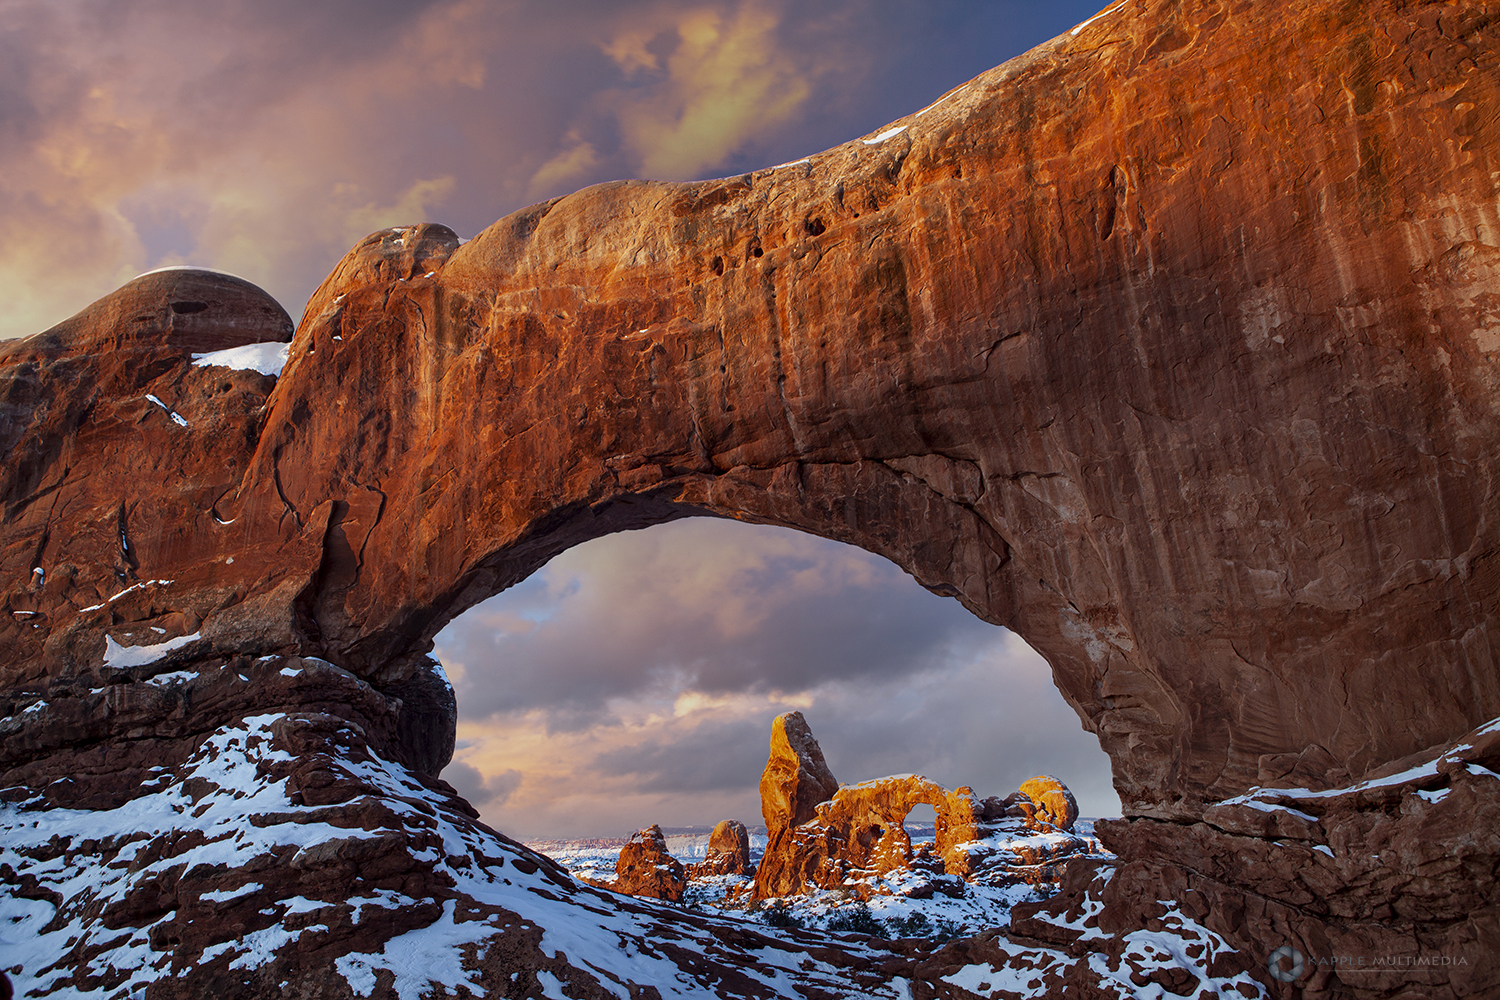
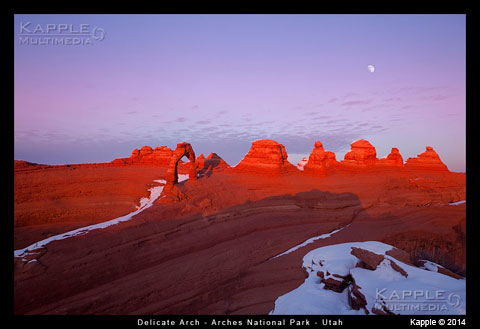
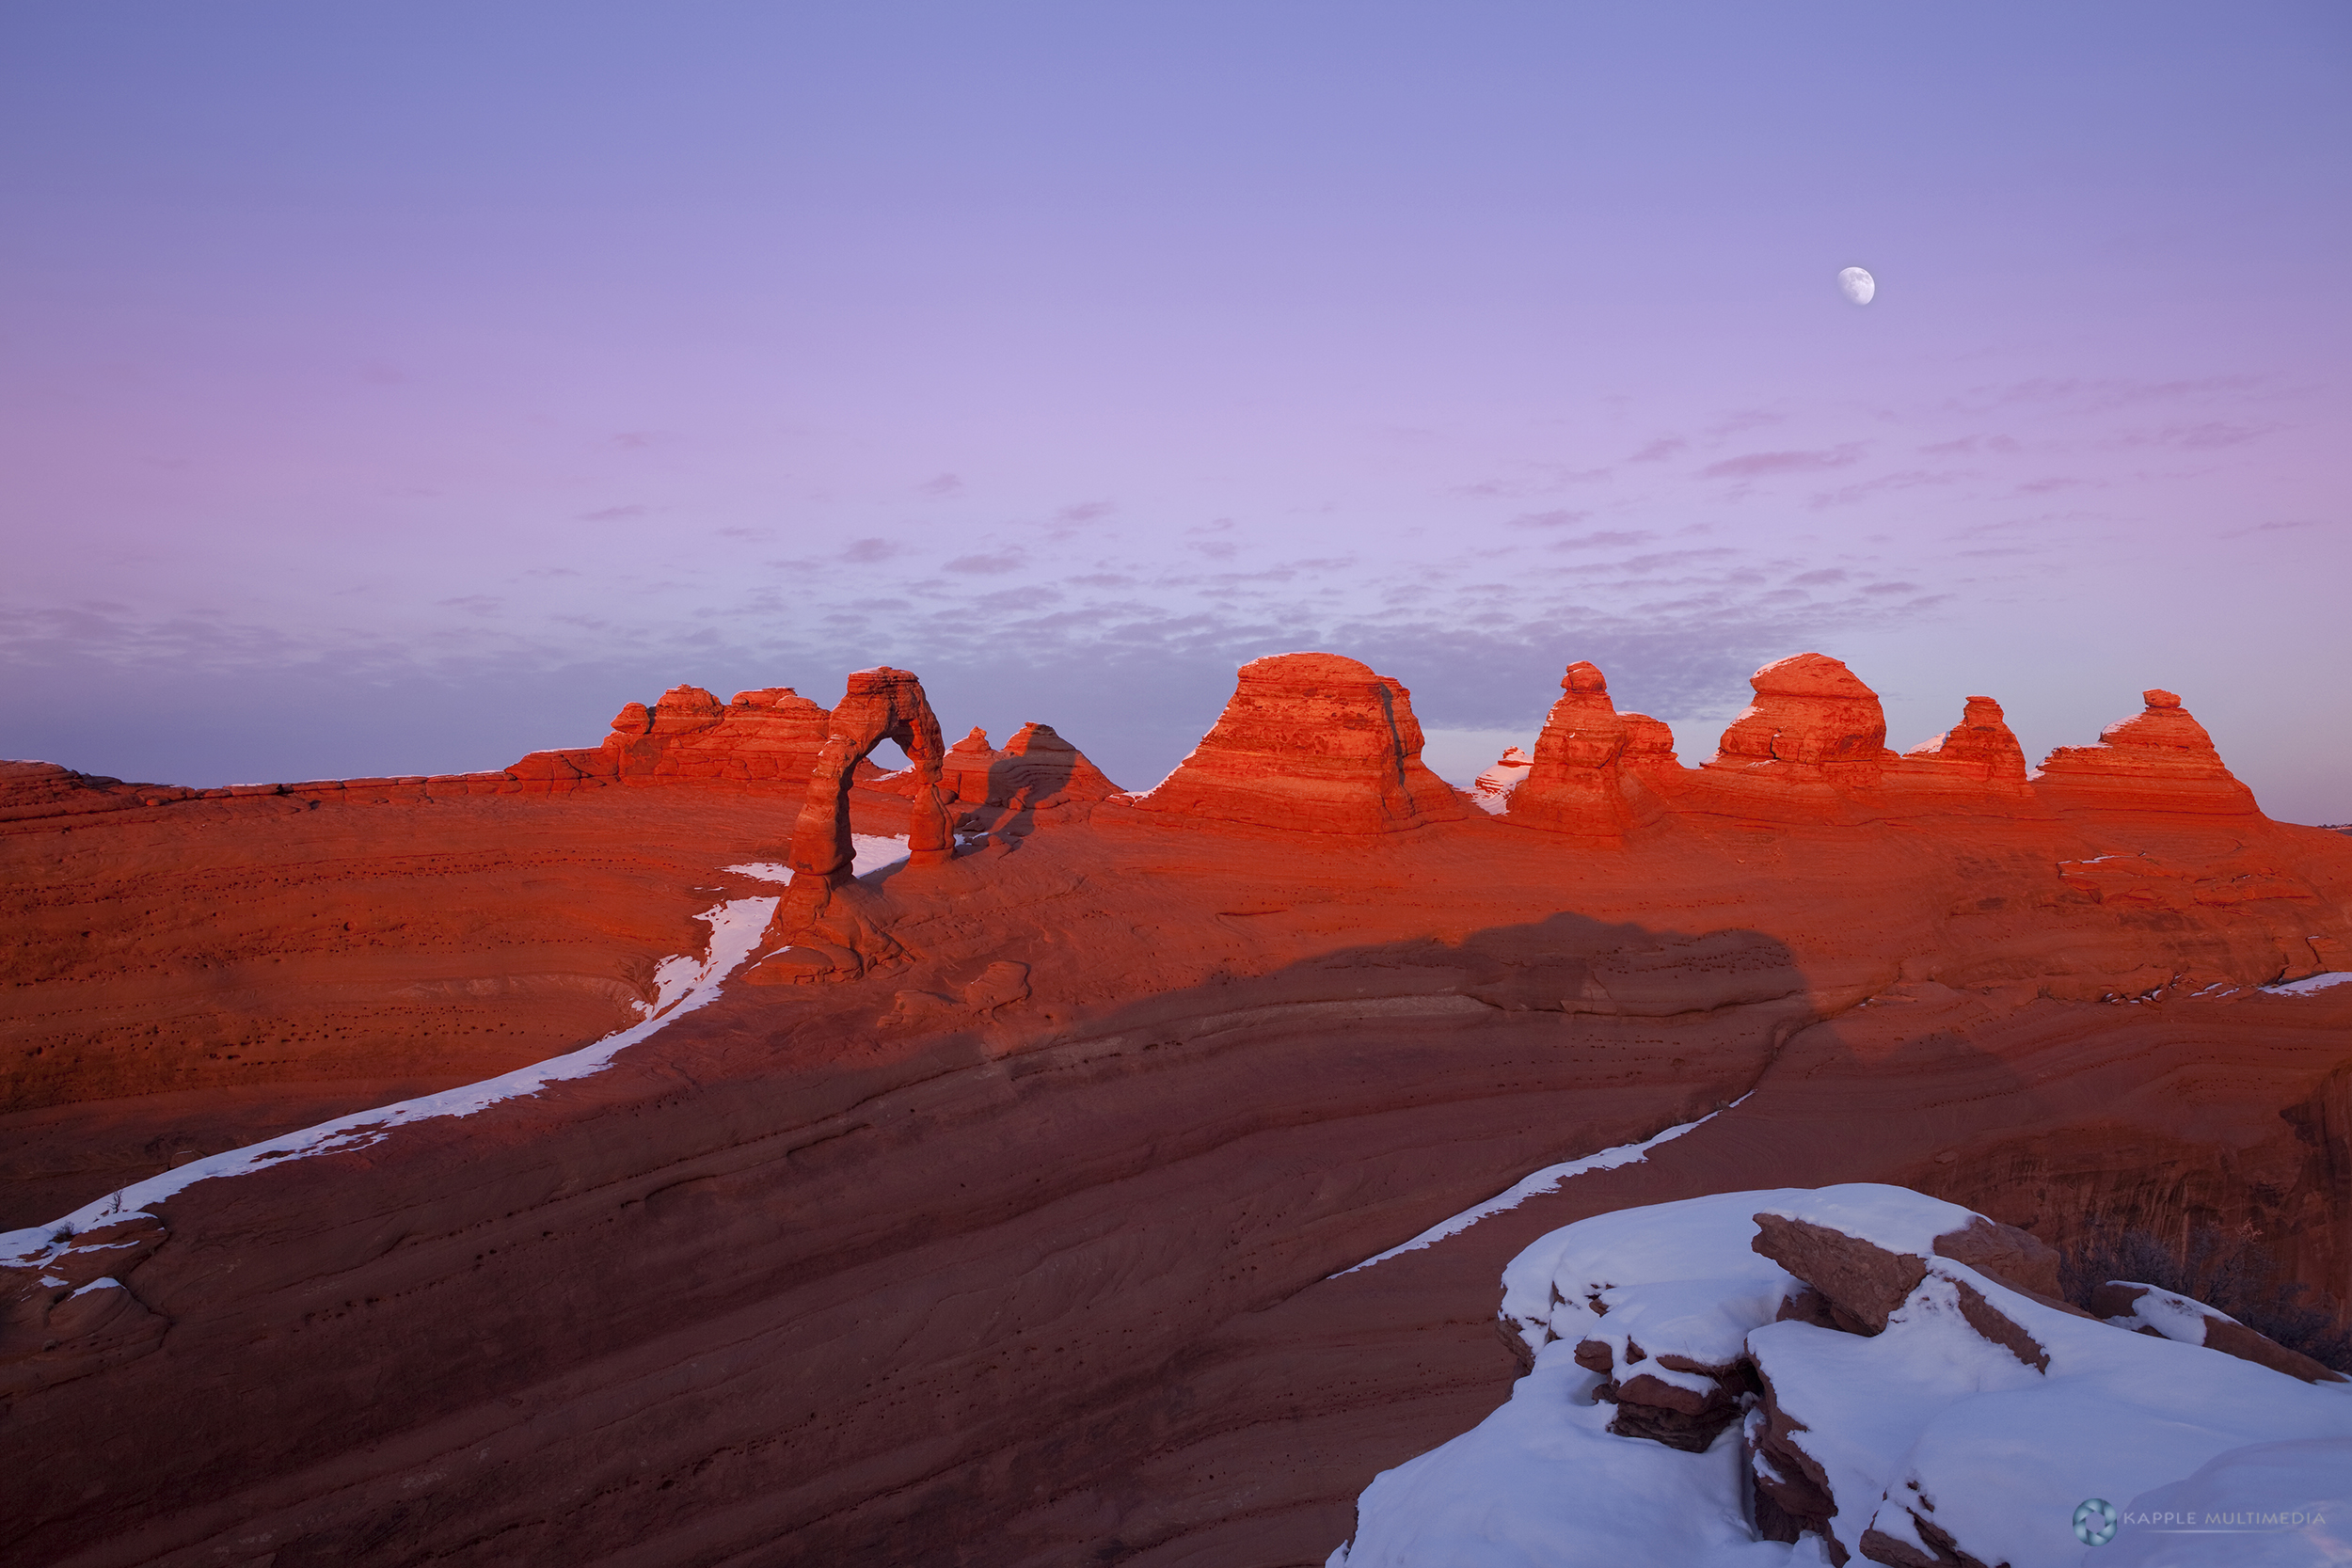
The hikes are pretty easy here but there is still a lot to see and photograph. I have been to this park more than any other in the nation. There is always different lighting or sunset each time you visit. Make sure you go on the Fiery Furnace hike. A lot of people skip this guided hike. Delicate Arch is a must see and is the most famous Arch. Photographed millions of times, I still hike it each time I visit. Camping can be a challenge depending on when you go. As late April tends to be the start of peak season, spots quickly run out. But there are plenty of other places along the Colorado River and around Moab to camp. If you’re a photographer, I suggest you go in early March or sooner. Or you will be fighting the busloads of tourists who will constantly wonder into your shot and not think anything is wrong by standing there in your way.

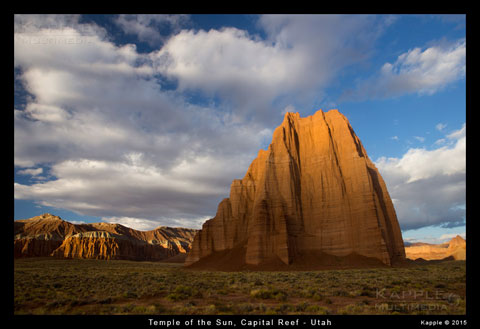
Capitol Reef

Capitol Reef and Factory Butte

Driving on HWY 24 you will come to Factory Butte and Capital Reef National Park.
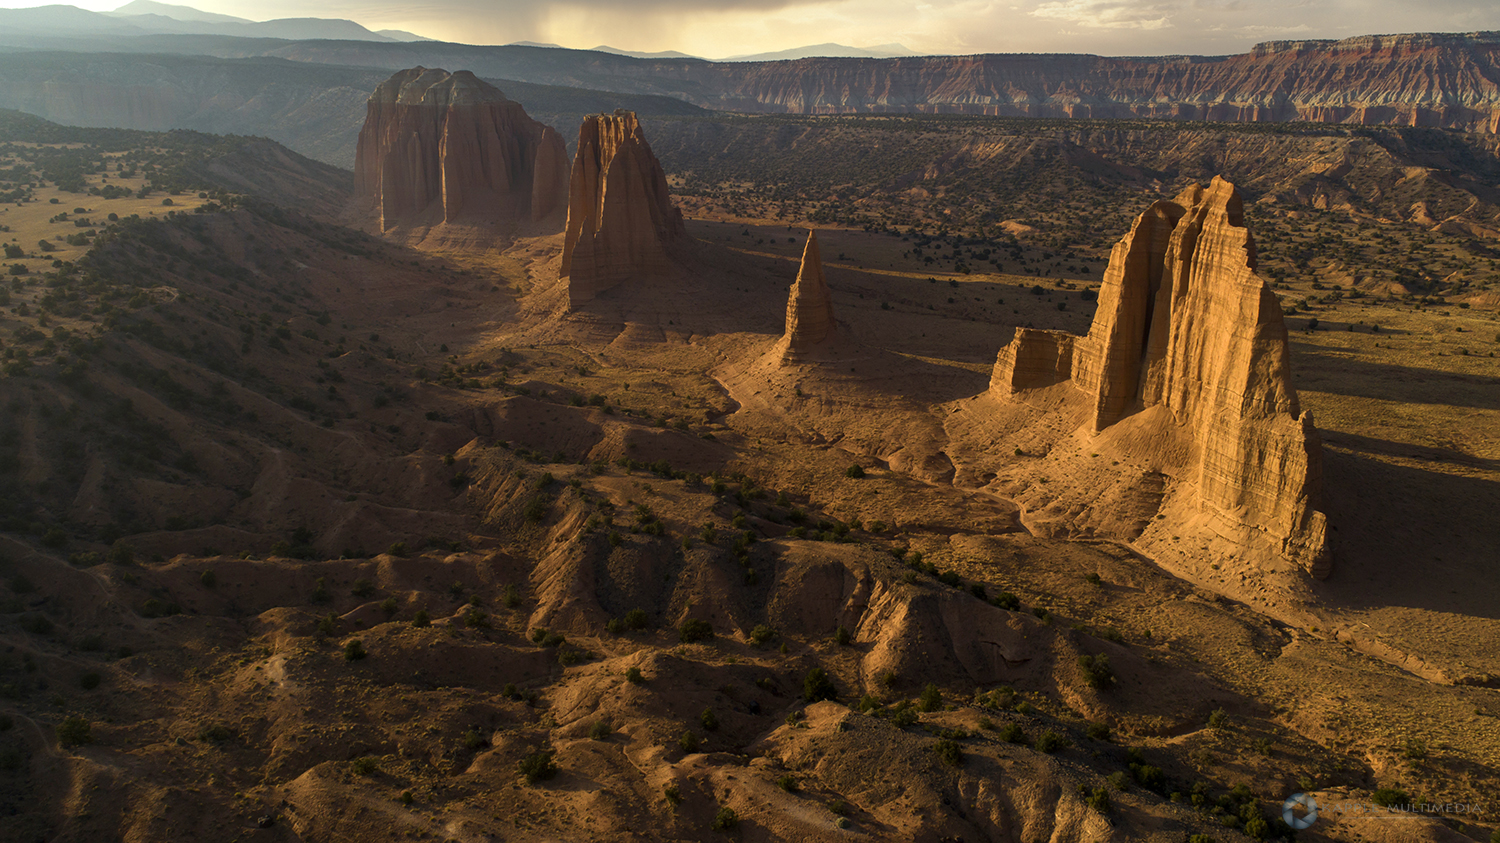
Capital Reef is filled with cliffs, canyons, domes and bridges in the Waterpocket Fold that extends almost 100 miles. Lots of good off-roading to be had in this area. But if it is very moddy, you will have to have a high clearance 4WD to go see the rock formations in Cathedral Valley. We had a high clearance 4WD, and getting in and out of the area was still a challenge. Since we had heavy rains while we were camping in the area, the small rivers washed out part of the trail getting out. We spent 2 hours building our own ramp out of rocks and dirt to get back up on the trail. And we still had the last 4 miles of the trail to worry about. Deep mud for the entire last 4miles…I could not wait for that to be over.

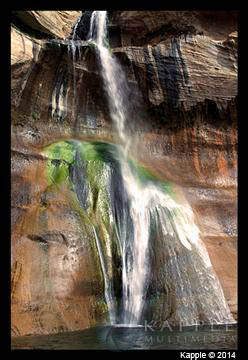
Lower Calf Creek Falls

Lower Calf Creek Falls

Further down past Boulder you will approach Upper and Lower Calf Creek Falls.
Here you will walk past beaver ponds and pre-historic rock art sites to the 126-foot-high Lower Calf Creek Falls. Roundtrip distance to the falls is 5-1/2 miles. The trip takes 3-4 hours but under 2 hours if walking quickly. While little elevation change is encountered, most of the trail is sandy, and can be very strenuous walking, particularly in warm weather.

The trail is along the west side of the creek, mostly above the canyon floor which is covered by large areas of reeds and thick grass. The trail passes three Indian petro glyph sites and two ruined stone-built granaries in alcoves in cliffs at the far side. Calf Creek Recreation Site and Campground is located along Utah Highway 12, 15 miles east of the Town of Escalante.

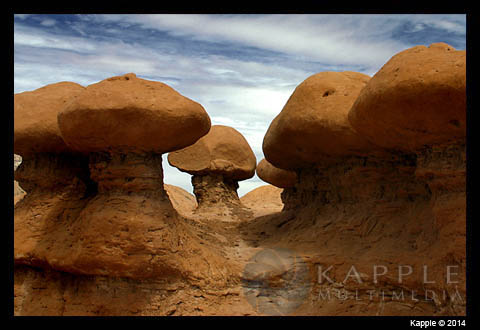
Goblin Valley

Desert Landscapes in the Escalante Area

Gas up and stock up on supplies and head up to I-70 to make your way to Escalante.

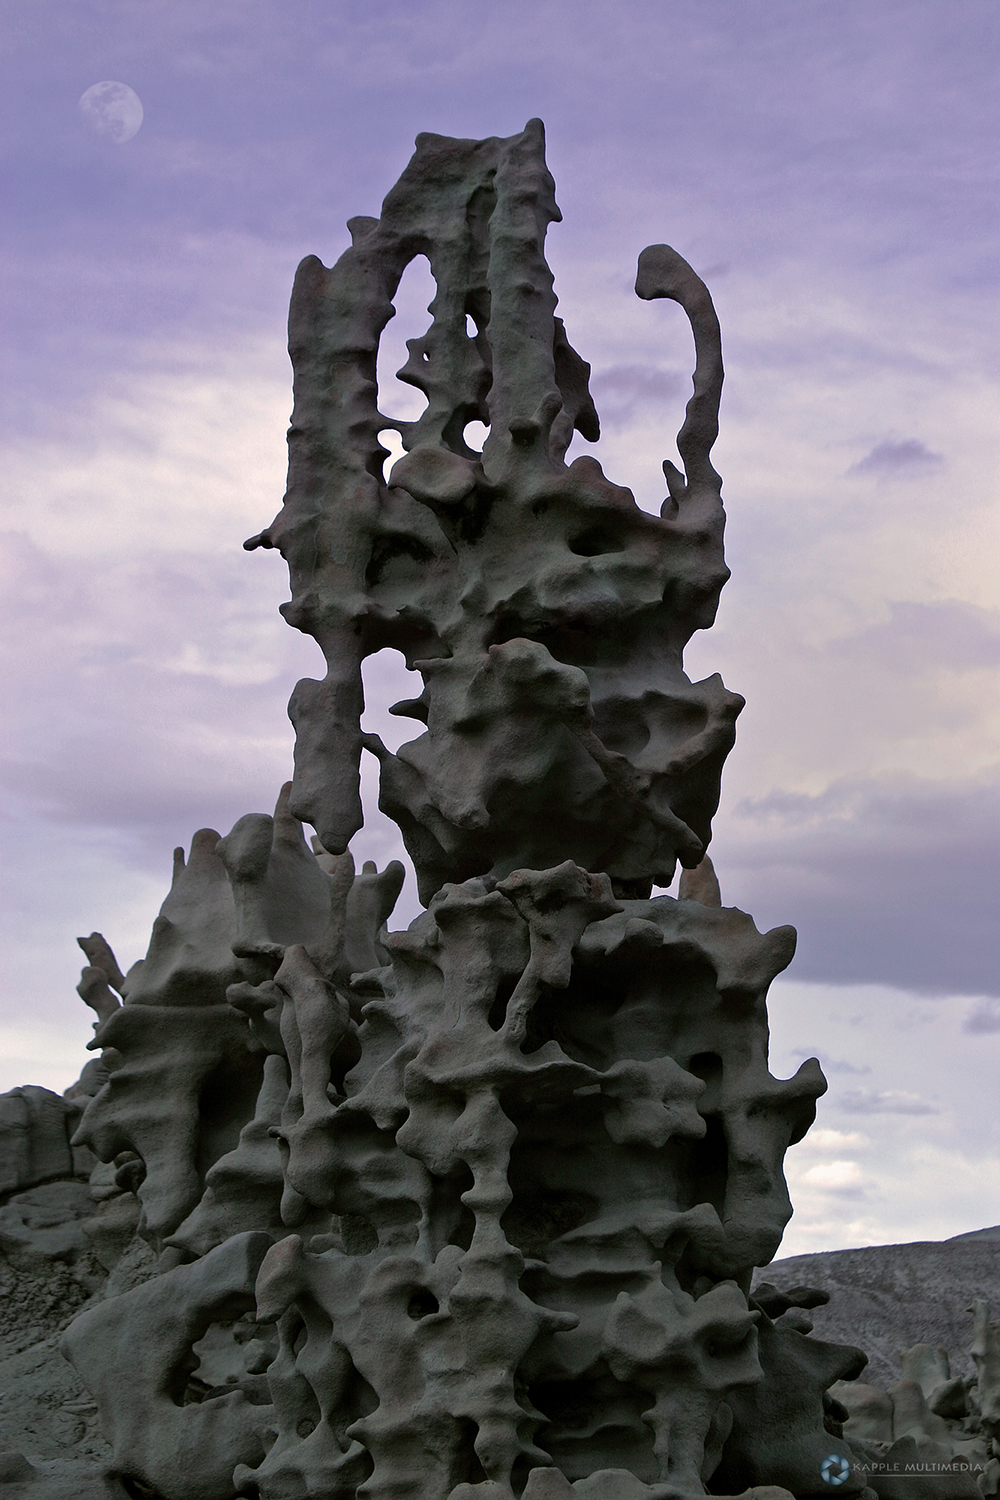
Take the exit to hwy. 24 towards Hanksville. Make sure you stop by and see Goblin Valley State Park. Strange looking rock formations called Hoodoos litter the valley floor here. Goblin Valley State Park is located between the towns of Green River and Hanksville. From Green River, travel west on I-70 for 12 miles to exit 147 (Hanksville) and head south. After about 30 miles turn right at the Temple Mountain/Goblin Valley Junction. Travel west on that road for about 5 miles and then turn left (south) and continue to the park entrance. From hwy. 24, you have many options. I head on to Escalante but you could also head the Maze District of the Canyonlands. Take Utah Highway 24 south for 24 miles. A left hand turn just beyond the turnoff to Goblin Valley State Park will take you along a two-wheel-drive dirt road 46 miles (76 km) southeast to the ranger station.

Zion National Park

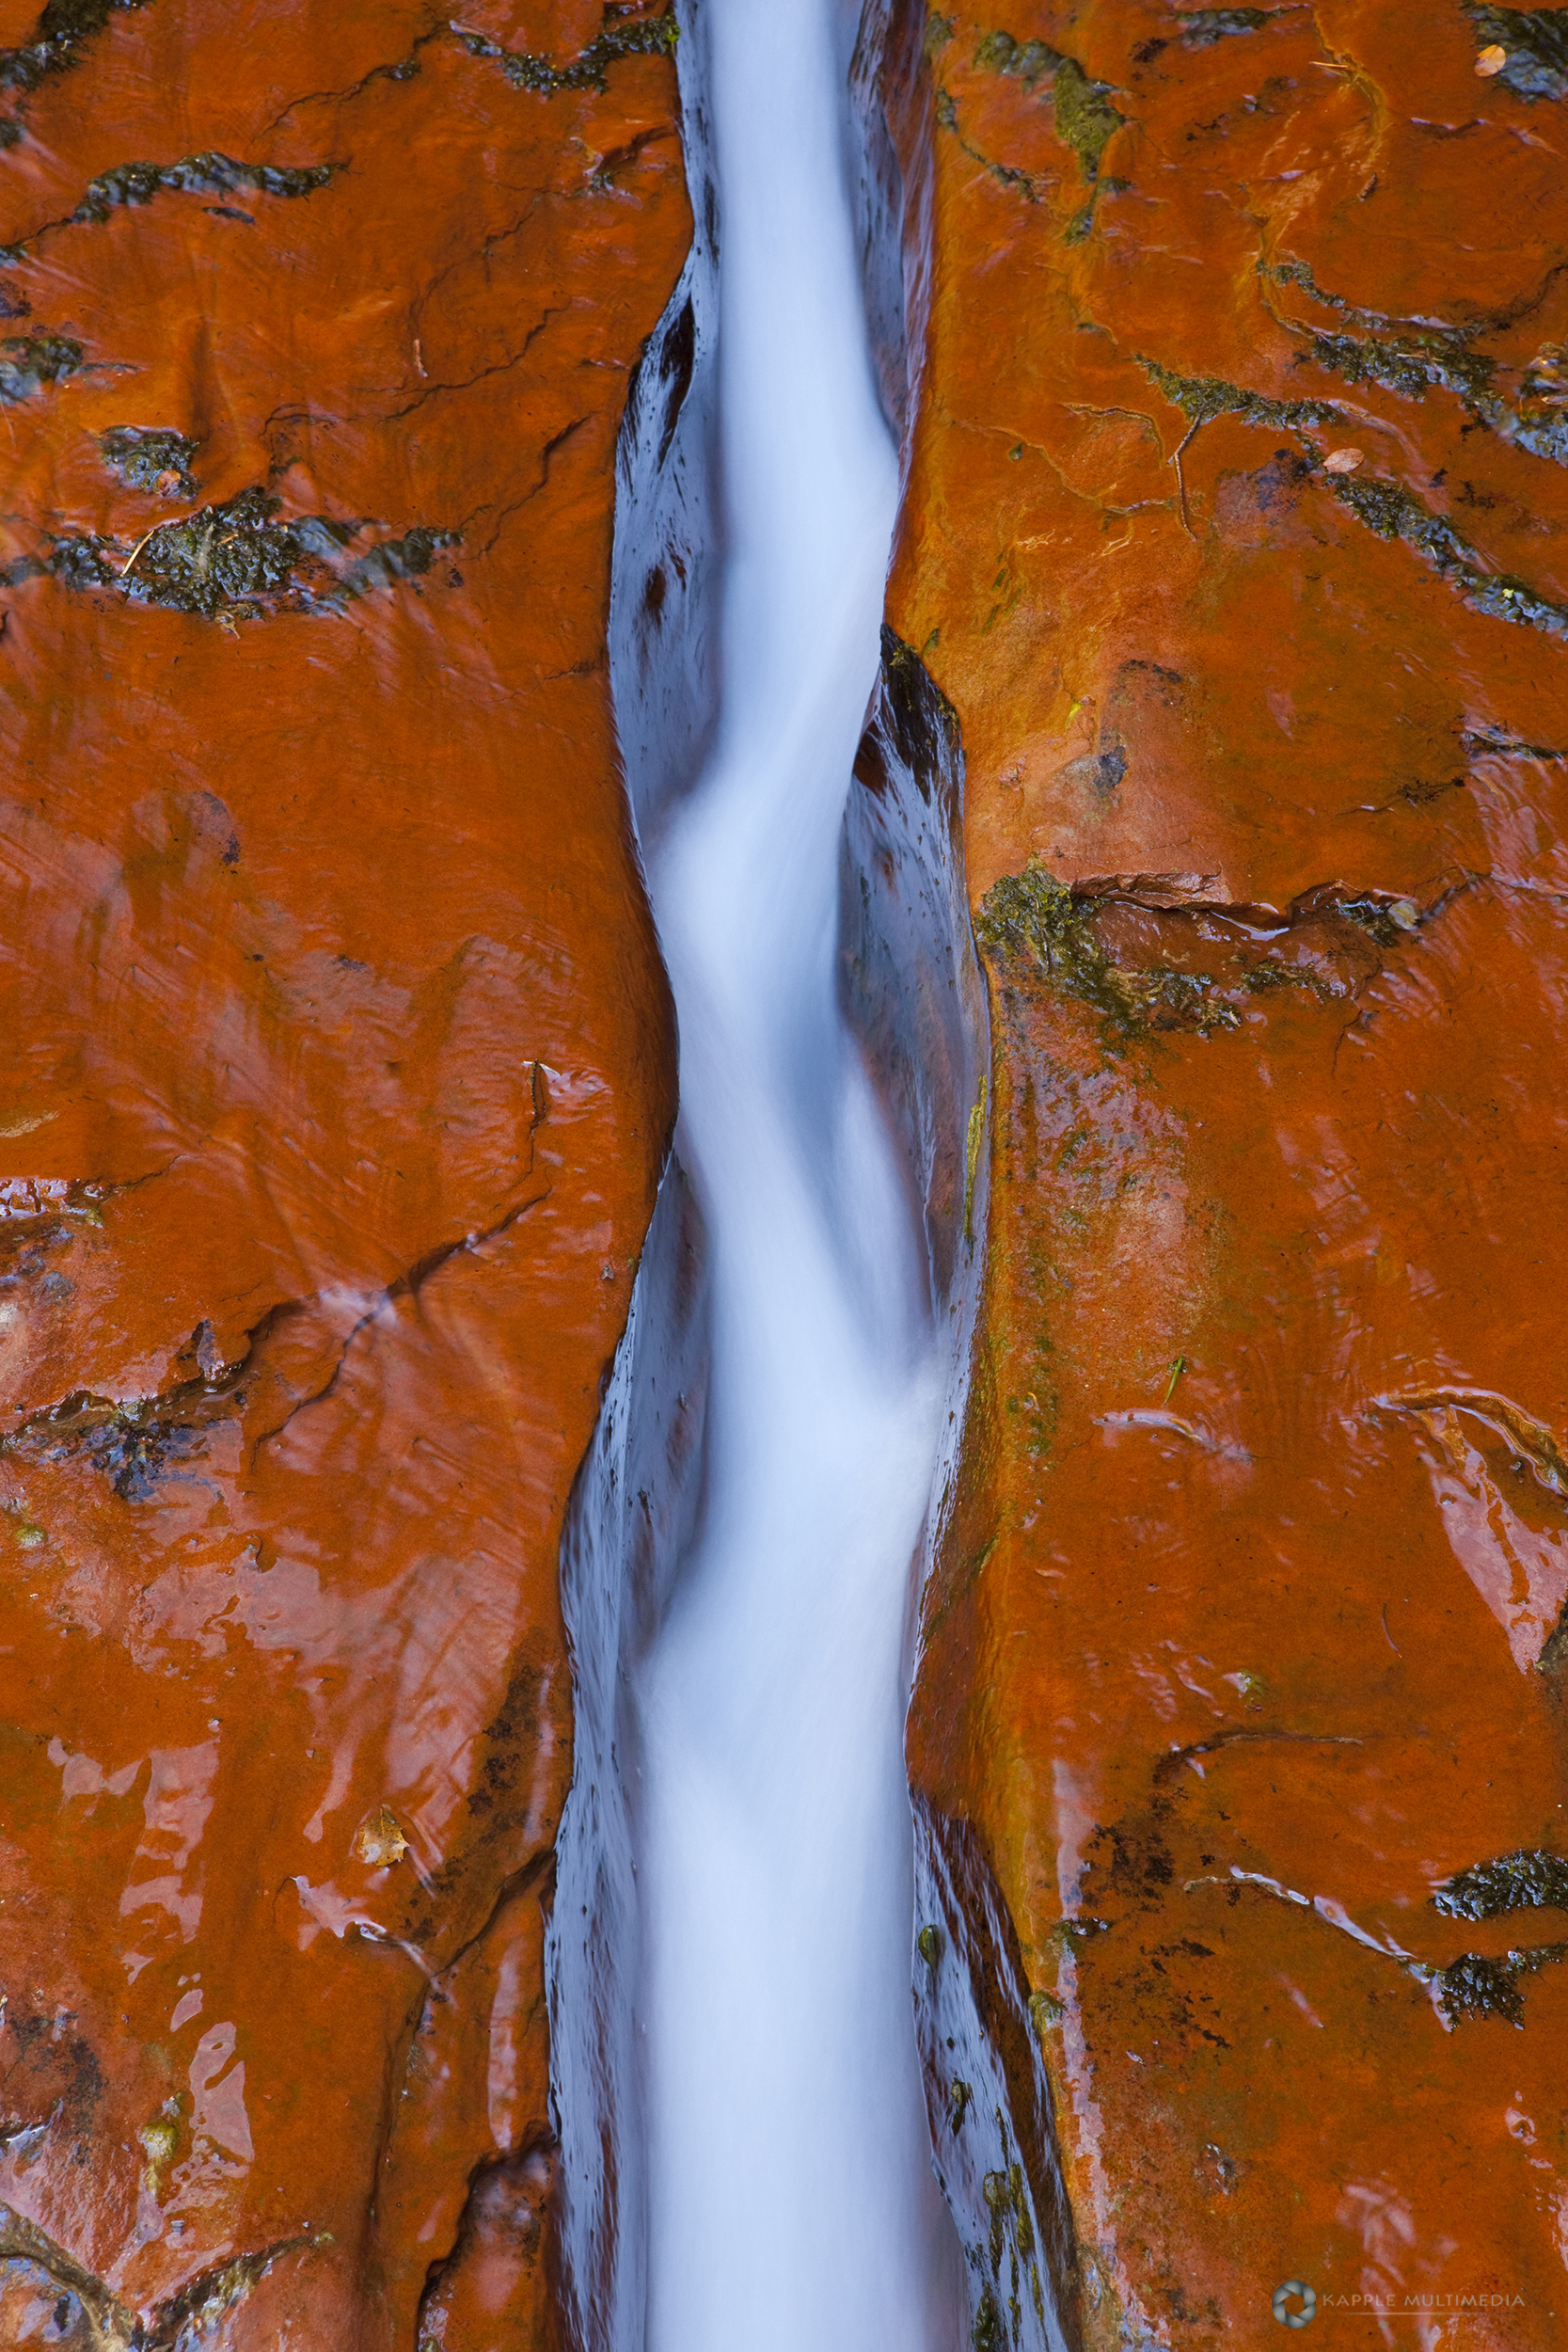
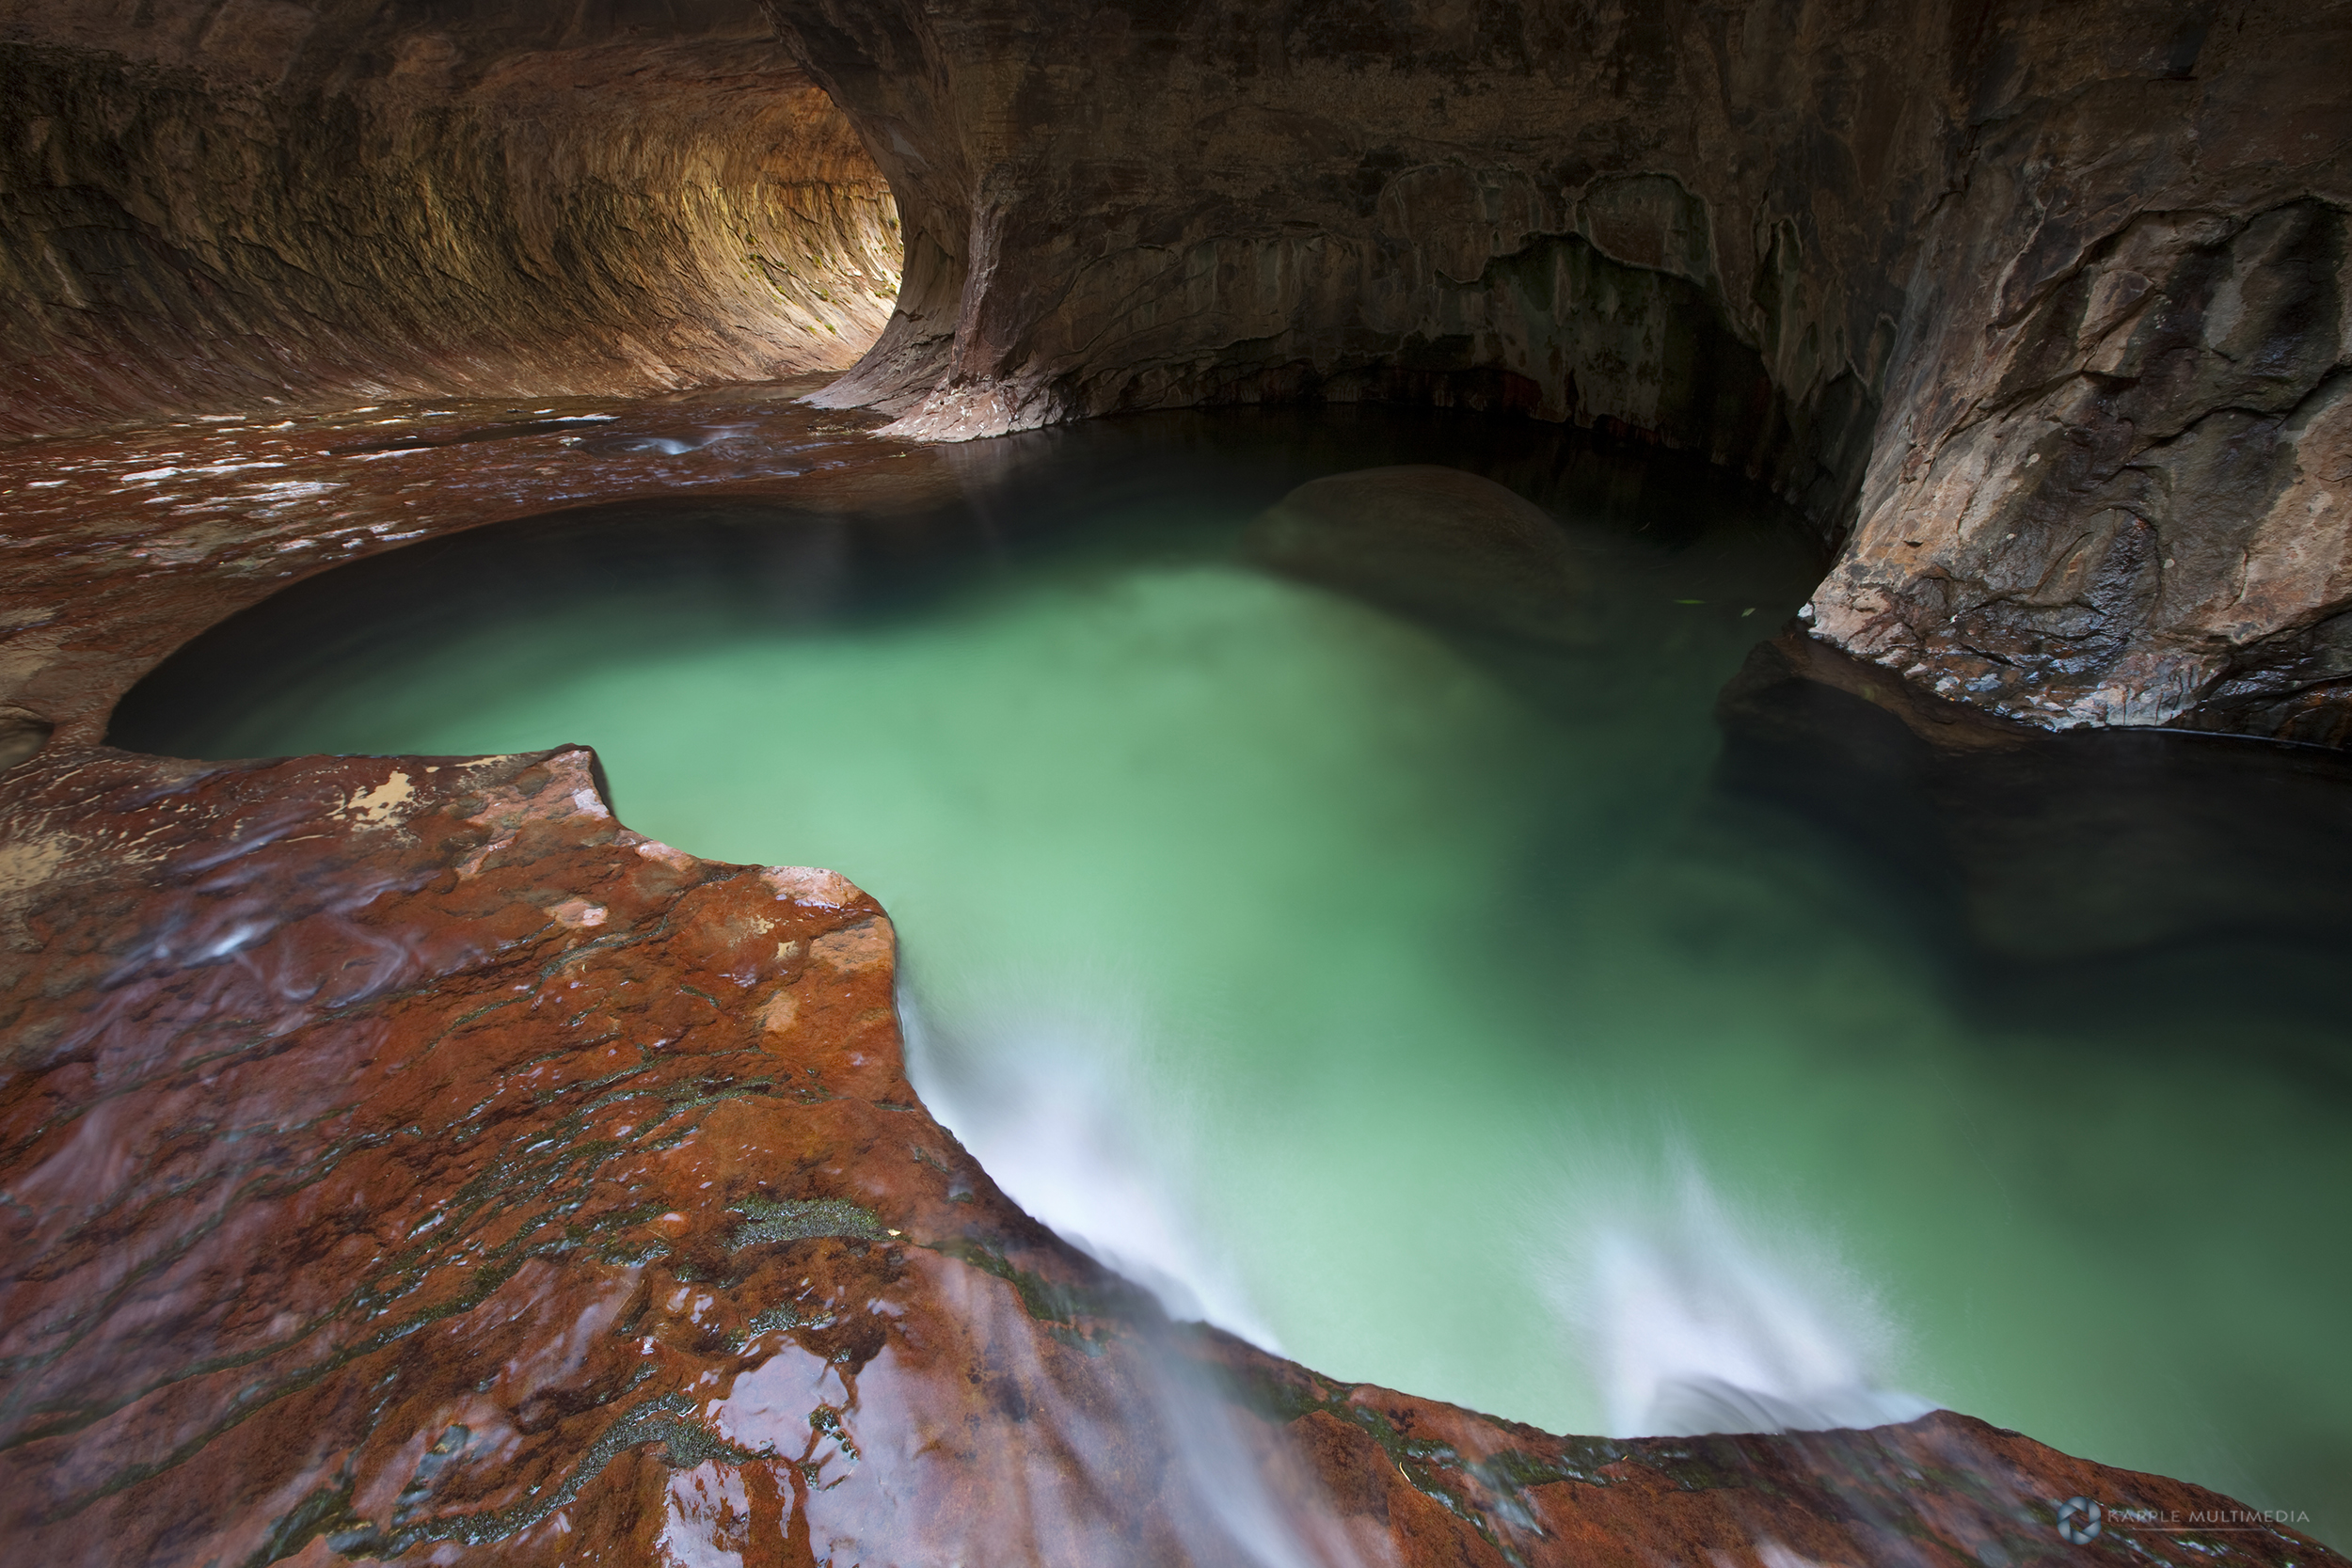
I’ve only visited Zion twice over my 12 trips to Utah. The first time was my very first trip to the southwest. Back then I jumped right in and hiked up to Angels Landing. I just returned from my second visit where I finally got to hike to the Subway area at Zion. Though I think Zion National Park is beautiful, it is just too crowded for me personally. I do not like to be dependent on a shuttle bus system to take me to trail drop off points within the main area of the park. But some of the best areas of Zion are well outside the beaten path. Getting into the Subway area at Zion is pretty tricky, first you have to get a permit. You can get them online 3 months in advance of your visit. Or you can wait in line and be there right when they open.
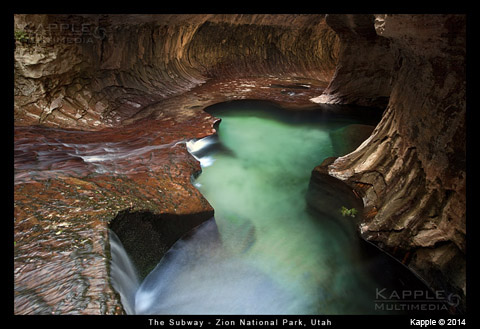
Subway

Bryce National Park

Heading west on hwy 12 just past Tropic lies the entrance to Bryce National Park. Bryce is famous for its unique geology of red rock spires and horseshoe-shaped amphitheaters. It is the uniqueness of the rocks that caused Bryce Canyon to be designated as a national park. These famous spires, called “hoodoos,” are formed when ice and rainwater wear away the weak limestone. I had a great time at Bryce National Park. Being on the road and hiking and camping for two weeks, this was a great place to relax and kinda take it easy. It is very tourist oriented which can be a bit of a pain with all the visitors there. But it was a nice change of pace compared to me roughing it in primitive camping and eating MRE’s all the time.
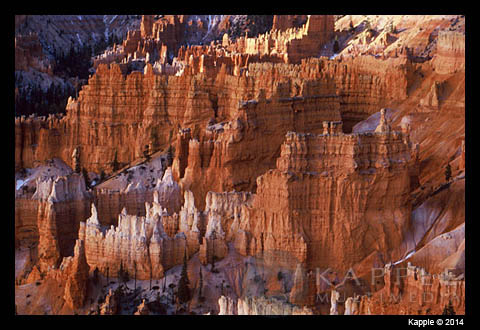
Bryce

Cottonwood Canyon Road

Cottonwood Canyon Road is unpaved but a relatively popular cross-country route through Grand Staircase-Escalante National Monument, starting from Cannonville on UT 12, and eventually leading past Kodachrome Basin State Park and hooks up with US 89 near milepost 18. Some sections of the road are rather steep and narrow, but 2WD cars usually can make the 47 mile journey. The surrounding land has much of interest to explore. Grosvenor Arch is one of those areas. It is 30 miles from US 89 and 17 miles from Cannonville. This is a large double arch at the end of an isolated ridge of yellowish-white sandstone, and is one of the most photographed places in the national monument.
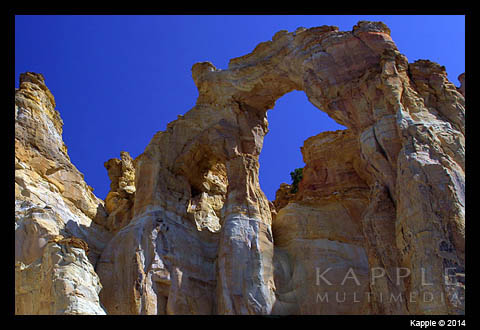
Grosvenor Arch
White Rock Canyon

White Rock Canyon

White Rock Canyon is almost due west of the Wahweap Hoodoo’s. To gain access to this area you will turn off at mile marker 13 on HWY 89 heading west from Page.
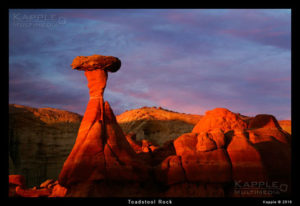
Getting to the parking location is easy enough unless it has rained recently. Just follow the dirt road. You will have to get out and open a gate once on your way in. There are numerous hoodoos in the canyon. Plan on spending a day wondering around and exploring the area. As always, I suggest you stop at the ranger station just across the road from Bigwater as they can provide you topo maps of the canyon and help you plot your hike. As always and something very important to mention.

Do not climb on the Hoodoo’s. They are very fragile. I can’t tell you how many times I have come across images of people standing too close to them or standing on them. Keep in mind these fantastic rock formations took millions of years to create and all it take is a little carelessness on your part to destroy something nature took so long to created. Preserve all the wonderful land marks you come across. Someone was already very selfish and careless and destroyed the Teapot Rock at Fantasy Canyon. It is now gone forever.

Toadstool Rock

The Rim Rocks along HWY 89

The Paria Rimrocks are an amazing collection of hoodoos, badlands, and other interesting rock formations found in the area located between the Cockscomb Fault and the southern section of Cottonwood Canyon Road just north of US 89.
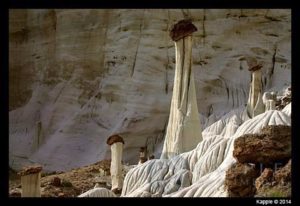
Wahweap Hoodoo’s

Wahweap Hoodoo’s

After exploring this area, head east on hwy 89 and visit the Rim Rocks. It’s an easy half mile hike to see them.

Then on your way to Page, AZ, stop by and see the Wahweap Hoodoo’s just outside of Big Water, Utah. You can see more images at the Rim Rocks photo gallery. The Wahweap Hoodoo’s trail is a 4 mile hike following Wahweap Creek, which most of the time is dried up. There is another rangers station almost directly across the road you will take from Big Water. Check in with them and they supply detailed maps on how to get there.

Coyote Buttes North and South

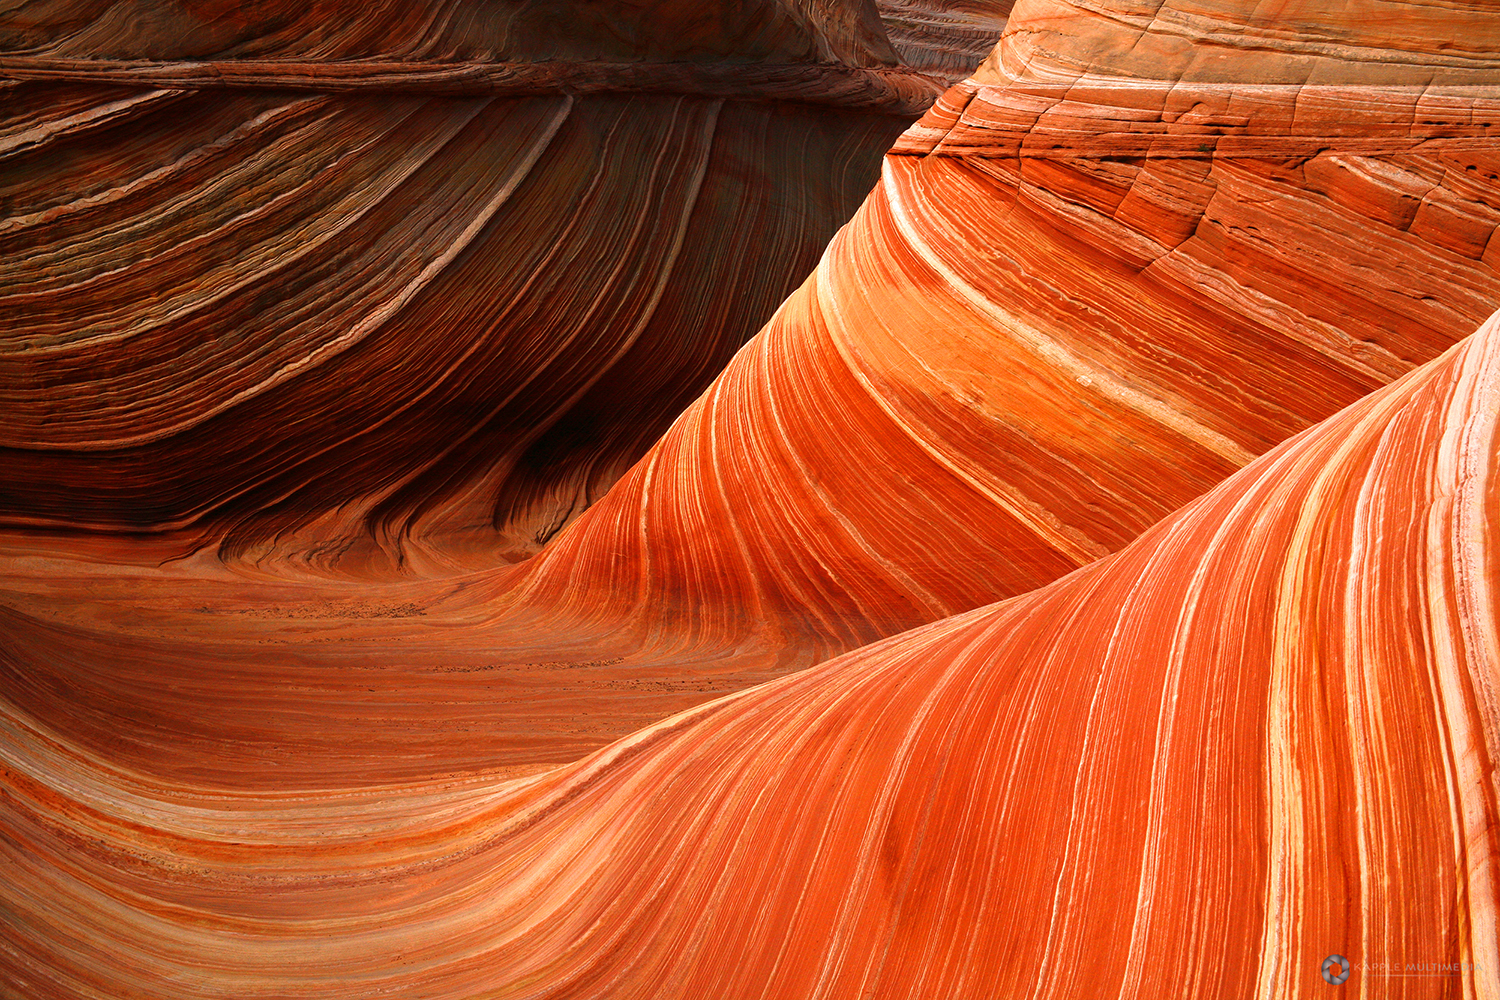
After Bryce you have two choices. You can go to Zion National Park, or head towards Kanab and go see many locations along hwy 89 leading to Page. Since I do not care for Zion National Park too much (too restrictive with busses taking you to trail heads) unless you plan on going to the Subway area, we will talk about heading towards Kanab and going to see the Wave at Coyote Buttes North. You will need to get permits to visit the Wave at Coyote Buttes North and the South area. Click here to see Coyote Buttes South Photo Gallery.
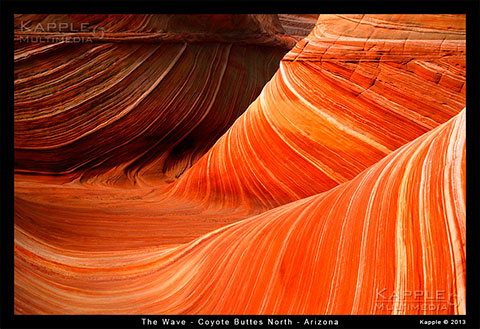
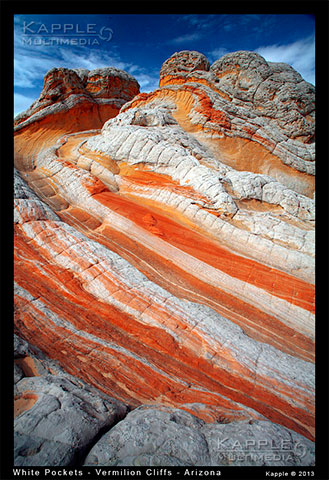
You can read all about the Wave area on my site here. While your plans may get side tracked here, you can always go see other places in the area. There is a lottery held each morning to get into Coyote Buttes North and South. So if you miss out, you can go see White Pockets. You can read more about White Pockets here. You will need a 4WD to see this area due to deep sands on the way in to White Pockets.

The Wave Arizona

White Pockets Arizona

Directions to White Pockets From Kanab, drive 40 miles east on Highway 89. The turn onto House Rock Valley Road is located on the south side of the road (right side driving from Kanab). It is located between mile markers 25 and 26, before a sweeping left hand curve in the road, prior to a guard rail protecting the curve. Slow down and turn right just before the guard rail. This north-south running road is House Rock Valley Road.
The road soon becomes dirt and may be impassible if wet. Continue past the Wirepass Trailhead (8.4 miles from Highway 89) to the Utah – Arizona state line. This is the border of the Grand Staircase-Escalante National Monument in Utah and the Vermillion Cliffs National Monument in Arizona. Keep driving south for another 8.1 miles past the Wire Pass Trailhead and look for the dirt road that turns left and to Lone Tree Reservoir. At this point there are two options to arrive at Poverty Flat. Poverty Flat is the junction to the east which is necessary to locate to continue further to either Cottonwood Spring (South Coyote Buttes) or White Pocket even further to the east.

Antelope Canyon

One of the most visited areas on a personas travels to the southwest is Antelope Canyon. I have been here several times in the past. But it is getting to the point now where overcrowding is a problem. This coupled with photo workshops makes it difficult to really get a secluded spot of your own. Expect to find your spot and wait for people to move out of the way. Patients will be a virtue here. Best times to go in my opinion is April or October. Temps are perfect. You need to be here around 11 to 2 for the sun to be directly above to light this place up. Make sure you go to both the upper and lower Antelope Canyon areas. You have to pay for each one, but most people skip out on visiting the upper canyon.
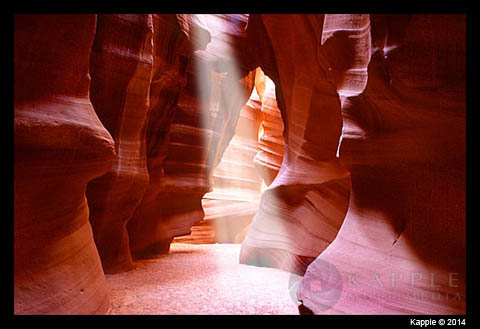
Antelope Canyon

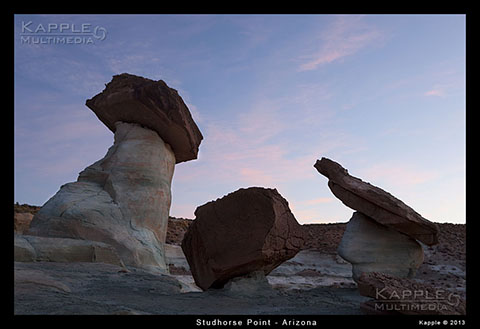
Stud Horse Point

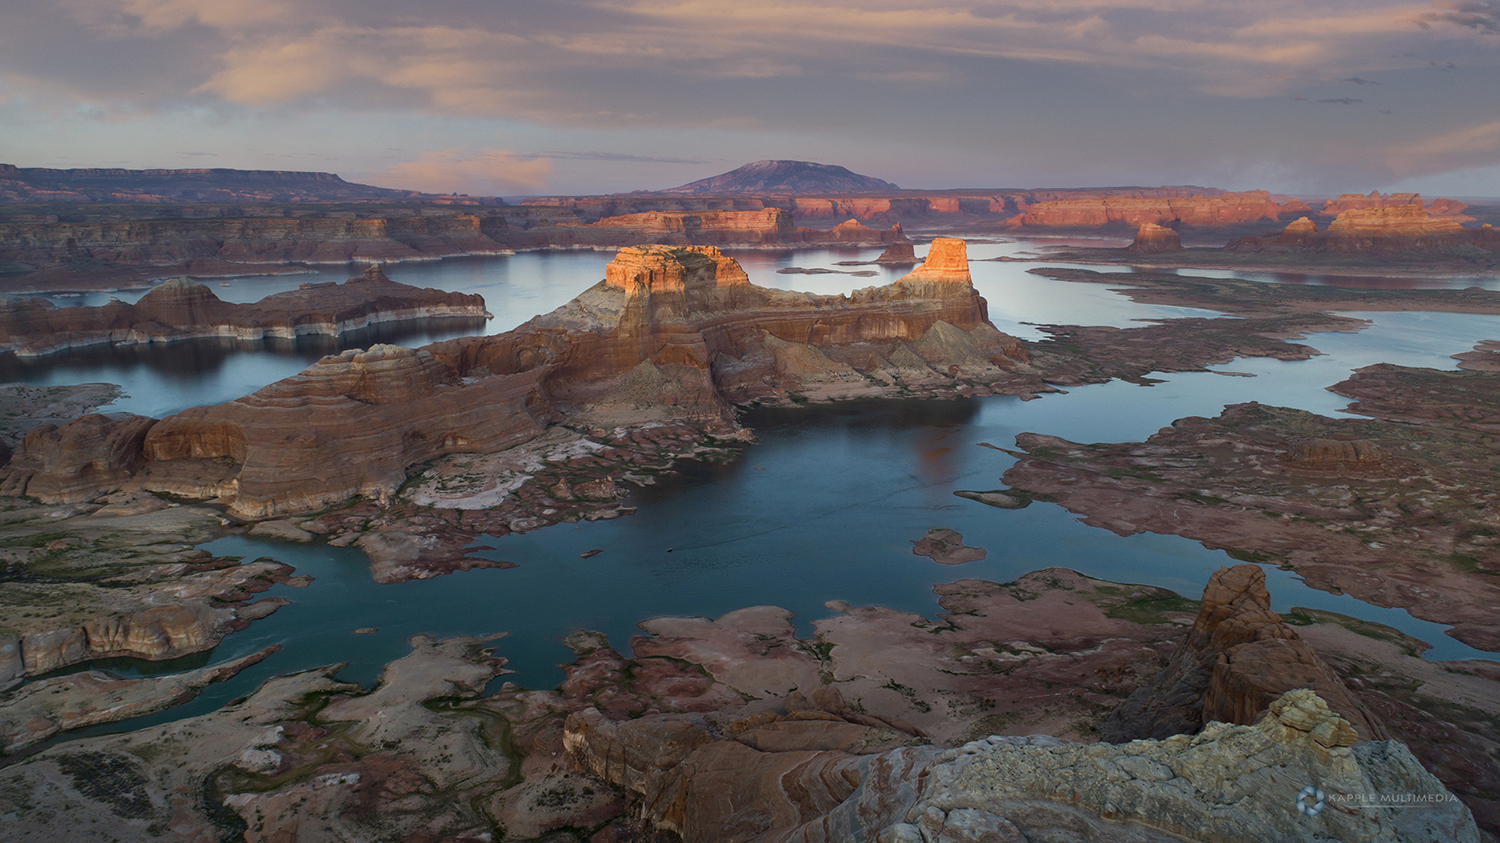
Stud Horse Point is just outside of Page Arizona overlooking Lake Powell.
I took a group of 5 people here for sunset and night time shooting and I thought it was very easDirections and GPS coordinates to Stud Horse Point. Traveling west from Page on HWY 89. Just before the Greenhaven community you will look for a turn off from the highway that starts out as a rough paved road. GPS coordinates for this turn off is 36.983877° -111.552020° .

Follow this road until your first left turn down a dirt road heading south. You will soon approach the cliff in front of you. You will see a bunker straight ahead. The road splits to the left so take that left.

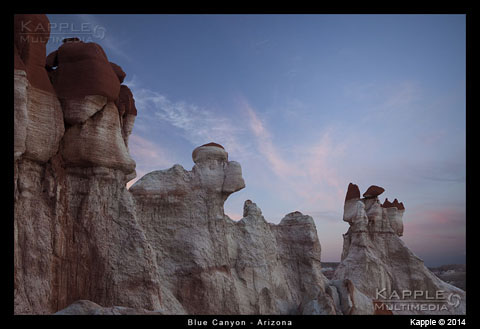
Blue canyon

Blue canyon

Blue canyon is located on Hopi India reservation land of hwy 264, north east of Coal Mine Canyon.
No permit is needed to get here, but do treat the area with respect. Still out of respect for them, I will hold off posting GPS coordinates to Blue Canyon. But will always help anyone who is interested in seeing this area for yourself. If you would like directions to some of these places, just like my facebook page and send me a message. I will reply back to you with directions and or GPS coordinates to Blue Canyon for your own travels. It’s a little out of the way from the main road of travel most people take on their first trips out this way, but worth the extra effort.

Coal Mine Canyon

Coal Mine Canyon

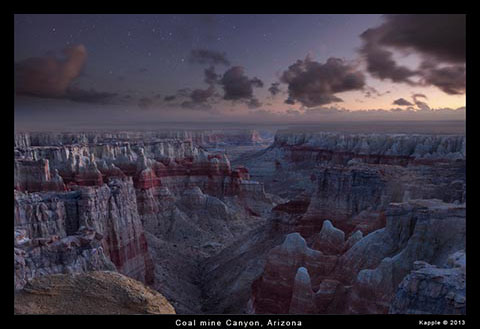
Coal Mine Canyon is fifteen miles southeast of Tuba City in Arizona.
To get there, drive southeast 15.1 miles from the intersection of US 160 and AZ 264 (Main Street) in Tuba City and turn left on a small dirt road. The turnoff is at mile marker 337.25, coordinates 36.005324, -111.048578 . Then drive 0.4 miles north and turn right just before the windmill.

Chiricahua National Monument

Chiricahua National Monument

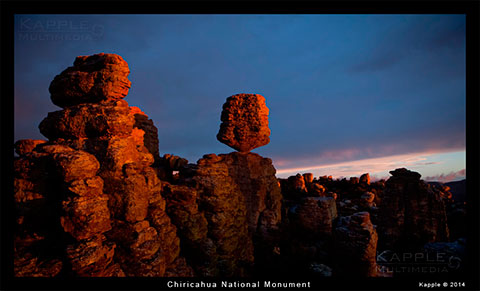
Located in the Chiricahua Mountains in southeast Arizona, it’s a 13 hour drive for me to reach the park entrance from Dallas.
Checked in with the park rangers and let them know I would be out on the trails all night doing night photography which was no problem with them. I arrived at about 11am from the 13 hour drive so I found a nice place to park and sleep for a while since I had a six mile hike to reach the Heart of Rocks Loop trail.

When I set out to begin my hike, it was partly cloudy which was what the forecast had shown and I had a little over a half moon to help light up the landscapes for my night photography. From the parking lot I descended into the canyon and connected with Mushroom Rock trail then with Big Balanced Rock Trail. I could tell the clouds were getting darker, but had know idea what was on the horizon. As I was reaching the top and making my way to the Heart of Rocks trail the thunder was becoming louder and I could see dark clouds coming my way. I reached the Big Balanced Rock and the rain started and the storm was going to be right on top of me.

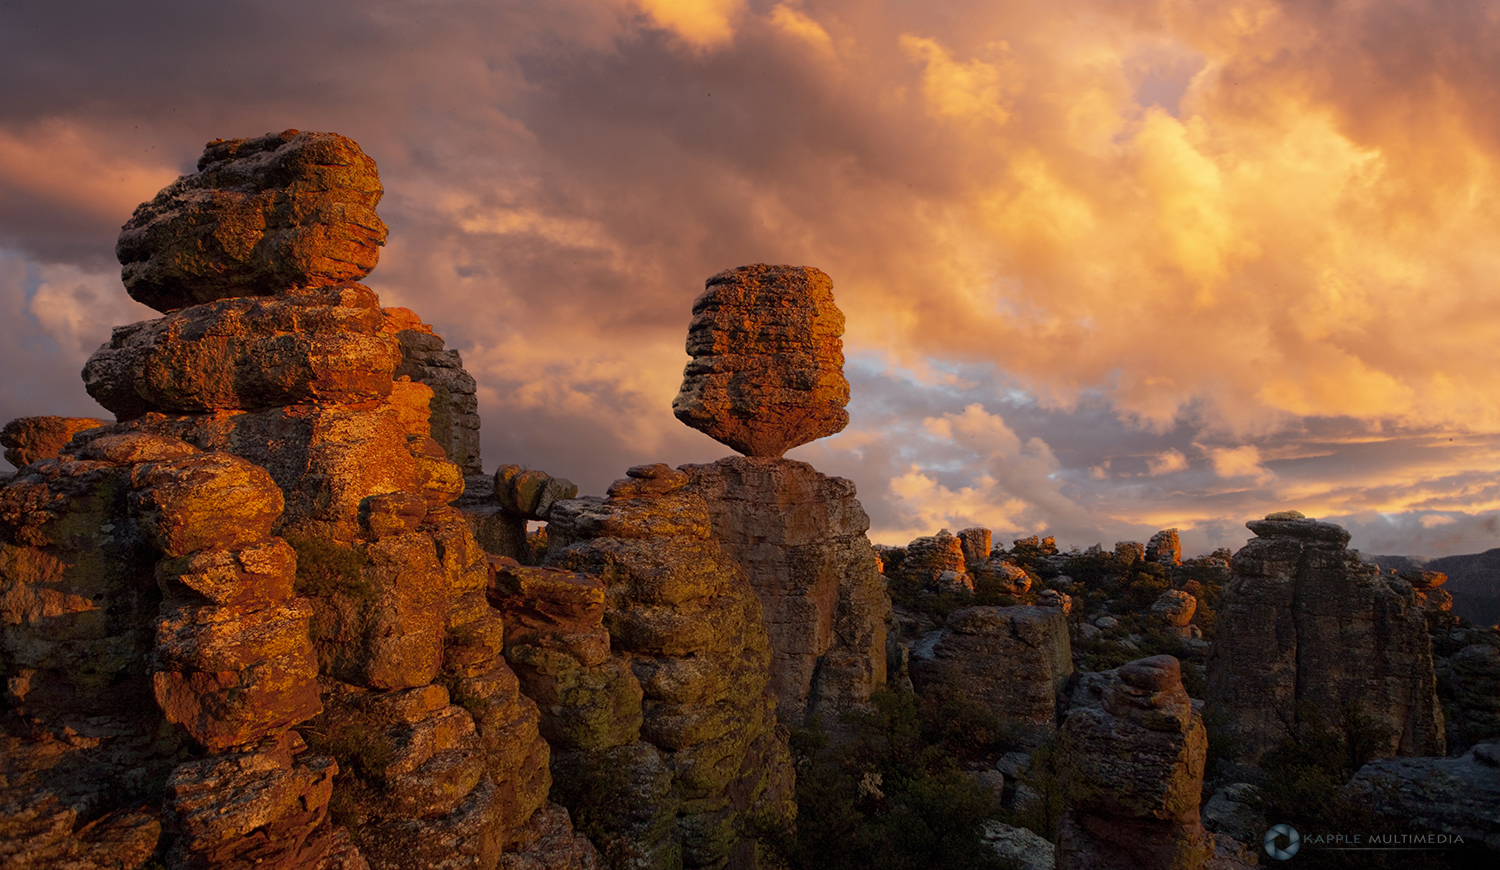
I found a small cave and stayed there until the storm let up. All this was coinciding with sunset and it was looking like sunset would be a waste. But to my surprise, an opening appeared to the west and I was greeted with awesome light and a double rainbow. I was running around getting as many shots as I could even though it was still raining on me. The last bit of light lit up all the rocks a brilliant red which lasted only 5 minutes. But that alone was worth the drive and hike as you can see with the image above.

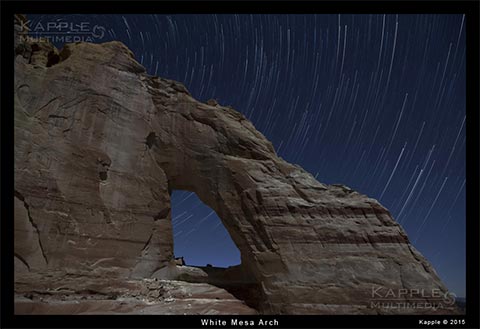
White Mesa Arch

White Mesa Arch

White Mesa Arch in Arizona directions,  From Page drive south on Highway 89 until you reach the intersection with route 160.
Drive 32.2 miles on Route 160 to the intersection with Indian Route 21. Take Indian Route 21 14.4 miles and turn right onto Indian Route 6260. Take Indian Rte 6260 6.2 miles  and turn right. Stay on Indian Rte 6260 for 2.1 miles to (36.47199 N, 110.93591 W) and turn right onto a good dirt road. Continue 0.5 miles to an open area and park at ( 36.472935 N, 110.970187 W).

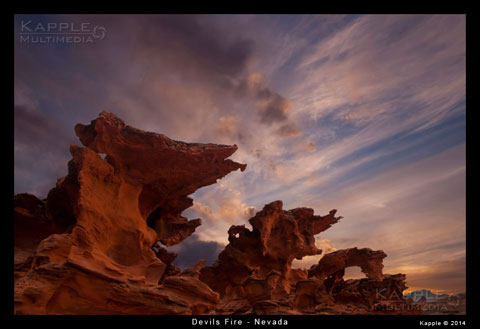
Devils Fire, Hobgoblins or Little Finland

Devils Fire, Hobgoblins or Little Finland

The place is known by three different names. The correct name is Devils Fire. Some call it Hobgoblins, and some have called it Little Finland.

Adds to a lot of confusion when others are trying to find out about it. But there is a lot of info out  there about this place. It is just going to be a long journey for you to find it.

Banff and Jasper National Park

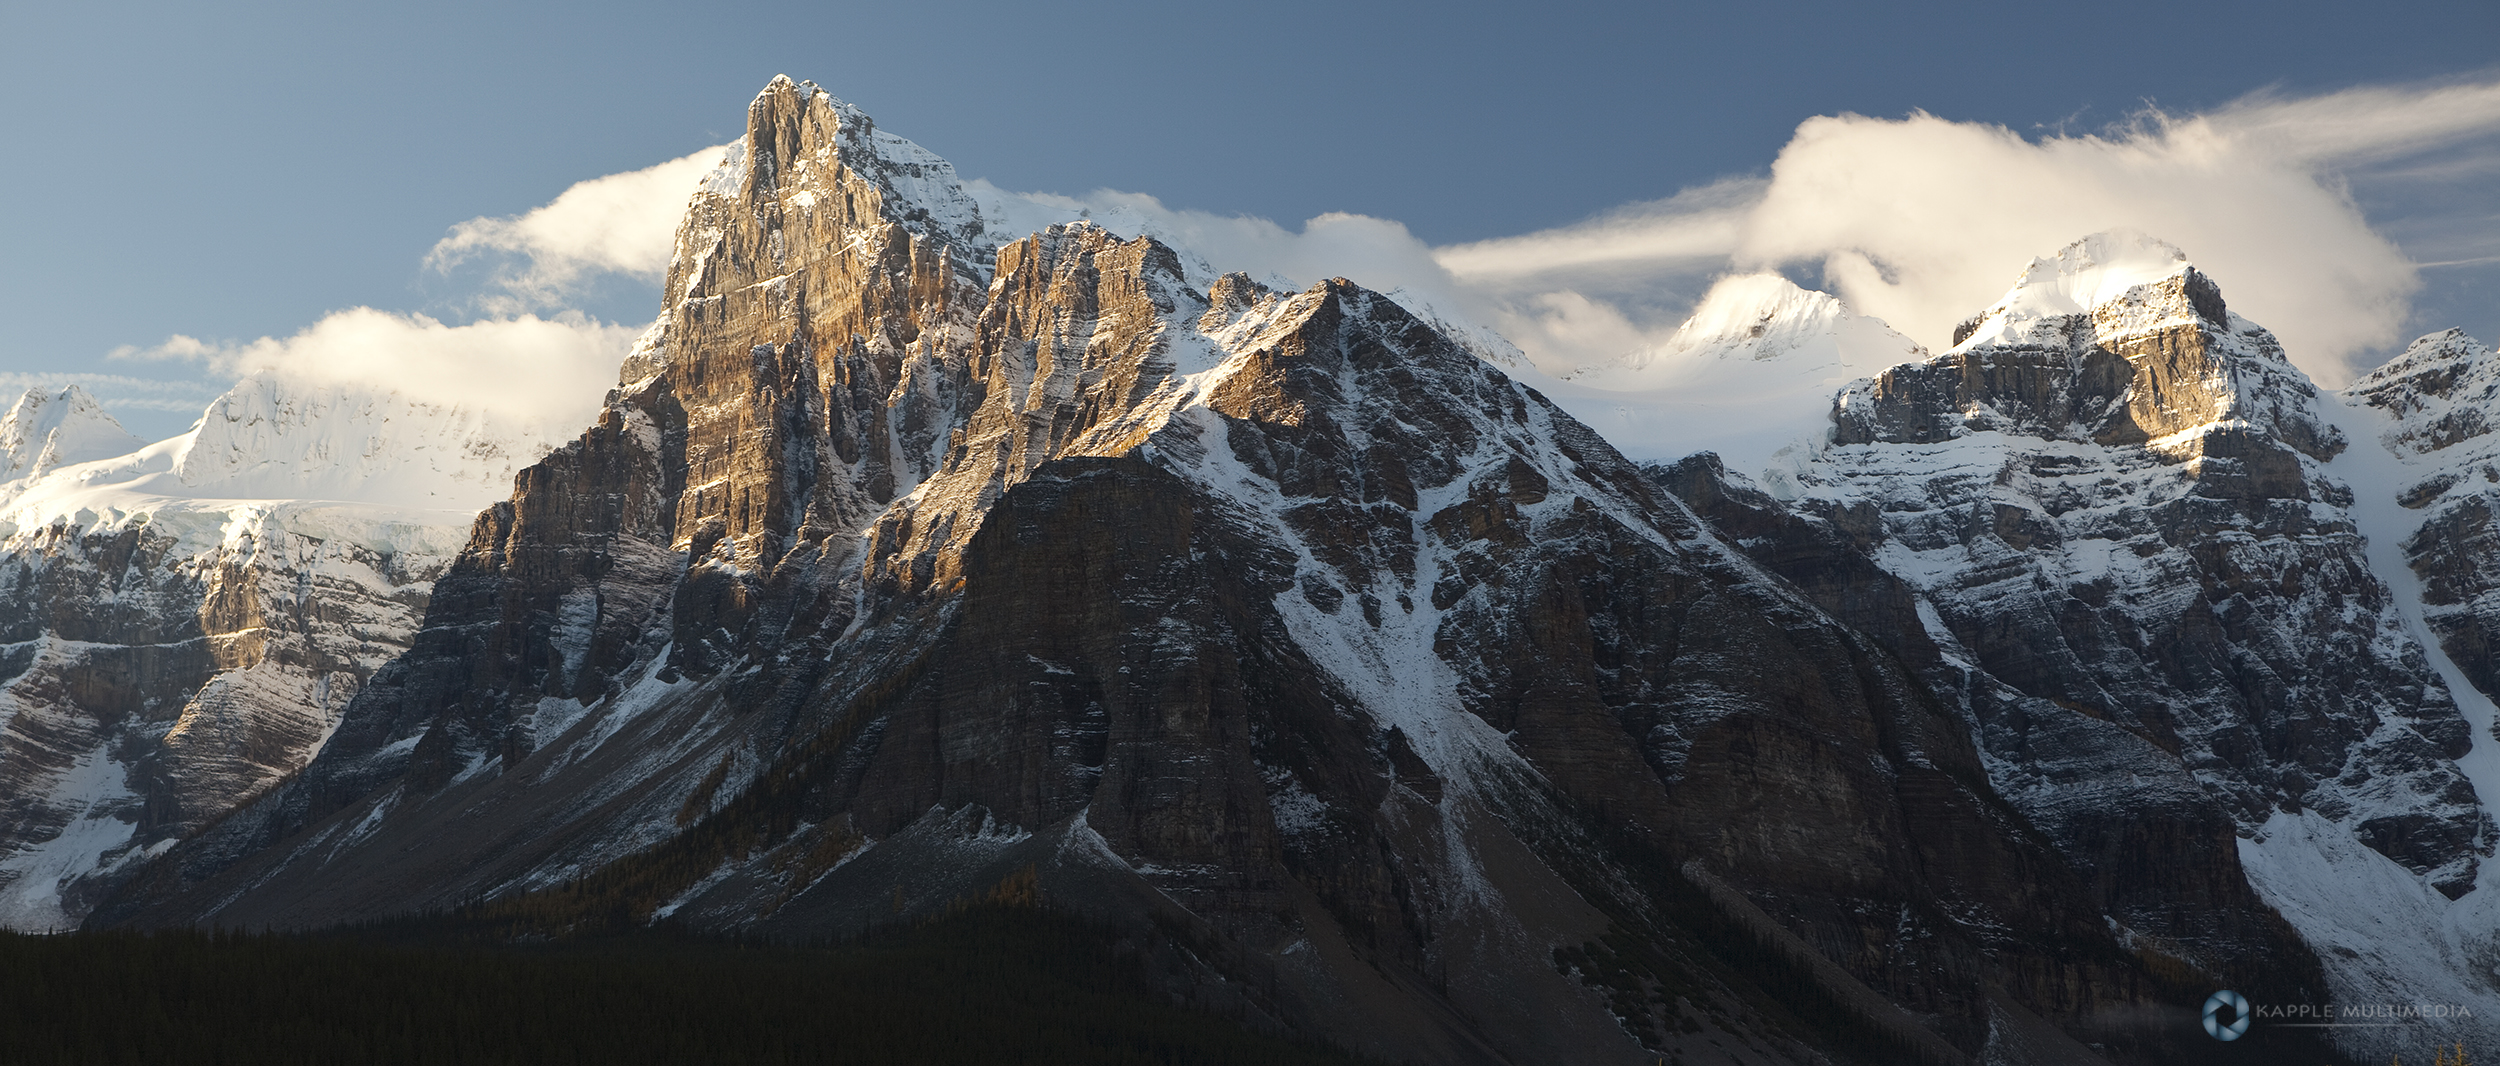
Images from my recent trip into the Banff and Jasper National Park area of Canada. Below are links to download two high res maps of photo locations in Banff and Jasper National Park. Feel free to download and share with anyone. All the info I gathered has been placed on this page so book mark it for future reference. Click on the icons for expanded views for tips on the photography spots in Banff and Jasper National Park I had picked out for morning or evening locations. To view Waterfall locations in Banff and Jasper National Park, Click here.

Our time in Banff was a mere nine days. And as usually, I tried to cram as much into this time as possible. In my opinion, if you only have a week, focus your time on just one of the three parks in the area. I was only able to explore some of the waterfalls in the Jasper area. But I have already dedicated time to return to the Banff and Jasper area next year.

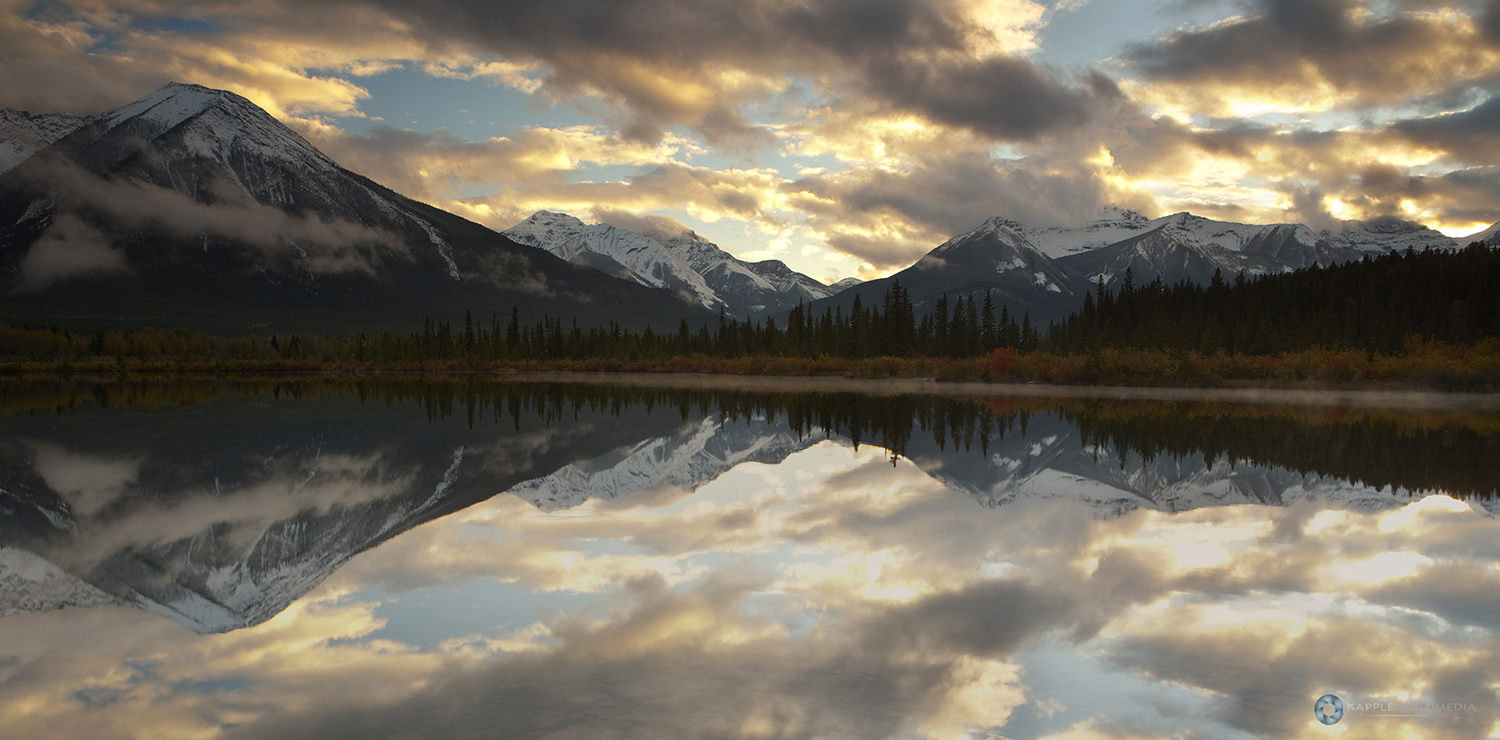
We flew in to Calgary real late and made it into Banff around 2am. It takes about an hour and a half to get there. Woke up at 6am to get my first morning shot. Coming in at night and not knowing the layout, my first spot was the Vermillion Lakes area. It’s only five minutes away with numerous shooting locations. I came back here several times to shoot both sunset and sunrise. There are three different lakes here so take your pick. I personally liked the swampy marsh areas best near lake number one.

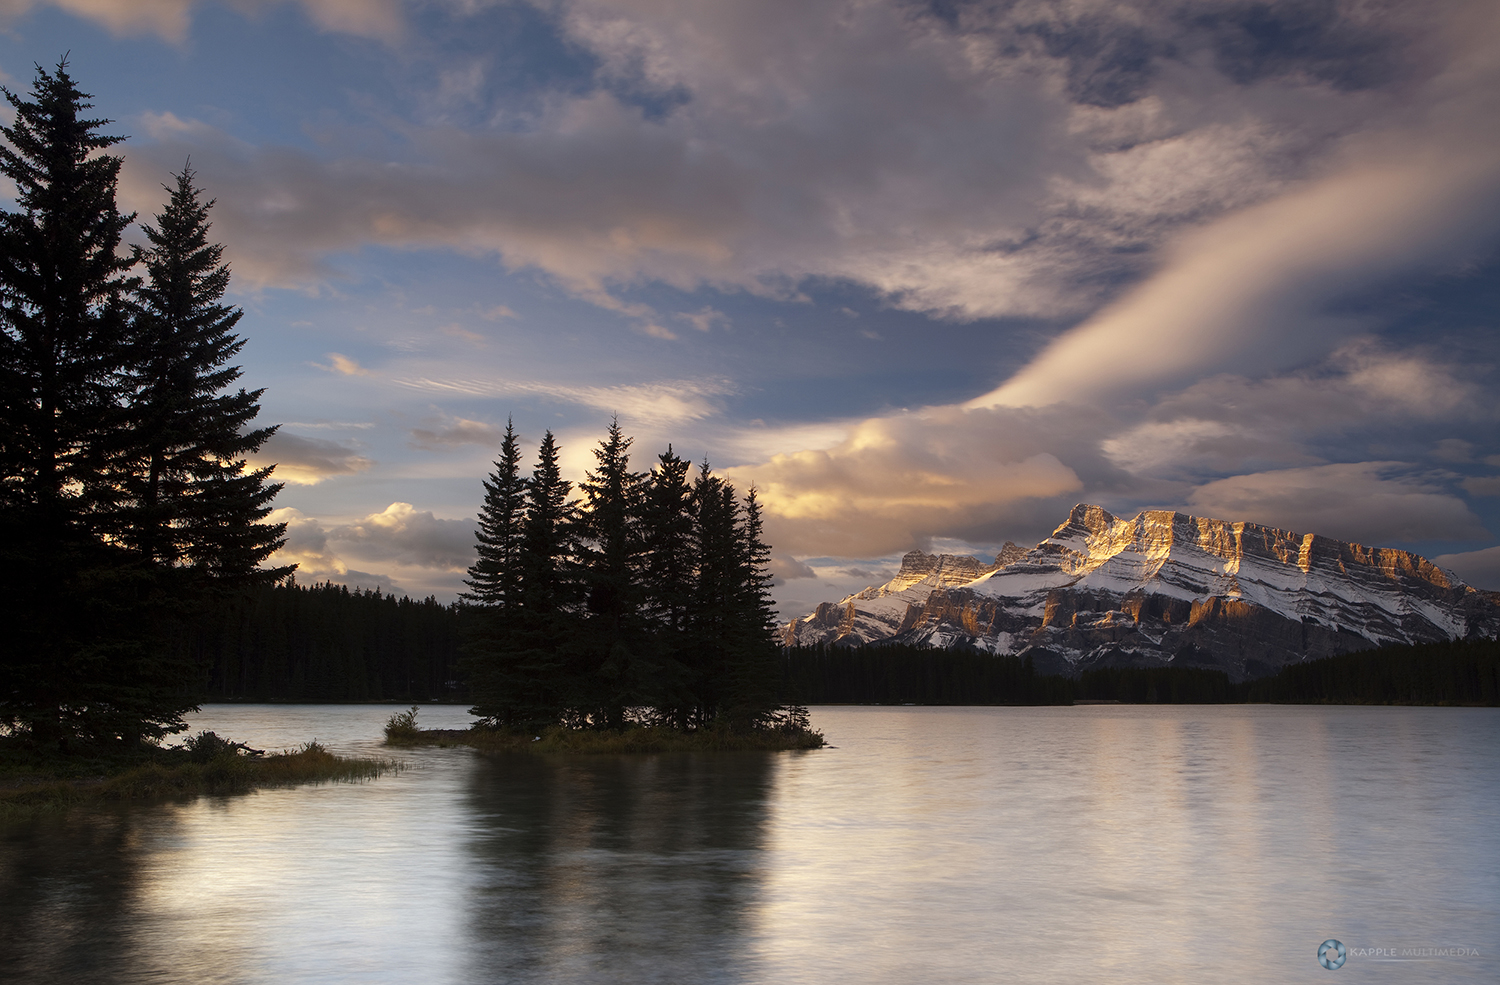
The second location that is closest to Banff I hit pretty hard was Two Jack Lake. Banff Ave. will take you heading south to Lake Minnetonka scenic drive. From there you will see the road to Two Jack Lake which is only 6km from the turn off.

Two Jack Lake is both a sunrise and sunset location. I was greeted with foggy mornings a lot but got lucky twice here getting some great sunrise shots. A waterfall called Cascade Falls will great you to your left on the side of a mountain as you head into this area. But the hike up to it to get up close and personal is straight up. It’s a very step hike.
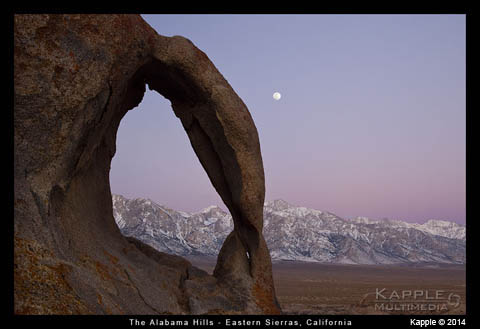
Alabama Hills

Alabama Hills, Eastern Sierra Mountains

There is so much info out on the Alabama Hills that I am sure by now you readers have already read, that I could not tell you anything new about this amazing place.
And the last thing I want to write is a bunch of info I found from numerous sites just to have it on my own page. I always share my info with people. But since this place is so heavily documented by 100’s of other photographers, I will just link you to the best source I found from a few of the photographers that shared their info with me before my trip. I have sent out emails asking permission first. So check back soon for a wealth of info these people have already put together for you.

My favorite arch out in the Alabama Hills is know by many different names. Mostly know though as either Crab Arch or Cyclops Arch.

I spent 4 days in the area camping out near different locations. Got down to 10 degrees at night and pre dawn when I was out doing night time photography. Was so quiet all you could hear was the ringing in your ears. Since this was over Thanksgiving week, I had the place almost to myself. And with a full moon, it made for interesting night time hikes alone throughout the area. Looking back I think I picked a perfect time to explore this area.

Death Valley National Park

Death Valley National Park Landscapes

The valley is a long, low depression set in largely barren and unpopulated country of desert plains and rocky ridges, east of the Sierra Nevada Mountains.
It is over 130 miles long, but only around 12 miles wide, running roughly north-south near the border with Nevada.

From an elevation of 1000 meters at the north end, the land slopes down steadily and for 70 miles the floor is below sea level, reaching a low point of -86 meters at Badwater, the lowest point in the Western hemisphere. The depth of the depression is partly responsible for the extreme high temperatures, which can exceed 130°F in summer. High, unvegetated mountains of sombre reddish color flank the narrow valley on both sides, a few are high enough to have snow for many months of the year.

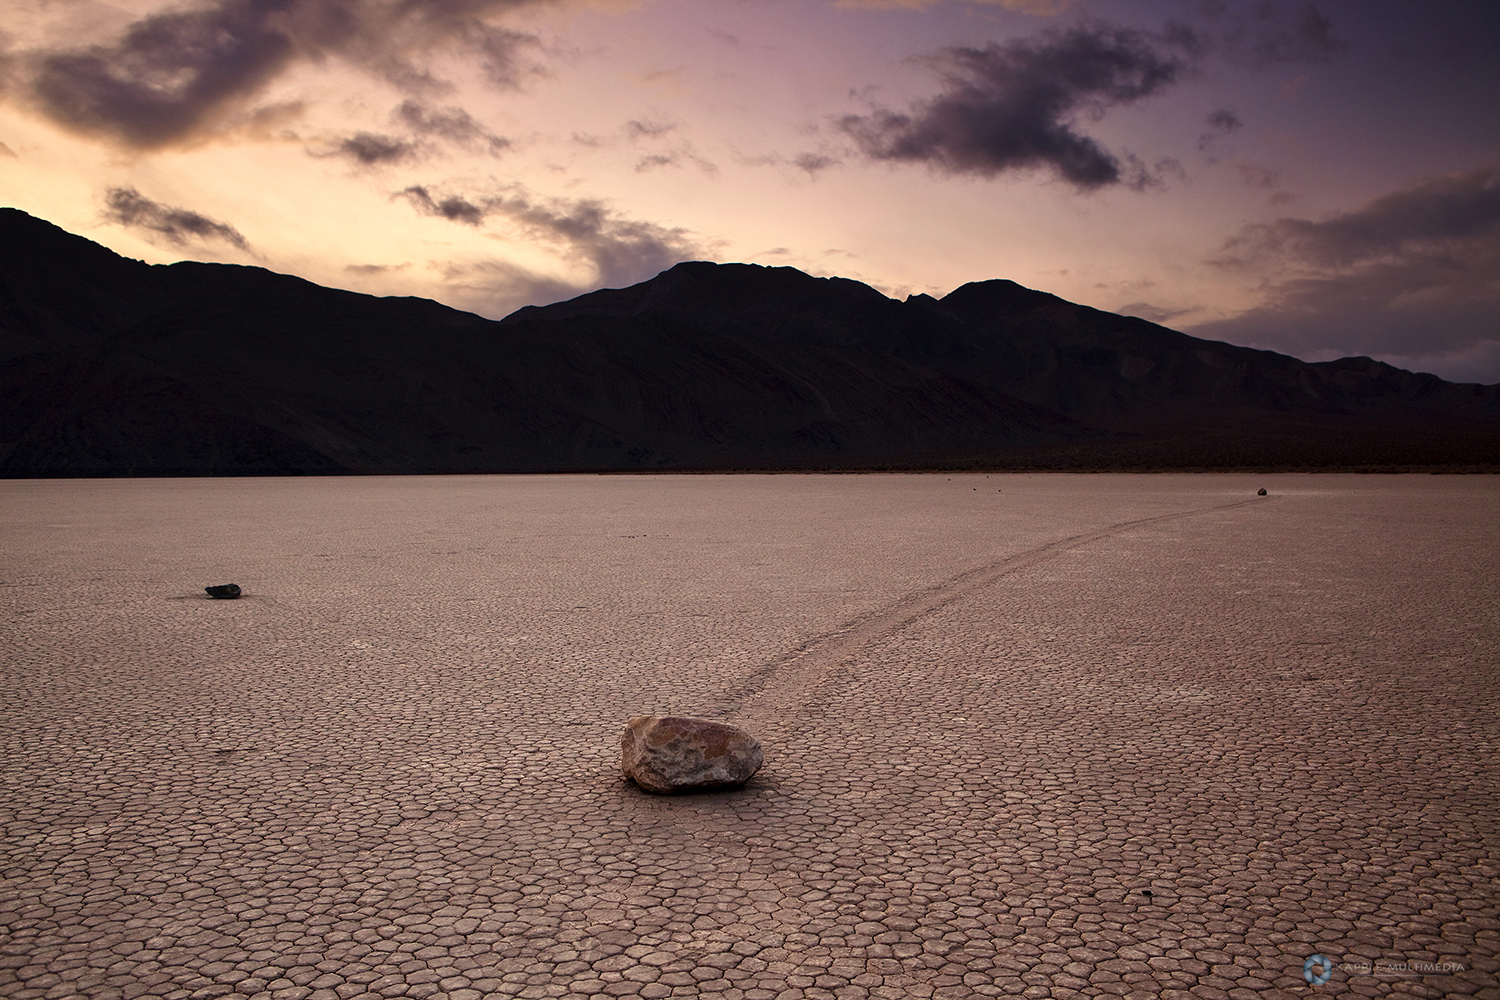
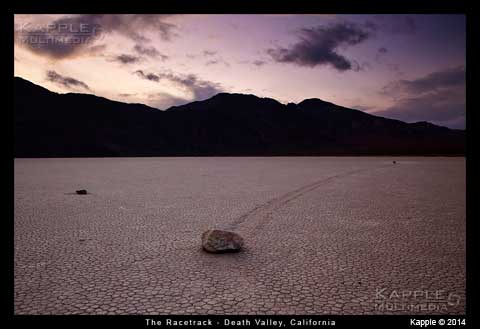
Best time of year to visit is the winter time in my opinion. Been here three different times and the winter was very pleasant. Highlight of the trip for me is always spending the night at the race trace area. You will have to endure miles of washboard roads that will rattle your car loose, but it’s worth it.

The low, salty pool at Badwater, just beside the main park road is probably the best known and most visited place in Death Valley. The actual lowest point (-282 feet) is located several miles from the road and is not easily accessible – in fact its position varies, but a sign in front of the pool proclaims it too to have an elevation of -282 feet, and it is here that everyone comes to take photographs. An enlarged parking area and other new facilities were constructed in fall 2003 to cope with the ever increasing visitor numbers at the site

Several salt trails and shallow seasonal streams lead towards other pools out across the valley. During occasional rainy periods, a large shallow lake forms, several miles across and only a few inches deep, but most of the water soon evaporates or sinks below ground. Badwater never dries out completely, and even manages to support a unique species of fish – the Death Valley pupfish, a small bluish creature which has evolved to survive in the hot saline conditions. South of the salt pools, the seasonal Amargosa River meanders for 30 miles via several routes towards the mouth of the valley, before sinking into the sand.

Surrounded by nine mountain ranges, Death Valley is cut off from rejuvenating rainfall and cooling Pacific winds, making it one of the driest and hottest places in the world. A record high temperature of 134 degrees Fahrenheit was recorded there in 1913, and a ground temperature of 201 degrees has also been registered—11 degrees shy of the boiling point for water.

This valley is also a land of subtle beauties: Morning light creeping across the eroded badlands of Zabriskie Point to strike Manly Beacon, the setting sun and lengthening shadows on the Sand Dunes at Stovepipe Wells, and the colors of myriad wildflowers on the golden hills above Harmony Borax on a warm spring day.

Death Valley is a treasure trove of scientific information about the ancient Earth and about the forces still working to shape our modern world. It is home to plants, animals, and human beings that have adapted themselves to take advantage of its rare and hard won bounty. It is a story of western expansion, wealth, greed, suffering and triumph. Death Valley is a land of extremes, and much more.

In 1849, a group of pioneers crossed Death Valley in search of a route to the gold fields of California. When finally making their escape from the valley, the group bid it farewell with the words “Good bye Death Valley!” christening it with the name it is known by today.

Idaho Landscapes

Idaho Landscapes Photo Gallery

The drive was a long one from Dallas Texas. I left after work and drove to Tulsa to pick up my dad. From there we drove straight to the Eastern side of Idaho.
Our first stop was a waterfall called Fall Creek Falls in Swan Valley near the Palisades Lake Reservoir. Show sunset here, then drove north to Ashton so I could be in position to shoot Upper and Lower Mesa Falls at sunrise.

We had mostly bland ugly blue skies. So my only time to get some good even lighting on the waterfalls would be either sunset or sunrise when the falls would be in the shadows. After shooting Mesa Falls we headed to Twin Falls Idaho where there is a nice collection of even more waterfalls.

First up here was Perrine Coulee Falls. It sites in the shadows on the south side of the canyon the Snake River runs through. Just off of hwy 93, you take Canyon Springs Rd towards Centennial Waterfront Park. After the first switchback, pull over and it will be on your left.

Next we scoped out Twin Falls and Shoshone Falls. Both of the beautiful spots have hydro dams built around them. Twin Falls is not even a twin Falls anymore since they dammed one of them up. Shooting Shoshone falls, I was having to crop out the ugly man-made structures. I don’t get it…did the planners say, “Hey, here is a beautiful series of waterfalls. Lets destroy it and make a dam.” They could have easily done this lower down-stream to get the hydro electric power they wanted…idiots… Anyway, I skipped shooting Twin Falls and focused on Shoshone falls during sunset.

The next morning the plan was to shoot Thousand Springs and Niagra Springs Falls. I had to make a choice since I could not reach both of them in time. So I opted for Niagra Springs Falls. It sits on the north side of the canyon south of Jerome Idaho, so I had to get there way before sunrise to get the even lighting I needed to pull the shot off. I left to look for it around 4:30am and made it in time.

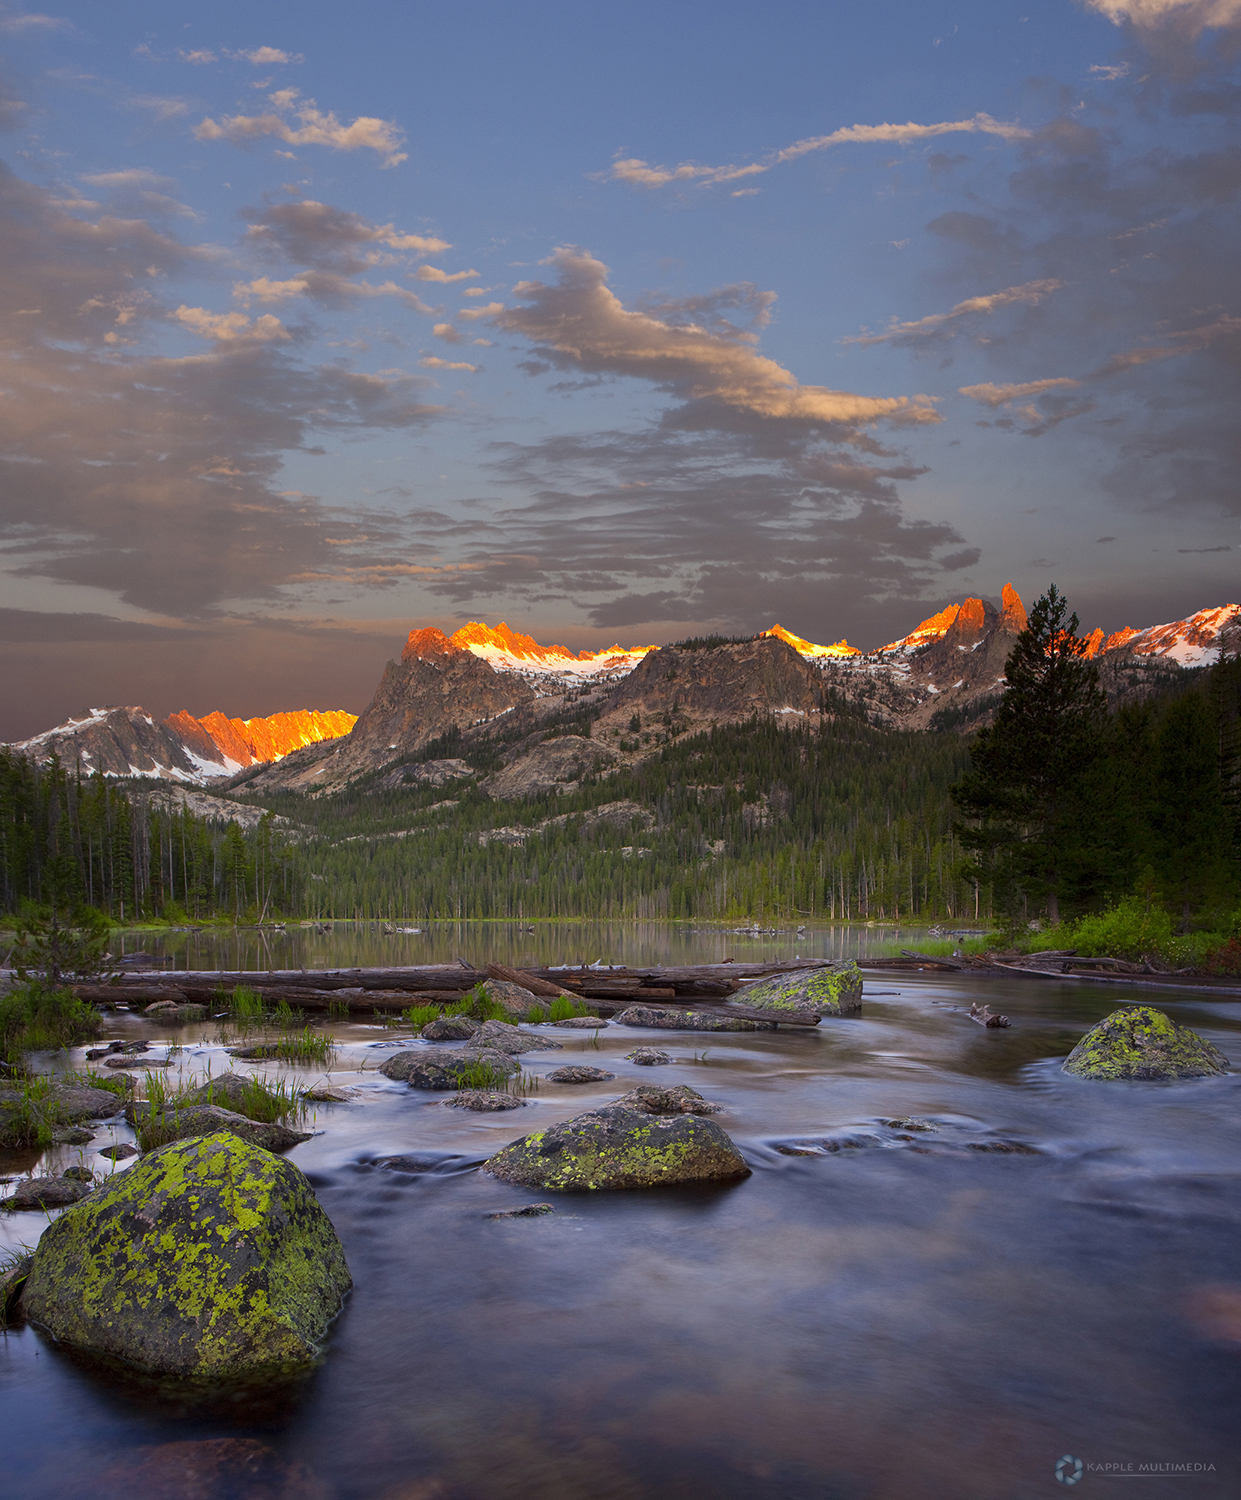
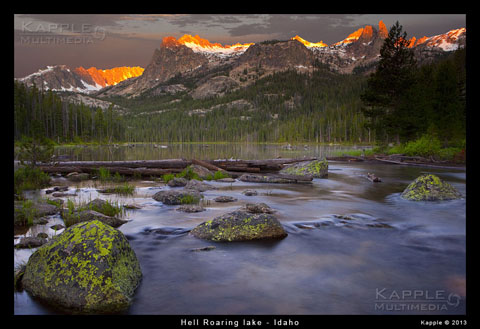
After shooting all these waterfalls we headed to Stanley for the mountain landscape scenes. We had planed originally to hike around Alice Lake and do the loop to Toxaway Lake, but the rangers said there was still a lot of snow on the trails and the rivers were flowing very fast. We would need to cross them three different times on the trail. So we opted to hike up to Hell Roaring Lake instead.

My first morning shot was in the marsh area north of Stanley Lake. I got up early to get ready for the shot. My plan was to wade out into the water to get a better angle. I put on waders for this since the water was so cold. They helped for a while, but after standing still for 30 minutes waiting on the sun, the cold water became pretty painful. But I got a great shot and it was work it.

Next day we geared up for the 5 mile hike to Hell Roaring Lake. 3 of us went in with camping, fishing and camera gear. It was a beautiful spot. Took lots of shots here from sunset, night time and sunrise.

We started at the Hell Roaring lower trailhead and were greeted by switchbacks right off the bat. But soon, the trail leveled off following beside Hell Roaring creek and then meandered through marsh areas. I think overall the main issue with this hike was the constant attack of mosquitoes. They were really bad this year with all the rain and this area in particular is bad anyway since there are so many natural marsh areas below the lake. I bathed in repellent numerous times during the stay here. The hike in took us just under 6 hours.

Upon our arrival we immediately set up camp since it looked like it could rain. Then fixed dinner with Mountain House meals and I went off doing the photography for the evening. We had about a 1/3rd moon out at night. So I set the alarm for 12am to check on the position. At 12 the moon was still to low so I knew 4am would be the best time to start shooting nightscapes. Got up at 4 and dragged myself out of the tent only to have to reset the alarm for 5:45 to make it to the morning spot I had in mind. Wish we had more time to stick around this area, it was beautiful. The hike back was much easier going at a nice easy slope back down hill until we reached the switchbacks. A big dinner was in order when we got back to Stanley.

The Great Sand Dunes

The Great Sand Dunes National Park Landscapes

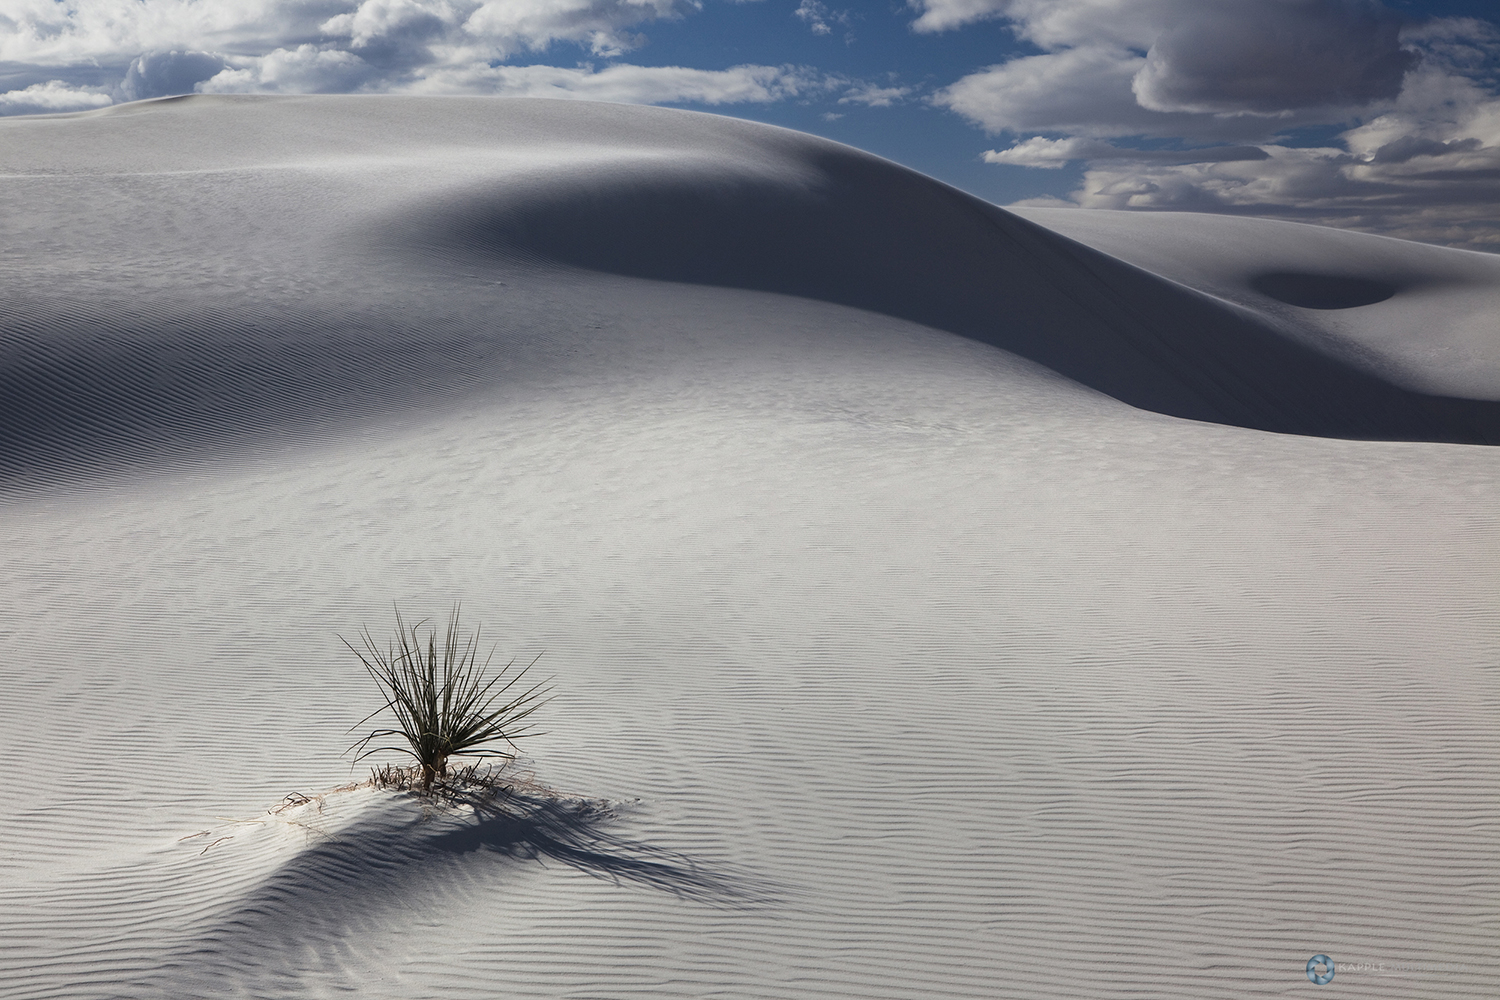
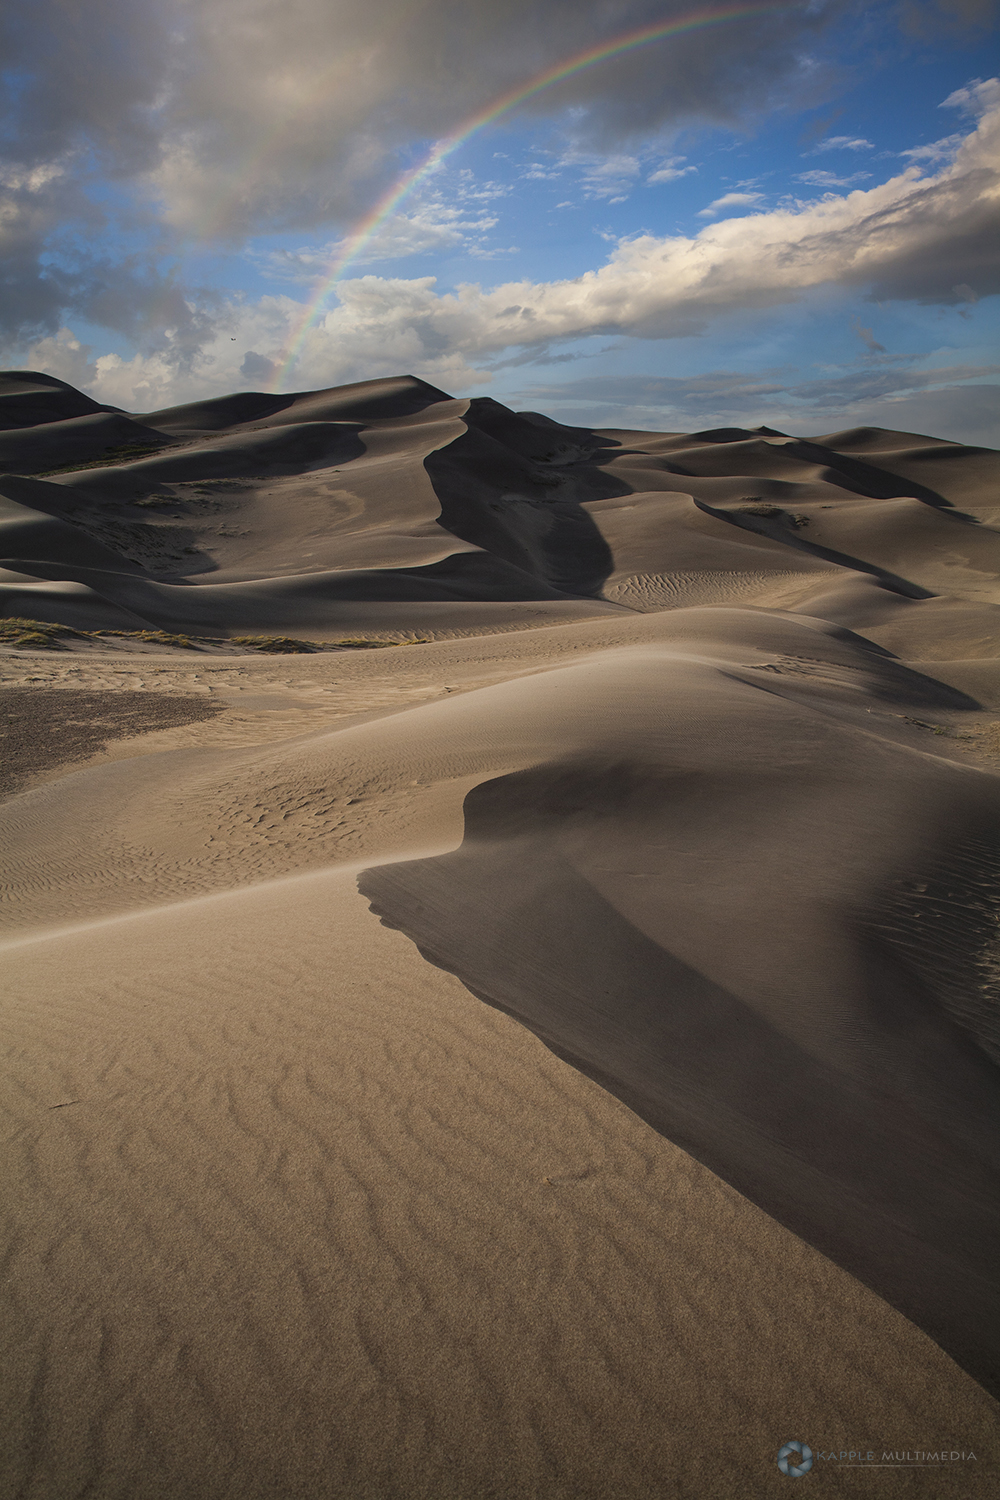
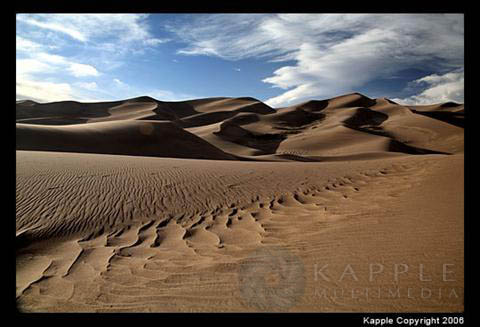
The Great Sand Dunes of Colorado are seeming totally out of place at the edge of the snow-covered Rocky Mountains, these dunes of pure golden sand cover an area about 7 by 5 miles and reach heights of 700 feet above the floor of the flat San Luis Valley, making them the tallest dunes in the USA.
Great Sand Dunes National Monument became Great Sand Dunes National Park and Preserve on September 13, 2004, when Secretary of the Interior Gale Norton signed a declaration making this America’s 58th National Park.

Visitors can hike the dunes and several nature trails, observe plants and animals and camp at either a campground near the dunes or in the backcountry. Medano Creek, which flows at the base of the dunes during spring and early summer, allows for sand castle building, fishing and hiking.

The dunes are the product of the wind and rain eroding the San Juan and Sangre de Cristo Mountains that ring the San Luis Valley. They have collected here because the prevailing winds across the valley blow in this direction and meet winds blowing in the opposite direction. The sand drops to the valley floor and is held in place by water flowing from the Sangre de Cristo’s. So over the course of millenia, the dunes have built up to where they are today. And tomorrow they will be different because the wind still blows, the sand still moves and the deposits of sand still grow.

Colorado Landscapes

Colorado Landscapes, Fall Colors in Southern Colorado

Well for the past 5 years I have been lucky and nailed peak colors. From Wyoming to Canada, unless you can travel at a moment’s notice, you have to guess and plan things out months in advance. You basically have a 4 week period to guess when each area will be at the best potential for fall colors.
A lot of variables come into play here depending on how wet the summer was, El Nino or La Nina. There is no precise way to really plan it.

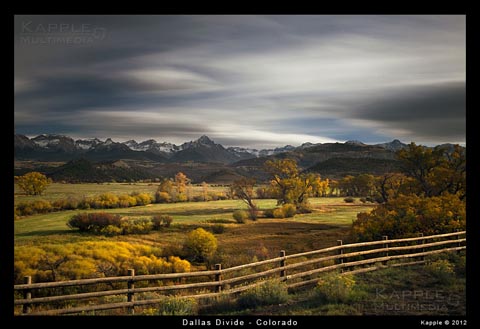
This year I was off by a week. Photographers were telling me I needed to be there a week earlier than I had my plans booked for the trip. But I was lucky this year. The fall colors stuck around for me in most the areas I was traveling to, especially the area called the Dallas Divide.

It takes me 18 hours to drive just to the southern section of Colorado from Dallas Texas. So I took off after work and changed my itinerary around and headed straight to the Dallas Divide area since this was the prettiest spot on the trip. And the decision did not disappoint me. I got a chance to explore a lot of the back roads and see a lot of different vantage points to see the mountain range.

Other areas we explored were around Ouray and Silverton to see a few old gold and silver mines. We checked out a few waterfalls in a couple of box canyons that still had enough water worthy to photograph.

Crystal Mill, Colorado Ghost Town

Crystal Mill, Colorado Ghost Town

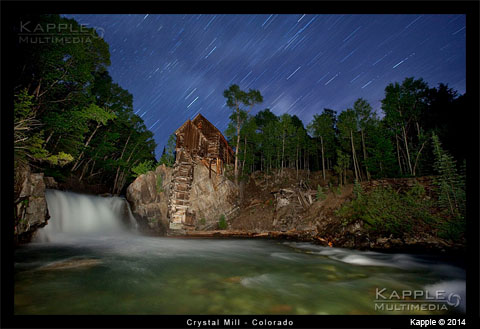
9 hours…It started off like many other of my long drives out west. Getting out of flat ugly boring Texas, why do I live in this state? I often ask myself every time I leave to go on a photo journey. My destination is the Crystal Ghost town in Colorado to photograph the mill on the Crystal River.
I have wanted to see this place for a long time. So I took advantage of the extra day off for the 4th of July and headed that way.

I had read up before hand on how bad the off road is to get to the mill and ghost town. So I found Crystal River Jeep Tours online and contacted them about taking us there and dropping us off. These guys are great people to work with. They accommodated 4 of us and all our gear and were ready right when we showed up to move out.

They talked up a storm telling us the story and history of the surrounding areas. They must have repeated this millions of times for other people but still told us all about it with great enthusiasm.  It took us about an hour to get from their location to the mill. The road is pretty bad, but if you have high clearance and the car is not your every day commuter vehicle, you should be fine. You will just have to take it slow…really slow.

Rocky Mountain National Park

The Rocky Mountain National Park

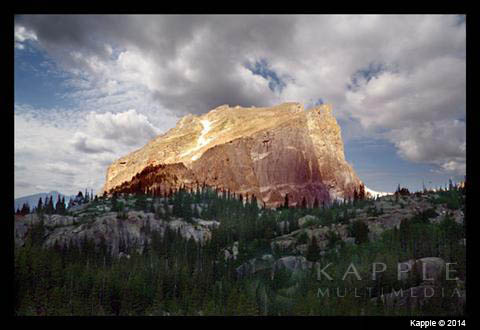
Rocky Mountain National Park is a national icon — its rugged mountains carve out a skyline that captures the American imagination and serves as both protector and passageway to the west. One-third of the park is above timberline, the 14,255-foot flat-topped summit of Longs Peak included; there are 71 peaks here that top out above 12,000 feet.
Trail Ridge Road snakes its way through alpine tundra for 50 miles between glacier-sculpted peaks. It crosses the park from east to west and then drops into the Kawuneeche Valley, where the north fork of the Colorado River flows. The road travels for 11 miles above 11,000 feet and for 4 miles above 12,000 feet. The road’s highest point is 12,183 feet above sea level and occurs between Lava Cliffs and Gore Range. As you drive through the heavens, you absolutely must stop at Rainbow Curve, Many Parks Curve, and at Forest Canyon Overlook. The one caveat? Try this drive on a weekend in August and you’ll be breathing more exhaust than crisp, clean mountain air.

In Rocky Mountain National Park the vistas are everywhere, and unending. Above, azure blue is permanently etched with craggy peaks extending notched, key-like protrusions into a perfect sky. Below, grassy meadows dotted with wildflowers spread an intricate quilt pattern. Deep canyons plunge into velvet green forests far below. Rivers rush down the mountainside to rest in still pools.

The Grand Tetons

The Grand Tetons National Park and the Fall Colors

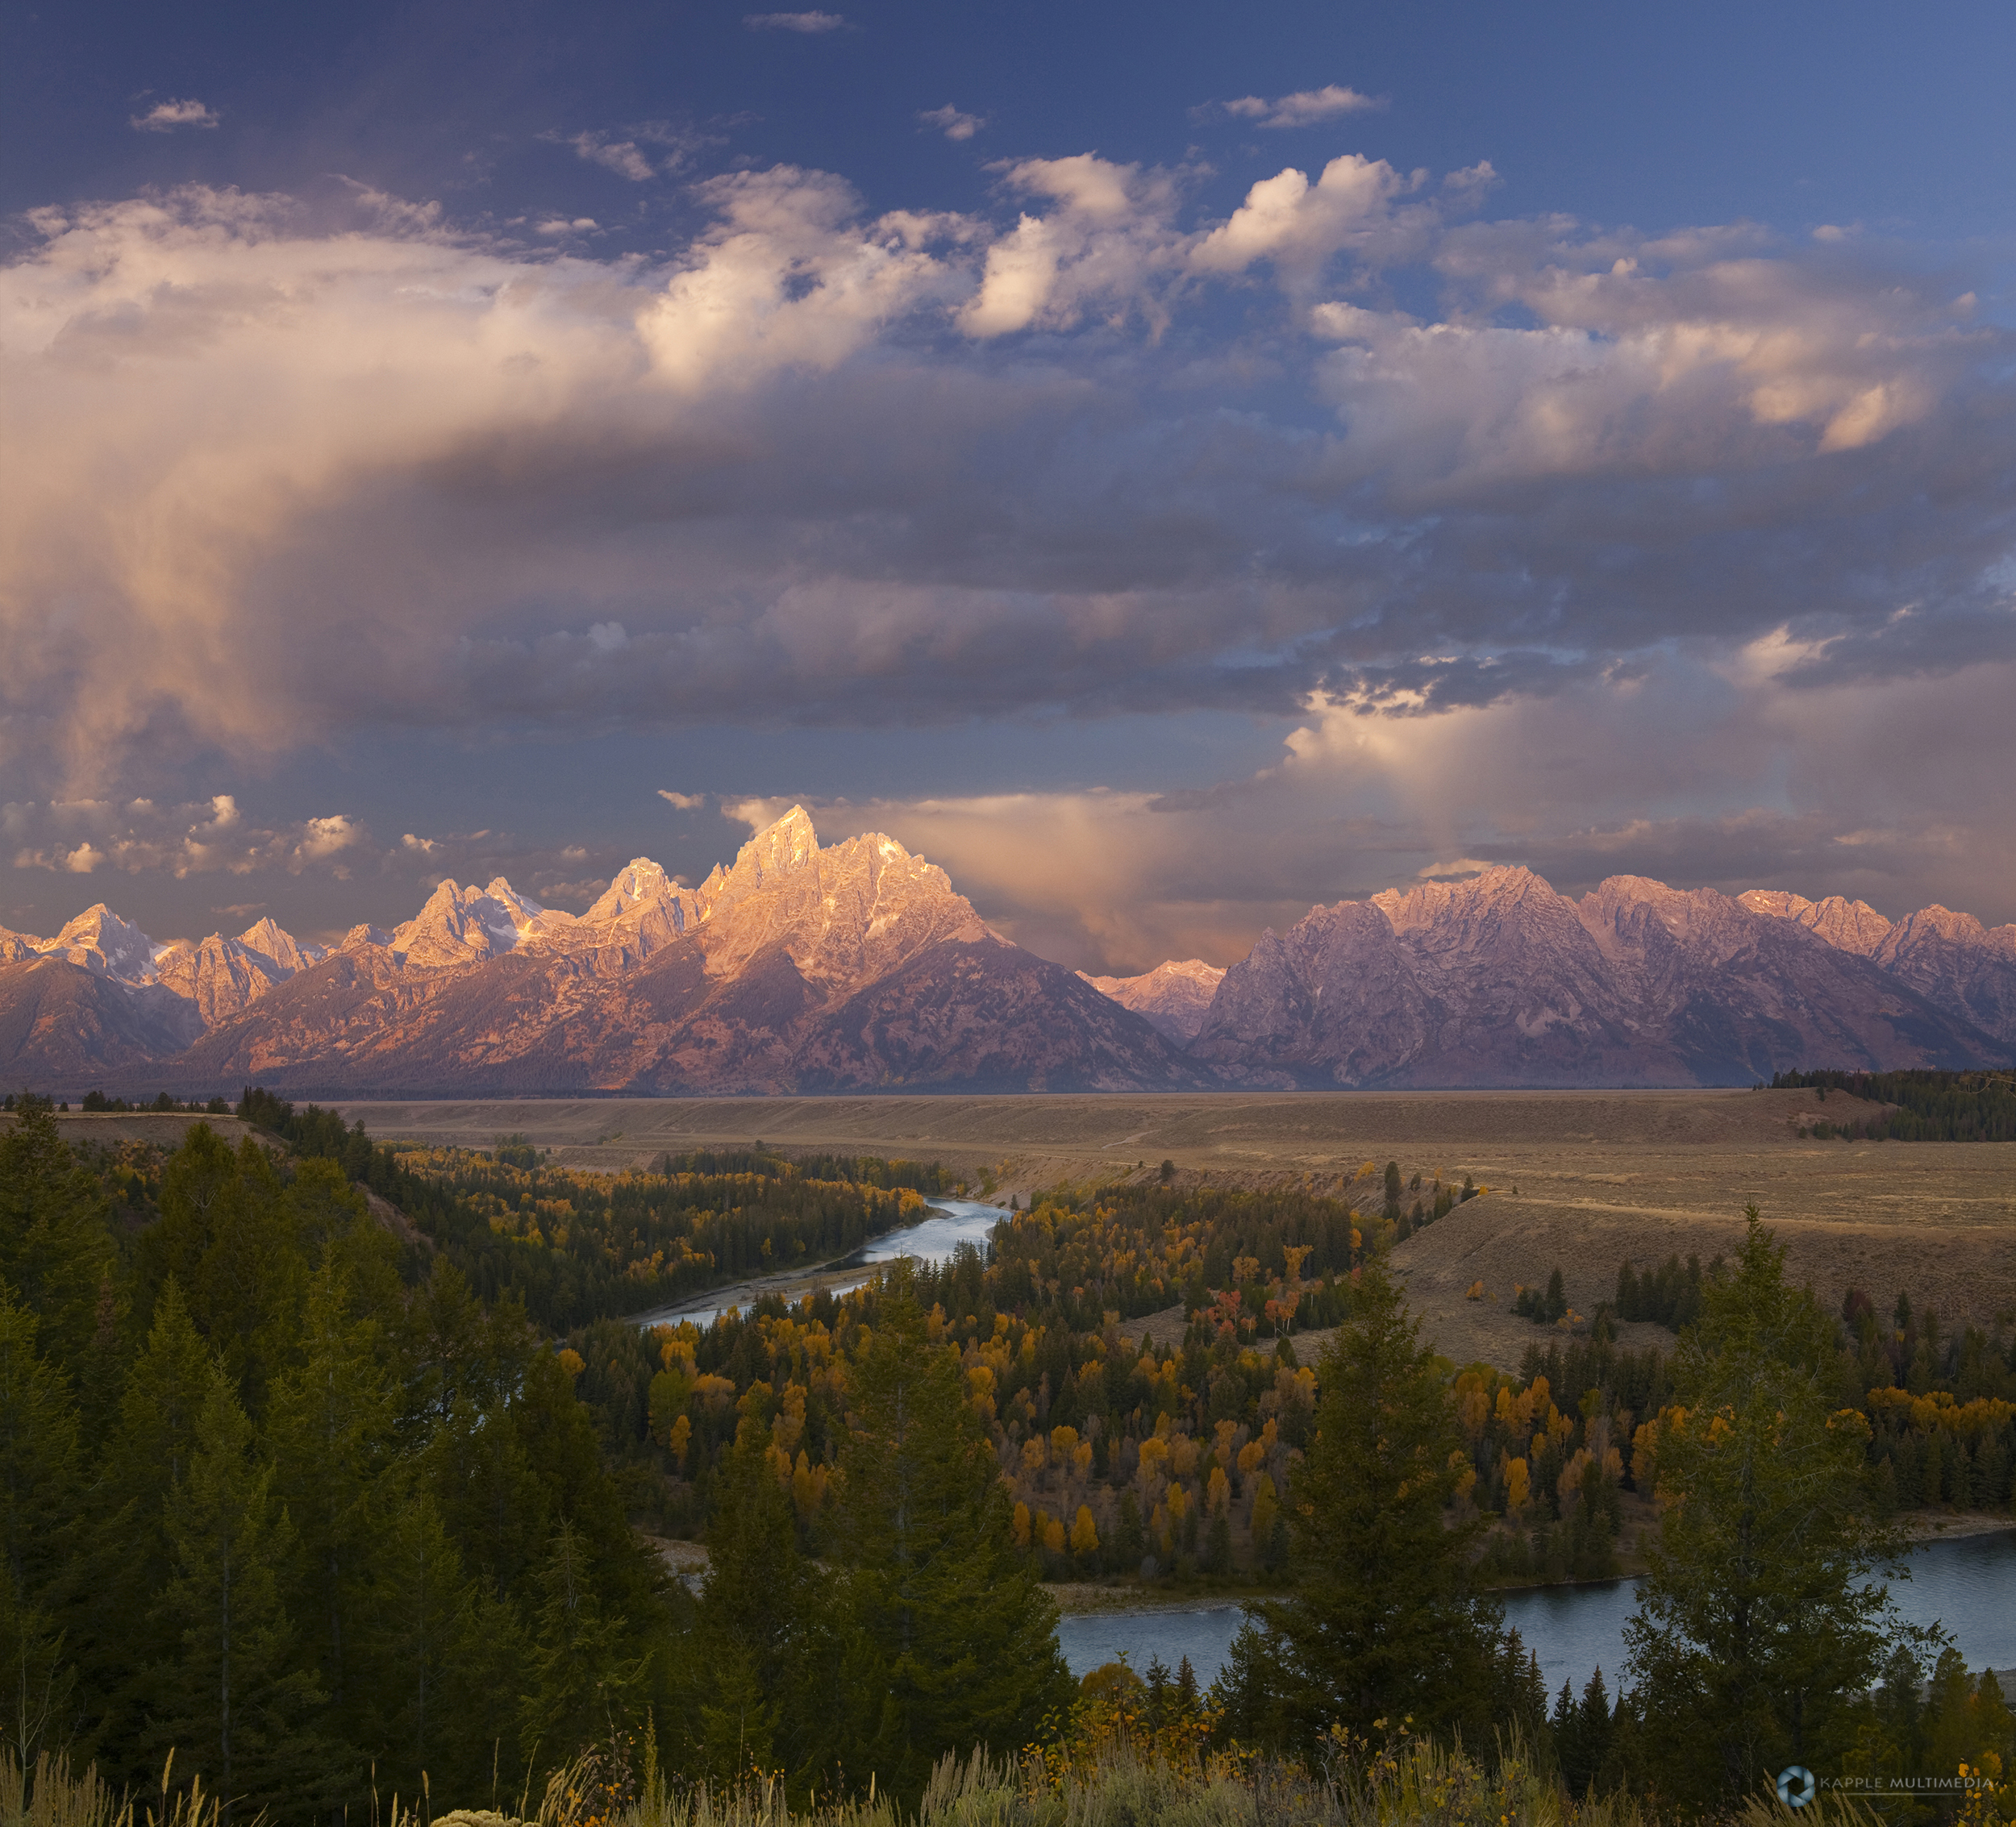
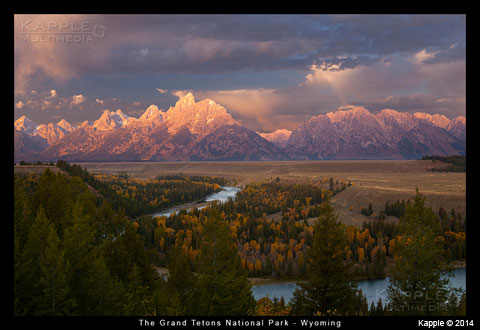
The Grand Tetons National Park is a great place anytime of year, but during the color changes of the fall the place comes alive. With both people and colors. This past year during October of 2008, I was lucky enough to hit the date for the peak color change.
I made the plans months in advance and had to just simply guestimate on when I wanted to try and be there. Most people were telling me I planned the trip too late as fall colors are in full swing during late September. I planned my trip for the first week of October. Lower right is a map to the main locations to photograph in the Tetons. Someone was nice enough to post one like this on one of the photo forums I hang out on. Helped me a lot in the beginning. Click on it and it will bring up a larger version. Print it and take it with you.

The leaves were just starting to change with no real color the first couple of days. But as it got colder the color was getting better. By day 4 the color was in full swing and it seemed to happen suddenly. I was hitting the main areas to photograph and it was a zoo with all the photographers. Over 100 of them were lined up along the road photographing Oxbow Bend. I was getting up at 4:30am every morning. Not so I could get first light since that was a couple of hours before sunrise, but to establish my position for the shot I wanted. If you want the best position, scope the area out the day before and do the same.

Almost every day, I was the first to arrive at the scene where ever I was going. I scoped out each location the day before so I know where I wanted to be. Schwabacher’s Landing was no different. Photographers were lined up all along the small pond or lake with the Tetons hitting the water. There is a small area to get the so called perfect spot. Really about 6 or 7 people can get that perfect angle. The rest have to position themselves in other areas along the pond.

It’s pretty much the “photographer’s code”. If you miss the opportunity to get the right spot, have enough manners to move on to a different spot and try again the next day. But there were a few times someone would try and move in between us who were late arrivals. I hit Schwabacher’s Landing twice and both times was either the first or second person there. The first arrivals would jokingly talk about what to expect as the late comers would arrive one by one.

I was out in the elements for this trip the entire time camping for 12 days, mainly at the Signal Mountain Campsite. I was a little disappointed in the cloudless days we seemed to be getting, but we had good weather for the most part. During the last 2 days a strong cold front came through with heavy rain. The wind had blow away most of the leaves on the trees. I was kind of surprised by this but felt fortunate to have had plenty of time to get most of the shots I wanted. My dad had gone on this trip with me. So during the day we tried our luck fly fishing the Snake River and a few lakes. We did not catch very many fish but my dad did catch 4 nice sized trout. I caught one. We had a great time camping out.

Yosemite National Park

Yosemite National Park Photo Gallery

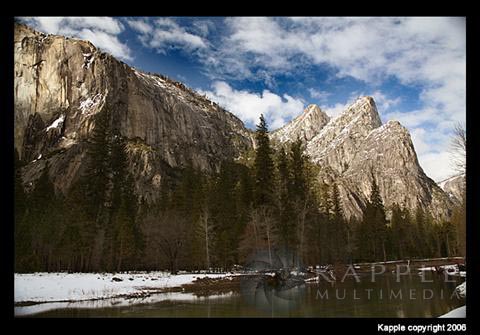
The exposed geology of the Yosemite area includes primarily granitic rocks with some older metamorphic rock. The first rocks were laid down in Precambrian times, when the area around Yosemite National Park was on the edge of a very young North American continent.
The sediment that formed the area first settled in the waters of a shallow sea, and compressive forces from a subduction zone in the mid-Paleozoic fused the seabed rocks and sediments, appending them to the continent. Heat generated from the subduction created island arcs of volcanoes that were also thrust into the area of the park. In time, the igneous and sedimentary rocks of the area were later heavily metamorphosed.
Yosemite lands were first preserved by the United States Congress and President Abraham Lincoln who, in 1864, at the height of the American Civil War, granted them to the people of California for preservation. At that time, the federal government was very limited in size and wealth, and the concept of a “national park” had not yet emerged, so authorizing California to preserve these federal lands seemed appropriate. This original land grant comprised just under 39,000 acres (15,500 hectares), or about 60 square miles, and included Yosemite Valley and the Mariposa Grove of giant sequoias. In 1890, Yosemite was added to the new national park system that had begun with the preservation of Yellowstone National Park in 1872.

The park’s 200 miles (320km) of roads give access to many of its features by private vehicle and in some areas by free shuttle bus. To get to know the real Yosemite, however, leave your car or shuttle bus and travel even a short distance on a trail. You don’t have to go far to discover the grandeur that can be found here and the values this special place offers. Millions of people have come to Yosemite and left refreshed and relaxed and perhaps a bit more knowledgeable about what they want out of life.

Yosemite Valley is at the center of most visitor activity in Yosemite National Park. The Merced River flows across the Valley’s flat floor at an elevation (altitude) of 4,000 feet (1220m) above sea level. The Valley floor includes oak and mixed-conifer woodlands and numerous meadows, inhabited by diverse wildlife. The Valley is surrounded by steep, almost vertical, granite cliffs, including the El Capitan monolith, Glacier Point, and Half Dome. Major waterfalls tumble into the Valley, the most prominent of which are Yosemite, Bridalveil, and, less easily seen from below, Vernal, Nevada, and Illilouette. The falls reach their maximum flow in late spring and drop significantly in flow as the season progresses.